Saturday, June 16, 2018

Creating Cards with The Big Splash Daily Diary Kit

Happy Saturday!! Danielle here today to share 4 Cards with you that I created using the Big Splash Daily Diary Kit


For the first card, I ruffled and stitched some of the gorgeous ombre sheer ribbon that was include in the kit, to look like a wave at the top of the card. I thought it paired perfect with the beach scene paper.


For my second card I created a birthday one. I love the Heidi Swapp stamp set that was included this month. That bottle cap paper is one of my favourites, and I paired it with some yellow trim from my stash.


My third card I stitched on the entire sheet of Jenni Bowlin Yellow Alpha Stickers. I love that large pop of yellow with the letters as the background. Next I layered some paper scraps and project life cards, then finished it off with some turquoise trim from my stash.


My fourth card, I pieced together some scraps of paper and stitched on some yellow trim. Next I cut out the cute beach chair from one of the papers and hot glued it over the ruffle. I finished it off by using the stamp set with black Versafine Ink.

Thanks for stopping by!


Thursday, June 14, 2018

Beach this Way ----> The Big Splash Daily Diary kit

Hi everyone! Julie with you here today sharing some little home decor pieces I made using The Big Splash Daily Diary kit! :)

I have this block of wood, and wood box that I wanted to do something with!


After painting them blue ... 


I decorated them with goodies from the Big Splash Daily Diary kit! :)


These are now hanging out in my bathroom, with the box holding q-tips. Thank you for stopping by!


Tuesday, June 12, 2018

Pooltime Fun with the Big Splash Classic Kit

The Big Splash kit is such a fun way to document those pool photos.  Whether that pool is big or small :)  These quick snapshots are of my son and his friend from last summer playing in the kiddie pool in the backyard. 


I started with a piece of white cardstock and used the Tim Holtz Distress Ink and sprayed it a few times on the background.  It was a little darker than I wanted so I took paper towel and blotted off the excess ink. 

I then cut a few strips of pattern paper to cover the top of my layout leaving the bottom 2/3 for my photos and embellishment clusters. 

I used the Jenni Bowlin chiboard buttons in a visual triangle around my photos.  I then used these as a foundation for smaller word stickers/puffy stickers.  


I finished off by printing out my journaling and placed it along with a diecut and another chipboard button on the top part of my layout tucking it all into the smaller strip of pattern paper.  

I set a time limit for myself on this layout and I was amazed at how having a time limit makes design decisions so much easier.  If you struggle on every little embellishment placement I would suggest trying to set a timer.  It's amazing what you can get done when you feel the crunch.  

I hope you are enjoying this last beautiful Noel kit.
Happy Scrapping!


Monday, June 11, 2018

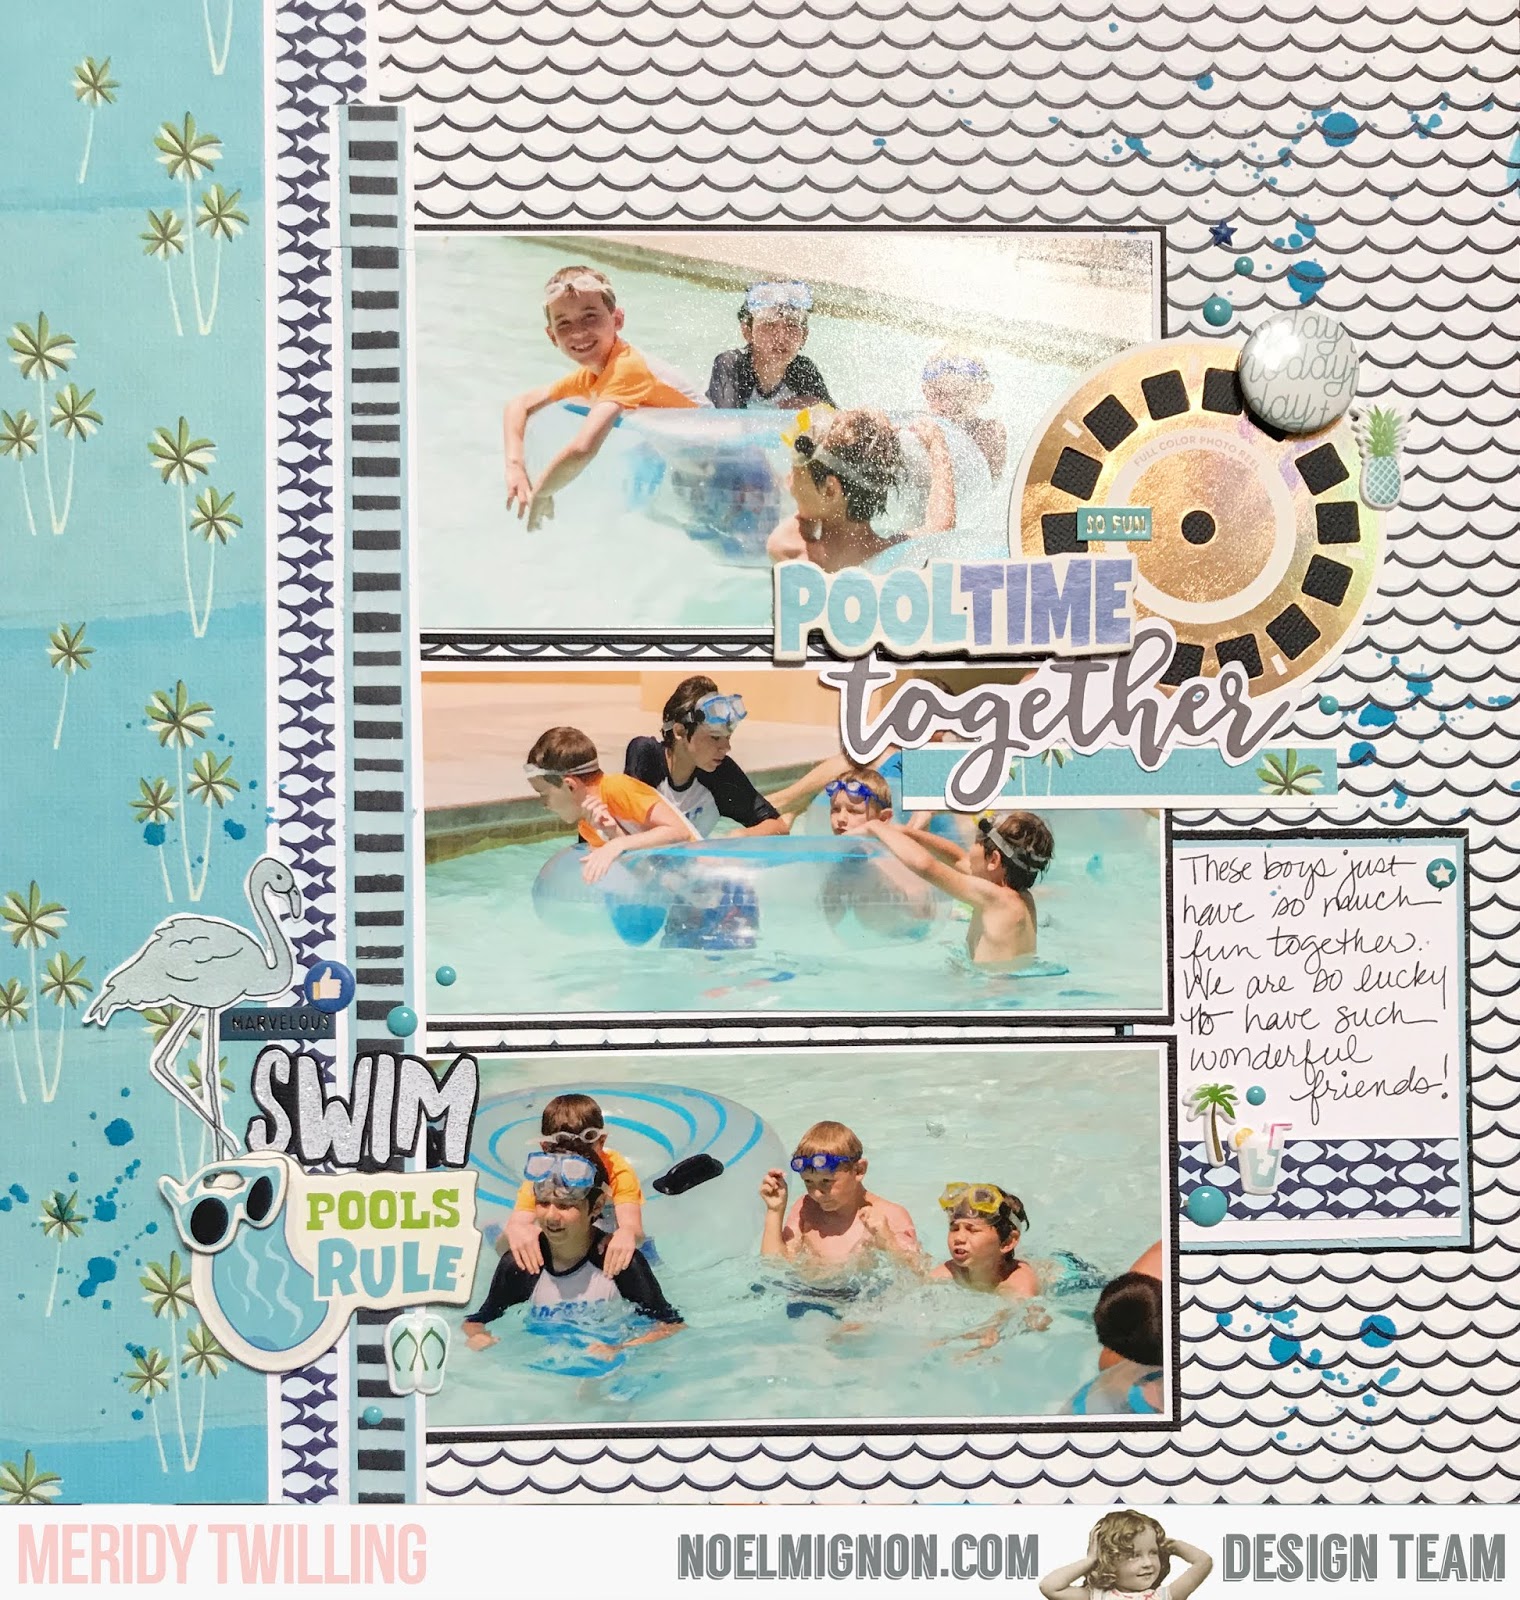
{Pooltime Together} Layout with "The Big Splash" Classic Kit

I am LOVING working with my "The Big Splash" Classic Kit this month!!!  I have another swimming pool layout to share today.  I went with a fairly monochromatic look today to mimic the colors in my photos.

I started with the wave patterned paper as my background and added a strip of the palm tree paper down the right hand side.  I wanted to seperate the 2 patterns in a bold way, so I matted a strip of fish patterned paper and a strip of washi to run down that seam. 


I made my own journaling block with a few scraps of paper, a few puffy stickers, and some enamel dots.


My title area is actually covering up some "photobombers" that invaded my pictures.  I placed the viewmaster slide, chipboard, and sticker so that it covered up the strangers in the background.  I embellished this little cluster with a flair button, some stickers, and a couple of enamel dots as well.


My last embellishment cluster consists of some more chipboard stickers, a couple of enamel dots, some stickers, and a stamped image of a flamingo---with BLUE ink, so it matches the layout. I outlined the stamped image with a blue pen. I used the white glitter alphabet stickers to spell out "swim" on black cardstock, then fussy cut around the word, so it popped against the busy background.


The final step was to splatter the layout with some Tim Holtz mist that came in the kit.  It is the perfect shade of blue for this monochromatic layout, and with that, the layout is complete. 

Thanks for stopping by today!!!


Saturday, June 9, 2018

Project Life Week 21


Happy Saturday!! 
Danielle here with a new project using


There are so many fun pieces in this kit. I did a lot of cutting and stitching things together to give my cards more of a custom feel.


I love the pops of blue, pink and yellow in this kit. Its perfect for summer projects! 


I fussy cut the bright floral cluster that said "sunny memories" from the packaging of the Pretty Little Studio Clear Alpha stickers.


I added some Stickles to the sun card to give it a bit of sparkle.


and here are a few more close ups.


Thanks for stopping by! Don't forget to share your projects over on our Facebook Group!!!


Thursday, June 7, 2018

Splish Splash -- The Big Splash Daily Diary kit

Hi everyone! Julie with you here today, sharing a layout I made using the The Big Splash Daily Diary kit! :)

The kit comes with some 6x6 papers -- so I decided to put these four together to make a 12x12 page! :)


I adhered them to a 12x12 cardboard - and that created this background! 


I also took the ribbon in the kit to create this 'wave' motion, to mimic the pool theme! 


Thank you for stopping by!

Monday, June 4, 2018

{Time for a Swim} Layout with the "Big Splash" Classic Kit

Hello friends!  Now that summer is in full swing, I am so excited to be working with "The Big Splash" Classic Kit.  I think there are still 2 more of these amazing kits available in the store.  I'm so sad that this will be Noel's final kit, but I'm going to make the most of it!!!


I absolutely loved the "Marco Polo" paper in this kit, and knew I wanted to use it right away!!!  So it became the background paper of the first layout I made with the kit.  I pulled the light blue from the water on the paper and matted it on light blue paper.  

I wanted to pull out the red, black, and gold color on the paper too.  So that's how I chose the papers to use in the layers behind the photos.  The ombre gold ribbon in the kit was so beautiful, I added a strip down the left hand side of the layout.  I layered the ribbon with a couple of border punch strips with inked edges to add a little more texture to the layout.


Next, it was time for me to add a title.  I really wanted to use the pink Thickers that came in the kit, but when I had the whole page completed, the pink looked a bit off to me.  So I colored right over the pink with a red sharpie for a perfectly matching title.


All 3 of the embellishment clusters contained a stamped phrase on yellow paper, some enamel dots, and a puffy sticker from the kit.  I also threw in some stickers, a chipboard sticker, and the date using the glitter alphabet stickers. 


I really loved working with these supplies from the kit and using a bit of an eclectic and unique color scheme for swimming photos.  Thanks for stopping by today!