Showing posts with label flair. Show all posts

Monday, June 11, 2018

{Pooltime Together} Layout with "The Big Splash" Classic Kit

I am LOVING working with my "The Big Splash" Classic Kit this month!!!  I have another swimming pool layout to share today.  I went with a fairly monochromatic look today to mimic the colors in my photos.

I started with the wave patterned paper as my background and added a strip of the palm tree paper down the right hand side.  I wanted to seperate the 2 patterns in a bold way, so I matted a strip of fish patterned paper and a strip of washi to run down that seam. 
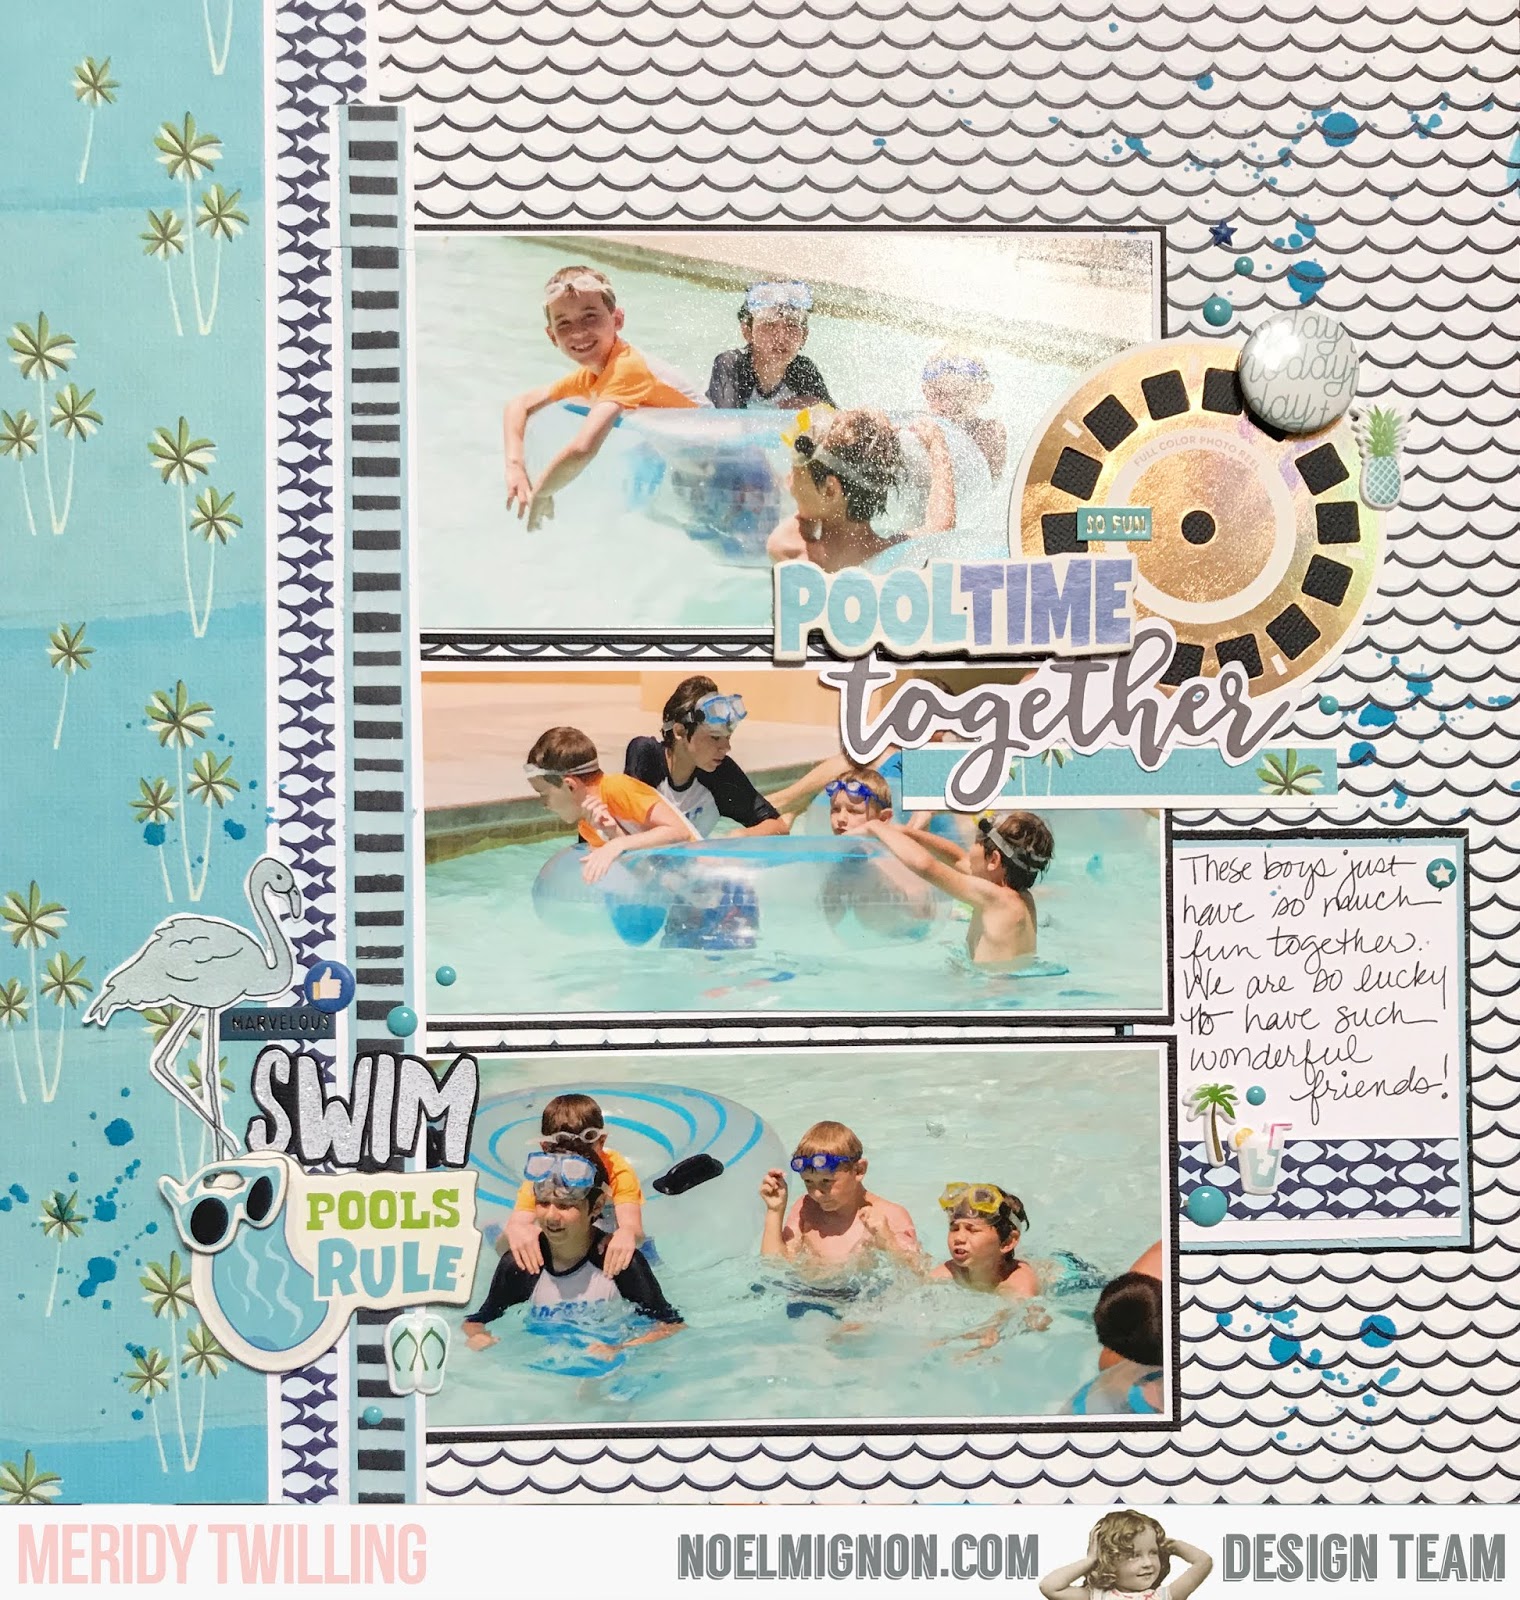

I made my own journaling block with a few scraps of paper, a few puffy stickers, and some enamel dots.


My title area is actually covering up some "photobombers" that invaded my pictures.  I placed the viewmaster slide, chipboard, and sticker so that it covered up the strangers in the background.  I embellished this little cluster with a flair button, some stickers, and a couple of enamel dots as well.


My last embellishment cluster consists of some more chipboard stickers, a couple of enamel dots, some stickers, and a stamped image of a flamingo---with BLUE ink, so it matches the layout. I outlined the stamped image with a blue pen. I used the white glitter alphabet stickers to spell out "swim" on black cardstock, then fussy cut around the word, so it popped against the busy background.


The final step was to splatter the layout with some Tim Holtz mist that came in the kit.  It is the perfect shade of blue for this monochromatic layout, and with that, the layout is complete. 

Thanks for stopping by today!!!


Monday, May 14, 2018

{Sedona, Arizona} Layout with the "Enjoy the Journey" Classic Kit

Happy Monday!  It's Meridy here and I have another layout using the "Enjoy the Journey" Classic Kit to share with you today.  I loved the Simple Stories products that came in this month's kit, and really thought they would be perfect with some hiking photos that I had.


I wanted to use the starburst/graph patterned paper that came in this month's kit, but I wanted to make it look more like a "starburst".  So first, I cut strips of the coordinating patterned papers to cover every other "ray" and adhered those to each ray on the graph paper.

After I got the background of the layout completed, it was time to add the photos and embellishments. I made one embellishment cluster using the twill trim, a tag, flair, a die cut, and a chipboard sticker from the kit.  I finished that cluster off with a few stamped phrases from the roller stamp that came with this kit.


Next, it was time to work on the title.  I used the beautiful glitter Thickers and mini letter stickers that came in the kit, as the colors worked great with these papers, photos, and embellishments.  Next, I added in another piece of the twill trim, a heart die cut, a cork sticker,  and a couple of chipboard stickers.  I finished off this little cluster with a few more stamped sentiments.


I will do some journaling on the adjacent page in the album, as I still have some more photos of this hike.  I will share that layout next week.  Thank you for stopping by today!


Tuesday, January 30, 2018

I love to create with the She's Crafty Classic Kit

One last layout with the She's Crafty Classic Kit.  I have loved creating with the crafting theme this month and  I couldn't let this opportunity go by without paying tribute to my own love of creating. 

I enjoy a wide range of crafty mediums and showed a few on this layout.  


I started with the beautiful circular pattern paper and used it to place my title.  


Once I decided on the placement I then punched out 2x2 pattern paper/cardstock blocks and placed them along the bottom 1/3 of my background paper.  I pulled out the chipboard stickers and began to find homes for them among the pattern paper/cardstock squares.  


I printed my photos at a 1.75 x 1.75 giving a nice mat around the edges.  


I cut a slit along the bottom of my title and slipped my typed journaling underneath.  

The rainbow lover in me geeked out a bit when I started pulling out the puffy stickers and enamel dots and realized they would pair perfectly with the background paper.      

And there you have it a tribute to some of my favorite forms to create with.  Here is one more look at my finished layout:


Thanks for stopping by the blog!


Thursday, January 25, 2018

sharing my craftiness

This week we are focusing on getting crafty.

The truth is, I used to be really crafty.

I would sew a little and crochet and do cross stitch and embroidery, I would paint and do scrapbooking.

Now with my kids and their various activities and other demands on my time, I really don't do any of that any more.

One thing that I enjoy, one hobby that I have continued since I was a kid, is photography.

So, I chose to base my project on that today.


I started with a plain white cardstock canvas and poured some acrylic paint and some of the Ranger Liquid Pearls from the kit onto my paper and then used a popsicle stick to spread and mix the paints. 


I used one strip of patterned paper and tore the bottom edge. 

From there I added my photos and journaling spots.  


It really is a simple page design. I just added the scalloped chipboard border sticker, a piece of flair and some other little embellishments to finish off the page after adding my title using the black Thickers in the kit. 


Thanks for stopping by Noel Mignon today!


Monday, January 15, 2018

{First Colors} Layout with the "She's So Crafty" Classic Kit

It's Monday and that means it's Meridy here, thanks for stopping by!  I want to share another layout I made with the "She's So Crafty" Classic Kit.  There were lots of vibrant colors in this month's kit and some really cool patterned papers, I decided to use this "color wheel" type of paper for a layout about my baby's first box of colors.  


As soon as I pulled this paper to work with, I knew I wanted to use the circle shape as a major design element for the layout.  First, I matted and placed my photos on the bottom right of the paper, then I fussy cut a  couple of the paint swatches from another paper.  Next, I punched a bunch of 2 different size hexagons and sprinkled them around the circle to fill in the blank spaces.


Finally, I got the puffy stickers out and sprinkled them around as well.  I decided to add a small cluster of these embellishments in some of the "white space" on the photos as  well, to visually bring the circle around.


I decided the layout looked a little bare, so I added some of the acrylic words to read "Little You", and the "I Love" flair button.  But the layout still looked a little disconnected.  So I decided to hand stitch in white embroidery floss around where the white circle I covered up on the patterned background was.  This finished the embellishments off. 


Last, it was time to add my title & journaling, again along the arch of the circle.  And with that, the layout was finally complete.  


Thank you for stopping by today!  I would love to see how you used this piece of patterend paper from the kit this month.  Share your layouts on our Noel Mignon Members Facebook page or on Instagram #NoelMignon.  Have a great day!!!


Monday, January 8, 2018

{Creative Spaces Tour} with the "She's So Crafty" Classic Kit

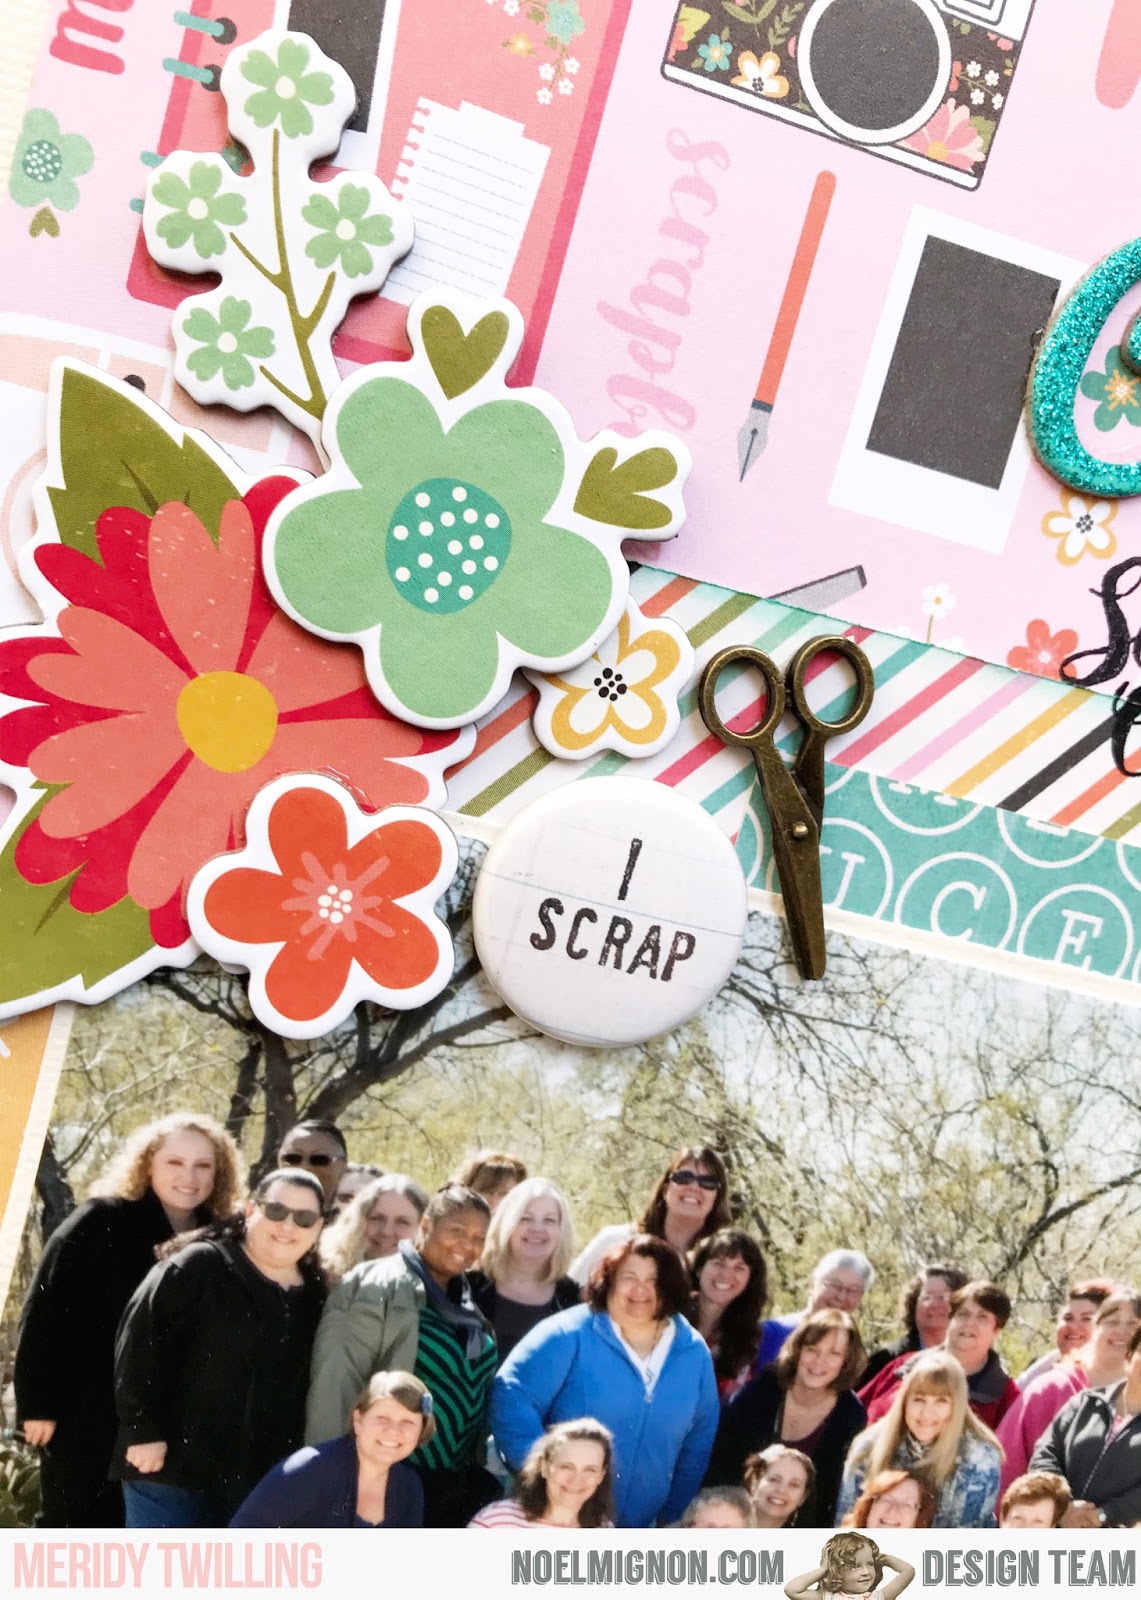
Hello scrappy friends!  It's Meridy here today, and I'm working with the "She's So Crafty" Classic Kit today.  There is only one more of these left in the store, and they are PERFECT to document our crafty hobbies!  Therefore, I decided to scrap a group photo of some of my scrappy friends and I at our annual "Creative Spaces Tour".  


Each January/February about 5 of my crafty friends open their creative spaces for an open house tour.  We travel as a group from house to house until we visit everyone.  The ladies on the tour provide snacks and the whole event is so much fun!  We also get some GREAT ideas for organizing our own stuff.  

When I got the "She's So Crafty" kit, I just knew that I would be using it to document the tour!  I started with the super cute scrapbook themed patterned paper as my background paper.  I built up layers of patterned paper peeking out from under the photo.

Next, I started adding clusters of chipboard stickers in a few areas, to keep the eye moving around the page.


I just adore the little scissor charms that came in the kit.  I cut off the little round part that is used to hang the charm from, because I just wanted to glue it flush to the page.  I added the "I scrap" flair to this little cluster as well.


I used some glittery Thickers that I had in my stash, every so often I pull something into my Noel Mignon kit.  The kits are so beautiful and versatile, so it's easy to use some stash mixed in with them.

And that wraps up my layout for today! Thank you for stopping by!


Friday, October 20, 2017

Football Life: Apple Crisp Classic Kit

Hi all!  Fall time in our household means college football time!!!  We are huge Georgia Bulldogs fans, both of my parents went to the University of Georgia.  I grew up watching the games and it has stuck with me.  I got my husband on the bandwagon as well and my girls love to see their mascot, UGA when he's on tv.  It's a big deal to watch the games on Saturdays.  


Since the Georgia school colors are red, black and white, I took advantage of those colors in the kit.  The Prima paper was perfect for a background since it has a grey-toned marble look.  I used some reds and oranges as well to complement it.  I did pull a couple of things from my stash to pull it together such as the Georgia flair badges, the floral paper and some Tim Holtz distress ink.


The fall die cut was a great starting point for my title.  When fall comes around, we definitely get excited for football!  


The white acrylic pieces were a nice little touch.  I cut one of the die cuts up that said "go outside / stay inside" and just used the inside part.  The other word strips emphasized staying home and watching the games.


I finished off the layout with the black heart circle and the gems from the kit.

Nice and simple and showing our love for the Dawgs!  Do you guys enjoy watching football in the fall?  If so, who are you cheering for???


Monday, September 25, 2017

{My Boys} with the "Study Guide" Kits

Hello, it's Meridy here today.  I have one more "first day of school" layout to share with you using the "Study Guide" Daily Diary Kit and paper add on.  This layout is a bit more masculine, since it's starring my "boys".  


I really love the 3x4 cards that come in the Daily Diary kits, they are perfect for adding lots of layers, colors, and patterns to my layouts.


I also LOVE that all of the Noel Mignon kits are so versatile, I used a couple of tags from past kits to add a little more embellishment to this layout.  Instead of doing a multi color title, I decided to use all of the same color navy Thickers from the kit for my title on this layout.  I thought the navy color really worked with the colors in this masculine layout.  


That wraps up my layout for today!  Thank you so much for stopping by.  Have a great week!


Monday, August 28, 2017

{So Happy} with the "Weekend in Paris" Classic Kit

Hello there!!!  Today I'm sharing my last layout with the "Weekend in Paris" Classic Kit.  I loved working with the soft colors in this kit this month.  I really like making double page layouts for my albums mainly because I like both sides of the layout to match, and not clash with each other.  But I enjoy creating single page layouts because they are a nice change of pace for me.  So sometimes when I create single page layouts, I make sure to use the same supplies (and in this case pictures of the same event) on the other side, so the pages still match.  Today I am sharing an example of this.

This week I created this page to match the layout I shared last week.


Here is the layout I shared last week, as you can see I used the same papers and embellishments.


Since I used the same supplies and photos from the same event, the 2 pages will flow from one to another in my album.  

I tried to mimic the embellishment clusters that I used last week, I did this by using cardstock stickers, vellum phrase stickers, a bit of the lace, crepe paper flowers, mini alphabets, and enamel dots.  


I just adore the little camera sticker, and had to use it on one of my layouts this month.  It is precious!  I used more of the same types of embellishments on this cluster as well.  This wrapped up my layout and really brings the eye back and forth between the 2 separate 12x12 layouts to create one cohesive design.


 Thank you for stopping by today!!! Have a great week!


Tuesday, June 13, 2017

Summer Relaxing with the Dive In Daily Diary Kit

Hey all!  Nicole on the blog today with a new project using the Dive In Daily Diary kit.  This week the theme for the design team is water/swimming.  This photo of my little guy in the backyard came to mind.  He got this kiddie pool last summer and I happened to glance outside when it got a little quiet and found him with his feet up and his head propped up on a ball. It made me laugh and I snapped this photo with my cell phone.


I started by cutting the word summer from the background cardstock from the Dive In Papers.  After the letters were cut out I added a few ink splatters with a watered down mist so the paint was really light.   I then backed each letter with some of the 6x6 papers and 3x4 cards from the kit.


I added a few of the 3x4 cards under the journaling block/picture and added a small piece to the other side of the layout to balance it out.


I finished my title with another Silhouette cut and placed it along the bottom of my layout.  Placing a brad (from my stash) for the dot on the I.

I finished the page off with a few embellishments:  brads, flair, and stickers.  Overall it is a rather simple page, but I love that I could incorporate so many of the patterns from the cards into the title.

I have the cut files available for download on my blog - nstark.typepad.com if you are interested.
Thanks for stopping by the blog today.  I hope you are enjoying your summer, happy scrapping!