Hello Friends! It's Monday, so it's Meridy here. I have been working with my "You Go Girl" Classic Kit this month, and I have been working on my Disneyland album. Today's layout is another one for that album. I just love how great the colors in this kit work with my Disneyland photos...
I really like the bright diagonal patterned paper in this kit, but once I pulled my photo it looked too busy for the background, so instead I used it as a mat for my layout...the result was a perfect hint of the bright diagonal paper, without being overwhelming.
I thought that the pretzel paper was an amazing addition to the layers on this page, since we LOVE the Mickey pretzels in Disneyland, and I even mention them in my journaling. After I layered various scraps of patterned paper beneath my photo, I started adding embellishments that went with the food theme of the page.
The Thickers in this month's kit are so super cute. I really like the font and the variety of colors, so I used them, along with some letter stickers I had leftover from last month's kit to create my "Tasty Treats" title.
I finished off the page by adding my journaling right on the page and a small embellishment cluster on the top left of the layout. I added the trim from my stash to add a little texture to the page. I would love to see what you create with your Noel Mignon kit on Instagram #NoelMignon. Have a great week!!!
Hello friends, it's Monday with Meridy. Today I am sharing a layout I made with my new "You Go Girl" Classic Kit. Before I even received my kit in the mail, I could tell from the photos of it that it would go wonderfully with my Disneyland photos. And I was right! I have already pulled photos for 6 Disneyland layouts to make with this kit...perfection!
Today's layout was really inspired by a Stuck Sketches sketch, found here (the second sketch in this link). The layout is of our 4th day in Disneyland, our Alice in Wonderland outfit day.
I started by pulling bits and pieces from the kit that really coordinated with the colors in my photo. Then I went to the sketch to cut the banner background shape,the washi scallop across the top, and the small embellishment cluster placement on the upper left.
Next, it was time for me to start layering scraps of paper and washi strips under the photo, and pile on the embellishments.
My "day 4" title was a chipboard sticker that read "today", so I trimmed off the "to" part and it was perfect! Adding embellishments went pretty quickly on this layout because there were so many beautiful ones that really matched the colors in the photo so well.
The butterflies were cut from a patterned paper in the kit, and I popped the wings up with pop dots, to add a little dimension.
I have absolutely LOVED working with this kit and my Disneyland photos this past week, I can't wait to share more of my creations with you over the next few weeks.
Hello, it's Meridy here today. I have one more "first day of school" layout to share with you using the "Study Guide" Daily Diary Kit and paper add on. This layout is a bit more masculine, since it's starring my "boys".
I really love the 3x4 cards that come in the Daily Diary kits, they are perfect for adding lots of layers, colors, and patterns to my layouts.
I also LOVE that all of the Noel Mignon kits are so versatile, I used a couple of tags from past kits to add a little more embellishment to this layout. Instead of doing a multi color title, I decided to use all of the same color navy Thickers from the kit for my title on this layout. I thought the navy color really worked with the colors in this masculine layout.
That wraps up my layout for today! Thank you so much for stopping by. Have a great week!
Hello friends! It's Meridy here today and I'm working with the "High Five" Daily Diary kit and the Paper Add On. There are still a few of these beautiful kits in the store!!! This kit is PERFECT for summer days and the beach, but Noel Mignon kits are so versatile that this week the design team is going to be using our kits to scrapbook pages that aren't necessarily summer themed. The layout I'm doing today is about my husband and my daughter taking a ride on a Tilt-A-Whirl.
The colors in the kit matched the photos of the tilt-a-whirl just perfectly. I really adore the Thickers that came in the Daily Diary Kit this month...their ombre color is just dreamy! So I had to use them for an EXTRA long title on this layout.
I added a small embellishment cluster near the two areas where I placed my title.
I added a few mist splatters across the page to add just a little more color to the white background paper. Once I finished my journaling, that wrapped up the layout. Thank you for stopping by the blog today! Check back all week to see what other types of "out of the box" layouts the design team creates with this month's kit!
Hello friends! Happy Monday! It's Meridy here and I have a 12x12 layout to share with you today. I am using the "High Five" Daily Diary Kit and the paper pack add on for today's layout. I am so happy to be using all of these bright summery colors this month, so I found some bright summery pictures to use on today's layout.
I started with the background papers and stitched them down to add some texture to the layout. Next, I started layering the patterned paper behind the photos, building up to the "Be Happy" bingo card.
Next, I pulled a variety of different embellishments from the kit, including enamel dots (from an older Noel Mignon kit), the puffy sticker labels, some sequins, and Thickers to spell "100%". I used these embellishments to create a couple of clusters, one on either side of the strip of photos. I added a little journaling, and that wrapped up the layout!
Thanks for stopping by the blog today! I would love to see what you made with your Noel Mignon kit this month on Instagram #NoelMignon.
Hello friends! First off, I wanted to remind everyone that subscriptions for July-December 2017 are only open through today, so if you would like to sign up to sub to Noel Mignon kits, today is your last chance to do that for another 6 months.
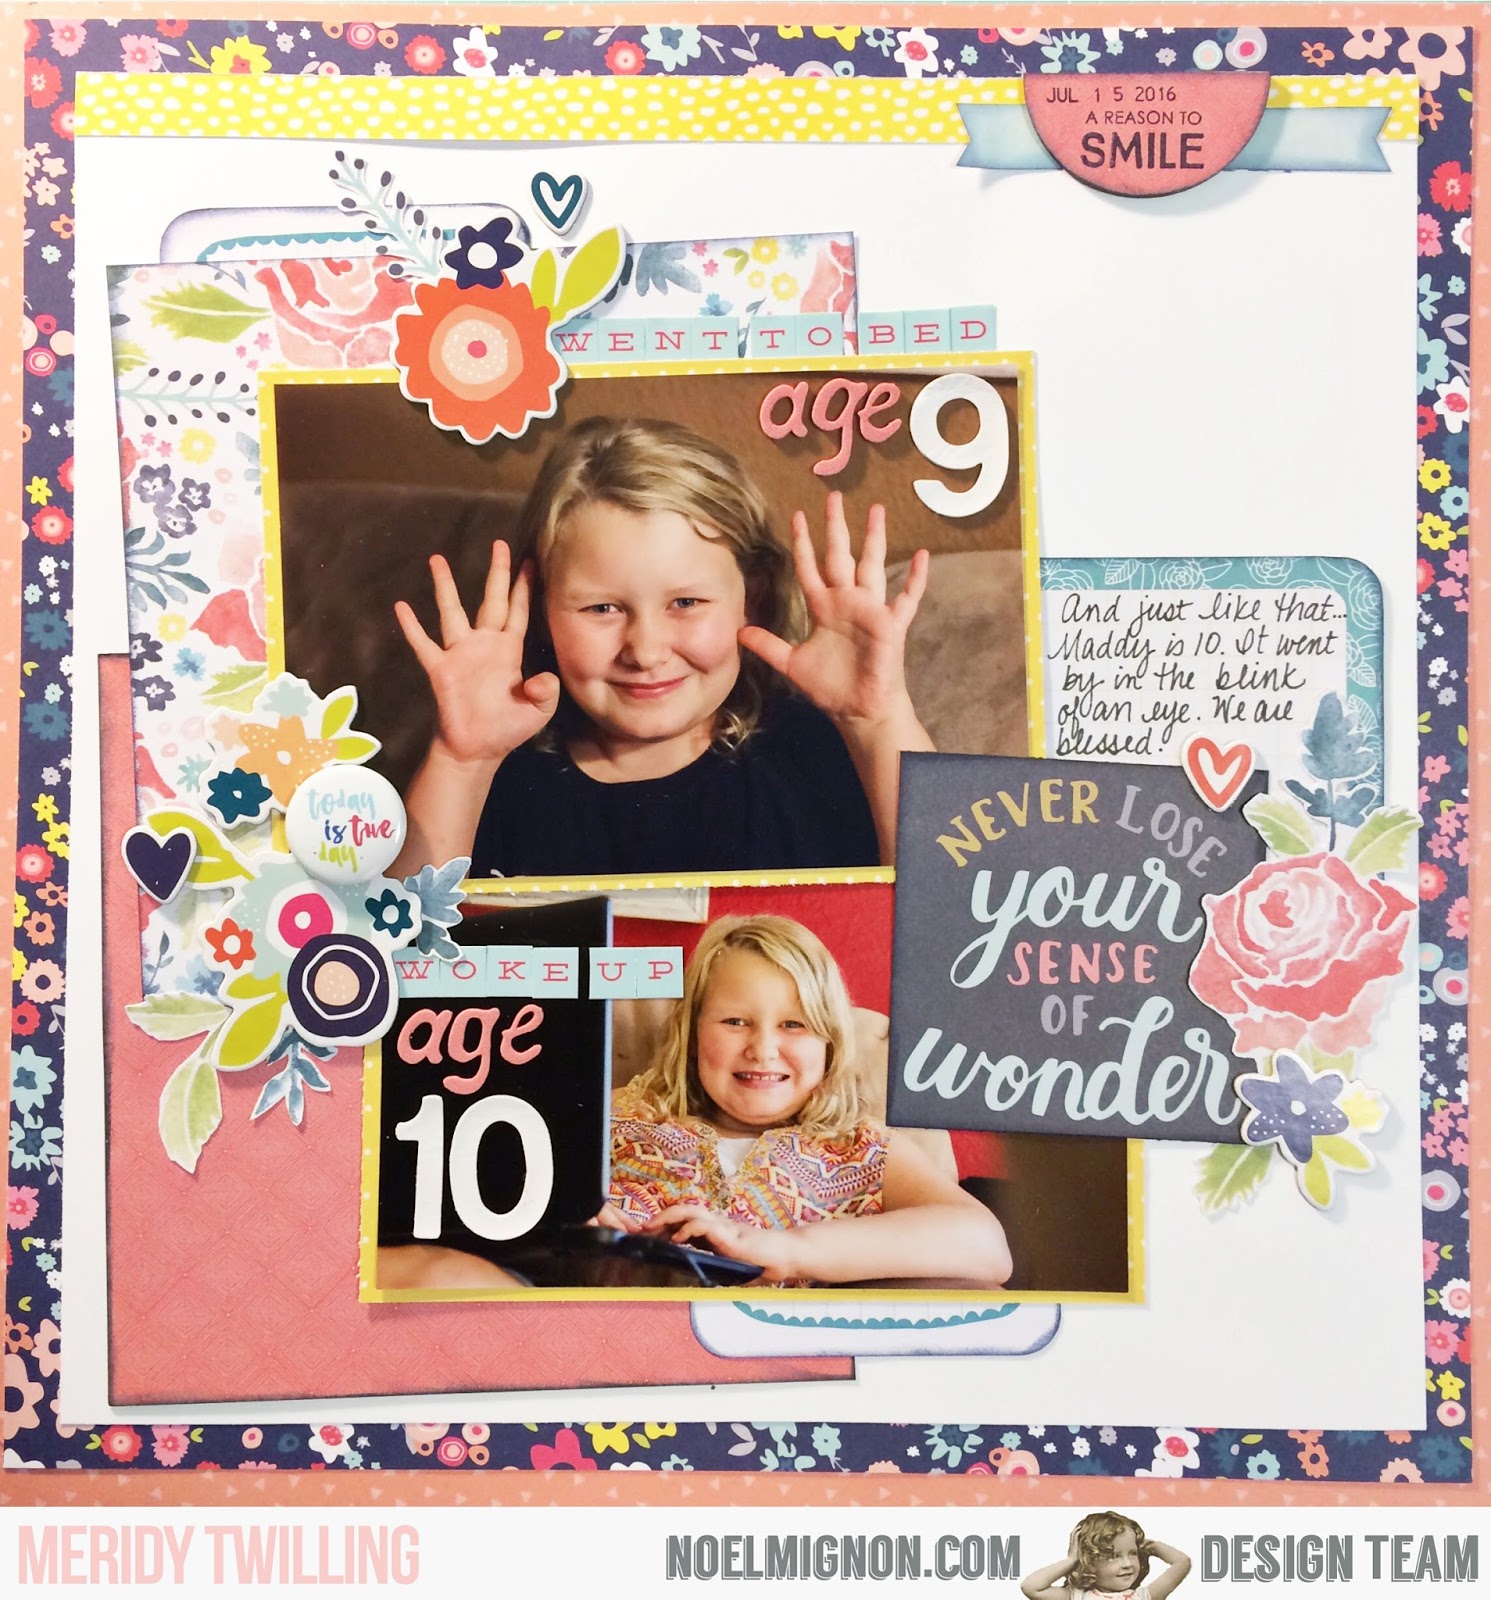
And now for my layout using the Spring Fling Daily Diary Kit and the 12x12 paper add on. I really love the color schemes in the products this month. I am really excited about all of the navy in the various paper lines lately, so the navy floral paper is the foundation of today's layout.
I had a lot of fun fussy cutting floral elements from papers in this month's kit. I mixed those cuts with a few of the chipboard stickers, and a flair button, to build up my embellishment clusters.
I also used a few different 3x4 project life cards to add more layers to the layout. Once I mixed in a couple of Thickers from my stash, I was able to use some of the mini letter stickers to finish off my titles. I covered one of the wood veneer half circles with paper and stamped a few sentiments on it before placing it on the top right of my layout. Finally, I added a little bit of journaling to the journaling card on the right hand side of my layout.
That wraps up my layout share for today! Thank you for stopping by.
Happy May!!! I can't believe it's already May! This year has just flown by, and with spring in full swing, I'm so excited to be working the the May Daily Diary "Spring Fling" kit . The kit is just filled with bright colors and cute embellishments. Perfect for all types of layouts and photos.
Here is what is included in the kit.
I used the paper add on in addition to the Daily Diary kit, since I LOVE working with 12x12 layouts. This week I'm sharing a layout of my daughter on her first day of Gril Scouts for the 2016-2017 school year. I take a photo of her in her uniform at the beginning of each school year.
I loved the water colored patterned paper that came in the paper add on, and used it as my background paper. It had so many pretty colors, and coordinated well with all of the 3x4 and 4x6 cards I wanted to use on the layout.
After loosely placing my photos, I started adding the 3x4 and 4x6 cards. I left the cards sticking out from under the photos to create lots of layers. Once all of that was in place, I adhered it to the page. I don't put tape all the way to the edges of the layers, this way I can slip bits and pieces of tags and embellishments under the layers easily.
I started building up embellishments on the bottom right and bottom left of the layout. The title area of my layout is my favorite part. I did have to pull some green Thickers from my stash to spell "Girl Scouts", and paired that with a chipboard sticker, a few puffy stickers, and a cut apart quote, all of which are from the kit.
I really liked the sprig of flowers that came in the kit, so I disassembled the sprig and rearranged three flowers into a "bouquet" for this layout. I used some baker's twine from an old Noel Mignon kit to keep the bouquet in place and glued it to my layout with Eileen's Tacky Glue. I like using Tacky Glue to adhere fabrics, silk flowers, wood veneer, and baker's twine to my layouts. It dries quickly and holds great!
Next, I added a few puffy stickers around the bouquet, and that finished off the layout.
Thank you so much for stopping by today! I hope you are having fun with your "Spring Fling" Kits this month! I would love to see what you make on Instagram #NoelMignon.
Hello NM fans, it's Meridy here! Welcome to a week of "Delightful Layers" in honor of the "Delightful" Kits this month. This week the design team is going to wow you with lots and lots of layering in our projects. Before I share my project, I wanted to share a link to my unboxing video of the Daily Diary "Delightful" Kit.
As you can see, there are amazing products in this month's Daily Diary kit (as always). There are still a couple of more kits in the store today too.
I have been working with this kit all weekend, and have created so much! When I work with the Daily Diary kit, I usually order a paper add on kit, and this way I get the 20 12x12 papers that come in the Classic Kit as well. I love creating 12x12 layouts with the Daily Diary kit. My favorite layout that I created with the "Delightful" Daily Diary Kit is called "Adorably Dopey". The photos I used are from a trip we took to Disneyland last month.
I started this layout by choosing papers and project life cards that coordinated with my son's Dopey outfit. The bright greenish yellow, light blue, purple, and grey colors in the kit matched the photos perfectly!
Next, I started building up my layers. To make the 3x4 and 4x6 cards stretch a little more, I often trim off the portion that is layered under something else. Then I can use that trimmed off piece on another area of the layout. Although it looks like I used 10 different 3x4 cards, I actually only used 4 and trimmed them into small pieces.
After I got the main pieces in place, I needed to embellish. I fussy cut a few of the Pebbles cut apart 3x4 cards. There were 2 cards with great cross sections of a tree and cute flowers and sayings, so I KNEW I had to use them with these photos with the tree in the background. One of the cards read "together is my favorite place to be", but that quote didn't really go with my layout, so I altered it! I cut the words "TO BE" off of the bottom, I covered the "together" with some mini alphas from my stash to spell out "Disneyland". So now, that embellishment reads "Disneyland is my favorite place". What a perfect subtitle to my main title "Adorably Dopey" that I created with a few letter stickers from my stash as well.
3x4 card "Before" I altered it.
Next, I used the bottom half of that fussy cut tree cross section to embellish the top right hand side of my layout, I made sure to cover the "To Be" that was printed on it with some other embellishments---it's hiding under the blue cardstock flag.
I inked the edges of all of the layers with grey ink, to make them pop a little. I used some foam tape to raise a few of the embellishments up and add some more dimension. I also fussy cut another 3x4 Pebbles tag to place at the bottom of my layout, but I left this sentiment alone and didn't alter it.
That wraps up my layout full of layers for this week. I hope you got some ideas about how to alter something to make it work for what you need, and some tips on making smaller pieces stretch even further. I do both of these things pretty often in my scrapbooking.
Stop by all week to see more "Delightful Layers" on projects. Bye!
Hello, Lynn here with my first project life page using this month's "Vintage Charm" Daily Diary Kit. This kit is PACKED with goodies for your pocket pages and there are a few left in the store so grab one while you can. I used lots of Simple Stories "Bloom and Grow" products for my page. Our theme this week is "I've Been Framed" - we are using frames that are included in our kits on our projects. The frames in the Daily Diary kit were bigger than I wanted so I made my own frames using the papers from the kit. Here's my page.
My photos were printed with the Collect App. The three frames on my page were created using Lawn Fawn's Stitched Square Stackables Dies. Here's some close up of the cards.
My title card.
Here's the first frame. I nestled two stackable dies together to create a frame. I popped up a heart die cut and topped the heart off with the fun twine from The Twinery.
Here's the second frame. I went a bit bigger with this one and layered stickers under and over the frame.
Here's the final frame. I used plain white cardstock for this frame.
Thanks so much for stopping by today and checking out our challenge.
Have a great week and I'll be back next week with another Project Life page!!