Showing posts with label chipboard. Show all posts

Monday, June 18, 2018

{Lazy River} with "The Big Splash" Classic Kit

I hope everyone is having an AMAZING summer, enjoying the sun, the heat, the outdoors, all of it.  Today I'm sharing another layout with "The Big Splash" Classic Kit.  This kit is a fun one, and it put me right into the "summer scrapping" mood.  

I wanted today's layout to feature some of the beautiful stamps that came in the kit.  So with that in mind, I began arranging the background layers and placing my photos.  I used fairly monochromatic papers and ink for this layout, with just a few pops of the complimentary color, orange, which I took directly from the photos.


Now that I knew where my papers were going to be, I went to work with a few of the palm frond stamps and 3 different colors of green/teal ink.  I randomly stamped the 2 different size palm frond and mixed that with the 2 different sized smaller leaves from the Heidi Swapp stamp set in the kit on the upper right and lower left corners of the layout.

I used the white glitter alphabet stickers, matted them on black paper, and fussy cut around them to create my title.  I added a chipboard sticker, a couple of puffy stickers, and a cardstock sticker to finish off the title area. 


Next, I mimicked the same types of embellishments on the bottom left hand corner of the layout, using chipboard stickers, puffy stickers, and a couple of cardstock stickers.  I kept the page balanced by using the same types of embellishments in both clusters.  I also made sure to add a couple of pops of orange in each cluster.


The last thing I did was splatter some of the blue mist that came in the kit on both embellished corners of the layout.  And with that, the layout is complete.  Thank you for stopping by today!!!


Monday, June 11, 2018

{Pooltime Together} Layout with "The Big Splash" Classic Kit

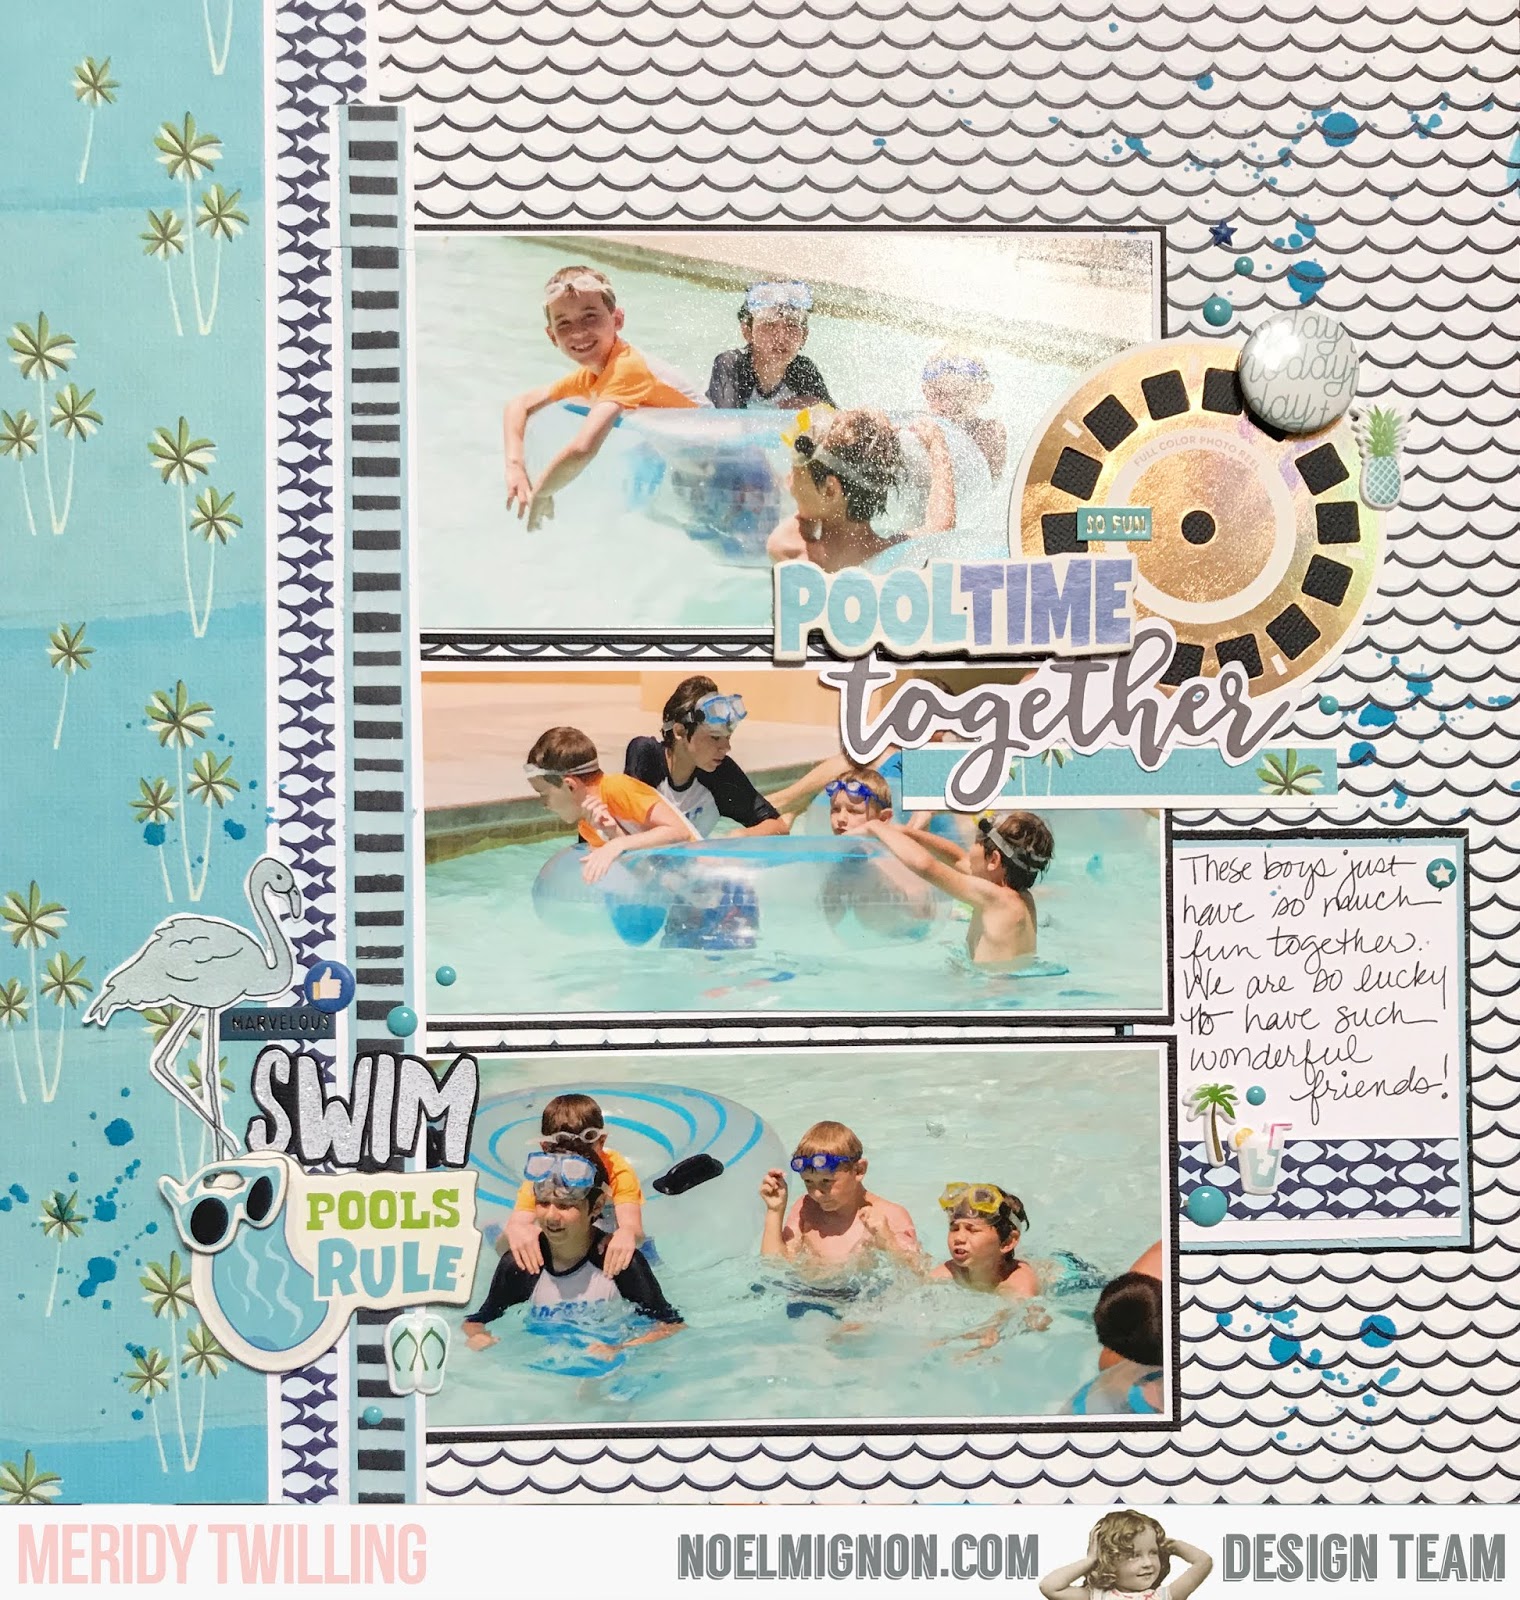
I am LOVING working with my "The Big Splash" Classic Kit this month!!!  I have another swimming pool layout to share today.  I went with a fairly monochromatic look today to mimic the colors in my photos.

I started with the wave patterned paper as my background and added a strip of the palm tree paper down the right hand side.  I wanted to seperate the 2 patterns in a bold way, so I matted a strip of fish patterned paper and a strip of washi to run down that seam. 


I made my own journaling block with a few scraps of paper, a few puffy stickers, and some enamel dots.


My title area is actually covering up some "photobombers" that invaded my pictures.  I placed the viewmaster slide, chipboard, and sticker so that it covered up the strangers in the background.  I embellished this little cluster with a flair button, some stickers, and a couple of enamel dots as well.


My last embellishment cluster consists of some more chipboard stickers, a couple of enamel dots, some stickers, and a stamped image of a flamingo---with BLUE ink, so it matches the layout. I outlined the stamped image with a blue pen. I used the white glitter alphabet stickers to spell out "swim" on black cardstock, then fussy cut around the word, so it popped against the busy background.


The final step was to splatter the layout with some Tim Holtz mist that came in the kit.  It is the perfect shade of blue for this monochromatic layout, and with that, the layout is complete. 

Thanks for stopping by today!!!


Monday, June 4, 2018

{Time for a Swim} Layout with the "Big Splash" Classic Kit

Hello friends!  Now that summer is in full swing, I am so excited to be working with "The Big Splash" Classic Kit.  I think there are still 2 more of these amazing kits available in the store.  I'm so sad that this will be Noel's final kit, but I'm going to make the most of it!!!


I absolutely loved the "Marco Polo" paper in this kit, and knew I wanted to use it right away!!!  So it became the background paper of the first layout I made with the kit.  I pulled the light blue from the water on the paper and matted it on light blue paper.  

I wanted to pull out the red, black, and gold color on the paper too.  So that's how I chose the papers to use in the layers behind the photos.  The ombre gold ribbon in the kit was so beautiful, I added a strip down the left hand side of the layout.  I layered the ribbon with a couple of border punch strips with inked edges to add a little more texture to the layout.


Next, it was time for me to add a title.  I really wanted to use the pink Thickers that came in the kit, but when I had the whole page completed, the pink looked a bit off to me.  So I colored right over the pink with a red sharpie for a perfectly matching title.


All 3 of the embellishment clusters contained a stamped phrase on yellow paper, some enamel dots, and a puffy sticker from the kit.  I also threw in some stickers, a chipboard sticker, and the date using the glitter alphabet stickers. 


I really loved working with these supplies from the kit and using a bit of an eclectic and unique color scheme for swimming photos.  Thanks for stopping by today!


Monday, May 28, 2018

{Explore} Layout with the "Enjoy the Journey" Classic Kit

Hi friends!  It's Meridy here today with you and I have my last layout with the "Enjoy the Journey" Classic Kit to share with you today.  I really love how this kit is so versatile and works with travel photos, outdoor photos, and in this case, hiking photos.  


I wanted to use lots of the patterned paper from this kit, so I decided to use strips of it as a background and built up the layers from there.

Next, I matted my photos on white cardstock and put them in place so I could start adding embellishments.  I did use a few brads that I had in my stash.  I also used a heart punch and some chipboard stickers from the kit.


The Thickers from this month's kit added texture to the embellishment clusters, and the mini blue alphabet stickers went really well with the Thickers to complete these subtitles.


I used the "Explore" chipboard sticker for the main title across the bottom of the layout.


The final touches of the layout were some journaling lines that I drew on the upper left hand side of the layout, and the brown trim from the kit added some texture to the upper right hand side of the layout.  Under the ribbon I used the mini roller stamp to stamp some "adventure" theme phrases.  And that finished off the layout.  Thank you for stopping by today!!!


Monday, May 14, 2018

{Sedona, Arizona} Layout with the "Enjoy the Journey" Classic Kit

Happy Monday!  It's Meridy here and I have another layout using the "Enjoy the Journey" Classic Kit to share with you today.  I loved the Simple Stories products that came in this month's kit, and really thought they would be perfect with some hiking photos that I had.


I wanted to use the starburst/graph patterned paper that came in this month's kit, but I wanted to make it look more like a "starburst".  So first, I cut strips of the coordinating patterned papers to cover every other "ray" and adhered those to each ray on the graph paper.

After I got the background of the layout completed, it was time to add the photos and embellishments. I made one embellishment cluster using the twill trim, a tag, flair, a die cut, and a chipboard sticker from the kit.  I finished that cluster off with a few stamped phrases from the roller stamp that came with this kit.


Next, it was time to work on the title.  I used the beautiful glitter Thickers and mini letter stickers that came in the kit, as the colors worked great with these papers, photos, and embellishments.  Next, I added in another piece of the twill trim, a heart die cut, a cork sticker,  and a couple of chipboard stickers.  I finished off this little cluster with a few more stamped sentiments.


I will do some journaling on the adjacent page in the album, as I still have some more photos of this hike.  I will share that layout next week.  Thank you for stopping by today!


Monday, April 2, 2018

{Chalk Art Fest} with the "Vintage Spring" Kits

Hello all, it's Meridy here and today I am working with pieces from both "Vintage Spring" Kits, the Classic Kit and the Daily Diary Kit.  I also mixed in a few pieces from last month's "You Go, Girl" Classic Kit. 

I started with a single picture from a chalk art festival, and I wanted to incorporate many of the colors from the kits, so I decided to just use simple strips of paper, ribbon, and washi.


I decided my layout needed a little more texture and detail, so I decided to machine stitch in between the strips of paper.  Some of my stitches are straight, regular stitching, some are zig zags in various widths.  I decided to use various colors of thread to add more color to the layout.


Next, I added a few small embellishment clusters.  I added one on each side of the photo to draw a little more attention to it, and another cluster around the title and journaling.


For my title, I used Thickers from last month's kit along with the black letter stickers from the Vintage Spring kit.  I sprinkled in some chipboard stickers, a star epoxy embellishment, a phrase sticker, and trimmed a journaling card down quite a bit since I didn't need a whole 3x4 space to journal.


That wraps up my layout for today, I really love all of the colors and the stitching.  This was a great way to use up some scraps. 

Have a great week!


Monday, March 26, 2018

{Disneyland Day 2} with the "You Go Girl" Classic Kit

Hello friends, it's finally SPRING!!!!  And I'm super excited to get BOTH of the "Vintage Spring" Kits next month.  If you have not seen them yet, you should go check them out.  Until then, I have one more layout to share with you using the "You Go Girl" Classic Kit.  I really enjoyed scrapping quite a few Disneyland layouts with this kit, and the layout I'm sharing today is no exception...


I started with the frame background paper, built up my layers for my photo mat and then started adding scraps of paper, chipoard stickers, and pieces of washi tape in the frames to fill them up.


Once I felt like the background was complete, I went to work adding my title "California Adventure" with the beautiful Thickers that came in this month's kit.


Next, I worked on an embellishment cluster for the top right hand side of the layout to balance out the title area.  I used chipboard stickers, ephemera die cuts, the double sided tassles, and a flower for this embellishment cluster.  I added the subtitle "Day #2" in the same Thickers I used for the main title.


And that wraps up my layout for today!  Thank you so much for stopping by.  Have a great week.


Tuesday, March 20, 2018

Unicorns Exist with the You Go Girl Classic Kit

Happy Tuesday!  I have really enjoyed creating with this months kit and have made quite a few fun projects.  I decided though to make an actual scrapbook page this week.  A few of the products in the kit reminded me of a few cakes I have made lately at my new job and I thought it would be fun to document the trend of unicorns that seems to be making an appearance everywhere. 


I started with my title.  I used a combination of chipboard stickers and a Silhouette machine cut.  I then backed this with pattern paper and a tag. 


I then started layering my photos and pattern paper strips on the bottom.  Placing a few bits of washi tape down and tucked in the date. 

Once I had placed all my elements I began to embellish with rubons, chipboard stickers, and a rhinestone brad to dot the "i" in my title. 

I decided the left hand side needed something so I took a couple of pattern papers and placed them along the side and topped the corner with an old photo corner from my stash. 

I love how all the colors and supplies work in this months kit and it was fun to use a feminine color palette.  What are you making with this months kit?  Be sure to share with us over on the Noel Mignon Member Facebook group. 

Happy Crafting!


Monday, March 5, 2018

{Disney Day 4} layout with the "You Go Girl" Classic Kit

Hello friends, it's Monday with Meridy.  Today I am sharing a layout I made with my new "You Go Girl" Classic Kit.  Before I even received my kit in the mail, I could tell from the photos of it that it would go wonderfully with my Disneyland photos.  And I was right!  I have already pulled photos for 6 Disneyland layouts to make with this kit...perfection! 

Today's layout was really inspired by a Stuck Sketches sketch, found here (the second sketch in this link).  The layout is of our 4th day in Disneyland, our Alice in Wonderland outfit day.


I started by pulling bits and pieces from the kit that really coordinated with the colors in my photo.  Then I went to the sketch to cut the banner background shape,the washi scallop across the top, and the small embellishment cluster placement on the upper left.


Next, it was time for me to start layering scraps of paper and washi strips under the photo, and pile on the embellishments.


My "day 4" title was a chipboard sticker that read "today", so I trimmed off the "to" part and it was perfect!  Adding embellishments went pretty quickly on this layout because there were so many beautiful ones that really matched the colors in the photo so well.


The butterflies were cut from a patterned paper in the kit, and I popped the wings up with pop dots, to add a little dimension.


I have absolutely LOVED working with this kit and my Disneyland photos this past week, I can't wait to share more of my creations with you over the next few weeks.

Thanks for stopping by!