Showing posts with label Miss Nelson Kit. Show all posts

Monday, October 28, 2013

Happy Place

Hello! Happy Monday!
I'm not a very good card maker and I have several friends that push me out of my crafty comfort zone. I was challenged to make at least one card per month. So I get used to the size and love of card making. lol I used Miss Nelson for this card:
 Not loving the process or the outcome...BUT I will always try new things. I will make sure to share next month's card with you too! :)

Wednesday, October 23, 2013

Everyday Awesomeness

Hello!
Veronica here with a pl page using Miss Nelson.
I am so far behind on my Project Life album...it's become overwhelming to look at the album on the shelf. So sad. I decided to tackle some pages. I usually use one page per week. This is for the week of June 2-8. See? So behind. I am determined to get this dang album completed! 
 I used gorgeous papers from the kit and a couple of stickers. I also used the sequence that Noel placed in a bag. These were perfect for his t-ball awards ceremony picture. I'm trying to keep my pages flatter than normal, because the album is BULGING! lol
How many of you are all caught up with your PL?

Monday, October 14, 2013

Quick and Easy Gift Card Holder

Hello! I'm here with a quick and easy tutorial using Miss Nelson kit.
I received a cute cut-out tag in my kit, so I decided to make it into a pocket!
Supplies: 
frame tag, pattern paper, clear package or clear transparency sheet.
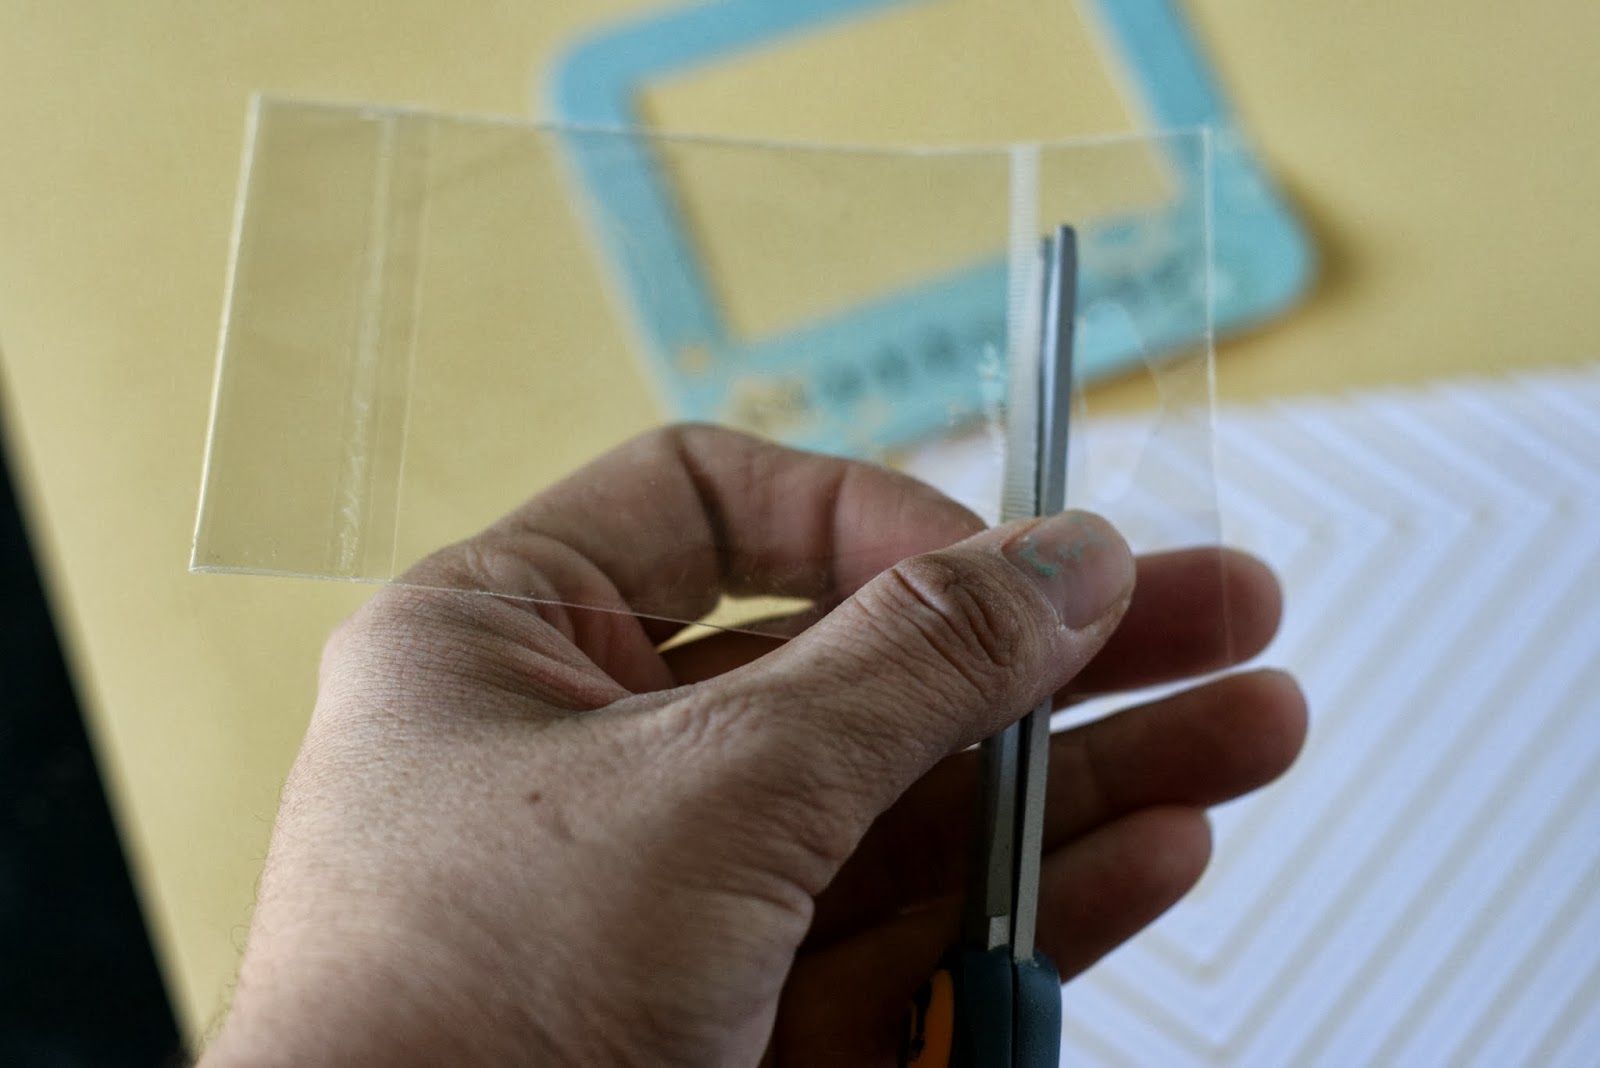
Remove contents of package. Cut the ends of the package:
Adhere to the back of your tag. Leave the open side with out adhesive!!
  adhere your tag to some pattern paper (again, leave an opening). I used the Amy Tangerine paper:

Now you have a pocket!! You can slip money or a gift card in your holder!
 Thanks for stopping by! Have a great week!

Thursday, October 10, 2013

Miss Emma Bear

Hi everyone! I'm sharing another layout using the great Miss Nelson kit.  I think the colors in this kit really appealed to me because I've made 2 scrapbook layouts about myself, which typically happens never haha.  This one features photo's of myself and my doggie, affectionately nicknamed Miss Emma Bear, from last summer.


I used the white distress marker to outline the speech bubbles and then LOTS of those embossed stickers for embellishments.


That's it for today ladies! If you've signed up for my class (you have right??  If not there's still time!  Sign up here!) you can expect an email within the next week linking to the Facebook page and distributing the first Chapter :)

-Cassie

Monday, October 7, 2013

Jar of Thanks!

Hello!!

This year seems to be flying by! I can't believe it's October! Right around the corner from Thanksgiving! Each year I make a thank you jar for my son's teacher. I usually place her favorite candy in a Mason jar and tie a gift card to a coffee shop around the top. It's a small token of my appreciation!

This year I got a head start with the jar:

I used all items from the Miss Nelson kit. Thanks for dropping by!!

Thursday, October 3, 2013

Fussy Cutting with Miss Nelson

Hi everyone! I'm stopping by today to share a layout I made using the Miss Nelson kit (Project Life kit is still available!) that uses lots of fussy cutting.

 I loved the MME patterned paper in the kit with the beautiful roses on it so I decided to cut them out and use them on a layout.  Fussy cutting was a technique that took me a while to understand but once I figured out the principle it came pretty easily to me.  The key is to keep your scissors as open as possible while moving the paper through it.  I use a pair of Tim Holtz scissors to fussy cut which are easy to hold and super sharp, they've worked perfectly for me!

  I embellished with some spray mist, enamel dots, bows, and circular photographs


So there you have it! The unique shapes of those flower bunches make my layout look much more dynamic and interesting.

In other news- we still have spots in the upcoming Masquerade Mini Album Class and some coordinating class kits available.  If you're wondering what sort of techniques I'll be sharing with you I'd like to tell you here (photo sneaks are coming soon!).  I will be constructing 2 mini albums in the class: the videos will feature a Halloween themed mini and the PDF instructions will feature a "Summer in Review" mini, both using Noel Mignon kits of course!

Chapter 1: Introduction and supplies
Chapter 2: Constructing your mini album from a cardboard box and creating sturdy pages
Chapter 3: Specialty Pages using supplies like burlap, vellum, paint, punches, etc
Chapter 4: Flip Albums: two different types of albums and closure ideas for containing flip albums within your mini for extra photo real estate
Chapter 5: Embellishment Techniques: ideas using journaling cards, tabs, making your own envelopes, and more
Chapter 6: Designing Your Cover: creating a unique burlap flower and a ribbon closure for your album
Chapter 7: Final thoughts and album walk throughs

And of course there is a giveaway of an Evening Stroll Noel Mignon kit to one lucky particpant who purchase both the class and the kit.  What's not to love?!  Make sure you sign up :)


-Cassie

Monday, September 30, 2013

Awesomeness!

Hello!
Veronica here using Miss Nelson! This is an insert into my Project Life album. I am SO behind on this project, but I refuse to give up! Here is a week in MAY!! Yes, I know.... I used the Amy Tan paper, some free cut files on the CT blog, SC and MME labels, sequence and some enamel dots from the previous kit!
Sometimes I get overwhelmed with size of Project life and so, I use sleeves from my Basic Grey Capture album. 
 Hope you have a great week!!!

Thursday, September 26, 2013

Charlie's First Haircut

Hi friends!  Here's my latest layout using the Miss Nelson kit, which I have fallen in love with.  I made 4 layouts in ONE weekend using this kit, which might be a new record for me and my super slow scrapping abilities ;)

 These pictures are from about a year ago, and back then I saved a cute little curl of my son's hair.  I went to retrieve it (I had been carrying it around in a pill dispenser in my purse like a weirdo) and found it had become all tangled together.  So I retrieved what I could and used a staple and some Gloo to adhere it to the layout.  There's actually a bit more than what it looks like in the photo, some of the thinner strands didn't photograph.
 I loved the washi tape to add a dark frame for the upper and lower halves of my layout, plus it made all the pinks I was using a bit more 'masculine'.


And for any of you that haven't signed up for the Masquerade Mini Album class- you should!  There will be fun giveaways offered and it will be full of lots of great ideas.  If you bought the kit remember to save your boxes ;)  I just got my kit in the mail and LOVE it!


Monday, September 23, 2013

yummy

Hello Hello!!

I attended an all day crop this past Saturday. I had no idea HOW much fun they are! wow!! I'm currently fighting a cold. I'll keep this short and sweet. I've been using the Miss Nelson kit in all my projects I'm still in love. Here is this week's page;


Thursday, September 19, 2013

Selfies and Tassles

Hi friends! I'm so sorry for the late posting today- I was having computer issues last night and didn't realize the photos didn't upload until this morning and I was at work so I couldn't post them....ugh! 

Anyways, I'm here today to share a fun technique to try with the awesome paper twine that came with the Miss Nelson kit (sorry, sold out!).  There are so many possibilities with this fun supply-- and I didn't even know it existed! That's why Noel's kits are the best :)  I decided to make mini tassles using the twine and they were so easy. I simply cut an inch and a half of the twine, tied a knot in one end, fanned out the other end and snipped it with some scissors.  Easy peasy! 


And don't forget, if you like fun techniques check out my Masquerade Mini Album class with coordinating kit :) Available now to add to your boxes!  Click HERE for the kit and click HERE to purchase the class


Tuesday, September 17, 2013

Hello, Quiet Days


This is one of those layouts that has been "percolating" for a while. The journaling is me, trying to be honest and true, along with a reminder to myself to savor this time. (Scroll down if you are interested in reading the journaling!)


To create the title, I used my handy dandy Silhoeutte machine and then added to it with one of the awesome chalkboard style labels in the Miss Nelson kit. I love the contrast between the black and the pastels! To make the "shadow" effect behind the word "days," I used the distress marker first, and then went over it with a white gel pen. 


I was inspired by a layout my friend (and former DT member) Leslie Ashe created a few weeks ago and wanted to do a BUNCH of hearts. I love how they look layered on top of the scribble and paint splatters on the patterned paper. 


Y'all know I love my sequins, and these added just the right amount of random sparkle to the dots on the paper. :) 


Journaling reads:

"For a very long time, I have counted down the days 'til my oldest would be 8 and my baby would be 4. In my head, that would be the perfect equation of ages. they would all be roughly interested in the same activities, there wouldn't be nap times to contend with - nor diapers and bottles. I  had longed to be a mama for so long and babyhood turned out to not be my forte`. 'When they're older,' I thought, 'THEN I can have a handle on this whole mama thing.' (Ha!) I suddenly realized that the ambiguous "then" is all of a sudden NOW. My loud days are now quiet mornings with one little girl at home. Lord, let me embrace the NOW with a passionate and brave heart. I don't want to miss a minute of it." 

Monday, September 16, 2013

Sweet Little Girl

Hello Noel Mignon fans!!
I'm here with another layout. I an IN love with this kit. The colors are just...spectacular! Can't say it enough! I was hoarding the frame tag that cam in the Miss Nelson kit and decided to use it this time:
I have never used gelatos. I was dying to perk up the card stock in Miss Nelson. You can find gelatos at any craft store


Monday, September 9, 2013

Hidden Journaling

Hello!! 
Veronica here using the GORGEOUS new main kit for September- Miss Nelson!! These colors are perfect for everyday scrapbooking! I know they are all out but Noel still has some Pl kits left and they are similar in colors!! So here is my first layout using Miss Nelson:
I usually add hidden journaling somewhere. I am VERY private with the words I leave behind. I am not sure why. lol I love to find neat and simple ways to hide my thoughts on layouts. Here is a quick and simple tip:
 Simply add some washi tape to the top of your photo instead of adhering your photo to the paper. This way it can flip up. Then you can journal on a card or on the paper under the picture!
Hope this gave you a new idea! :) Happy creating!!

Tuesday, September 3, 2013

"I love you to the moon and back" canvas- using the Project Life NM kit


I received the Miss Nelson Project Life kit this month (there are a couple still available!) and instead of using it straight in my album, I decided to get crafty with a little canvas for one of my daughters. 

The great thing about the PL kits is that they really can be used for lots of other things- great for cards, mini albums, home decor projects, and lots of other things! 

This week's theme, to go along with our illustrious Miss Nelson , is to be inspired by children's books! As I was pondering this theme and trying to decide which direction to go in, I flipped through the kit and realized one of the PL cards had a quote on it from one of our favorite bedtime stories, "Guess How Much I Love You." 


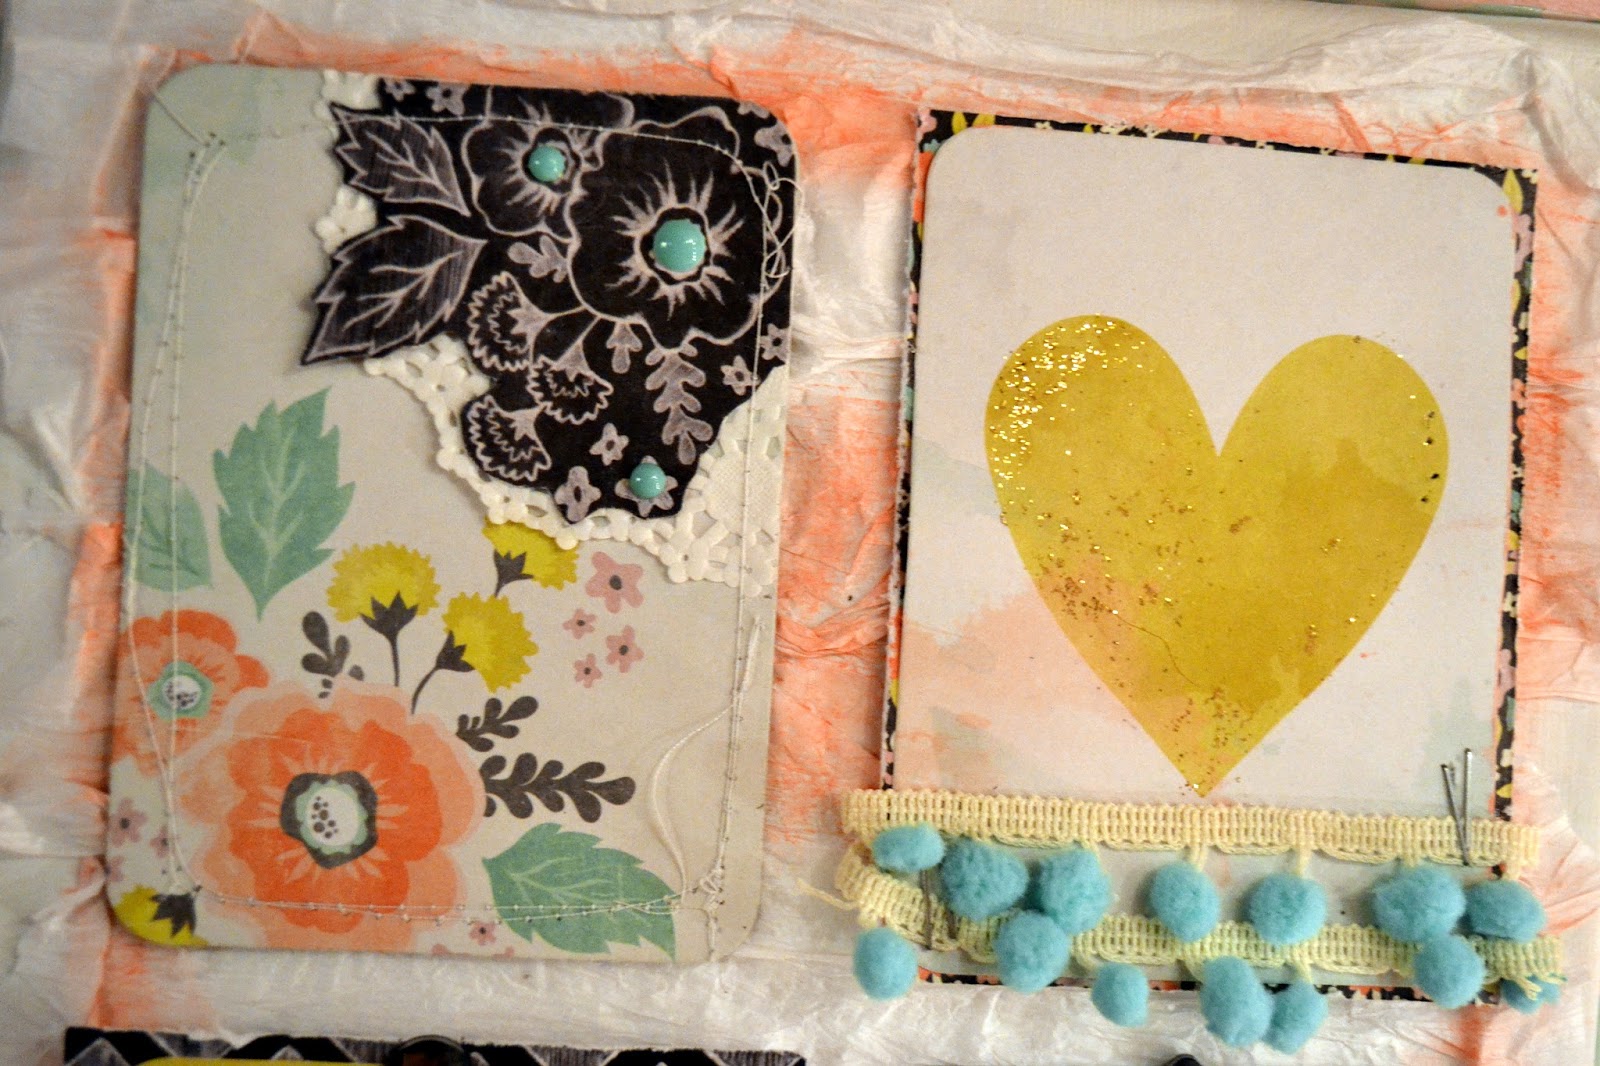
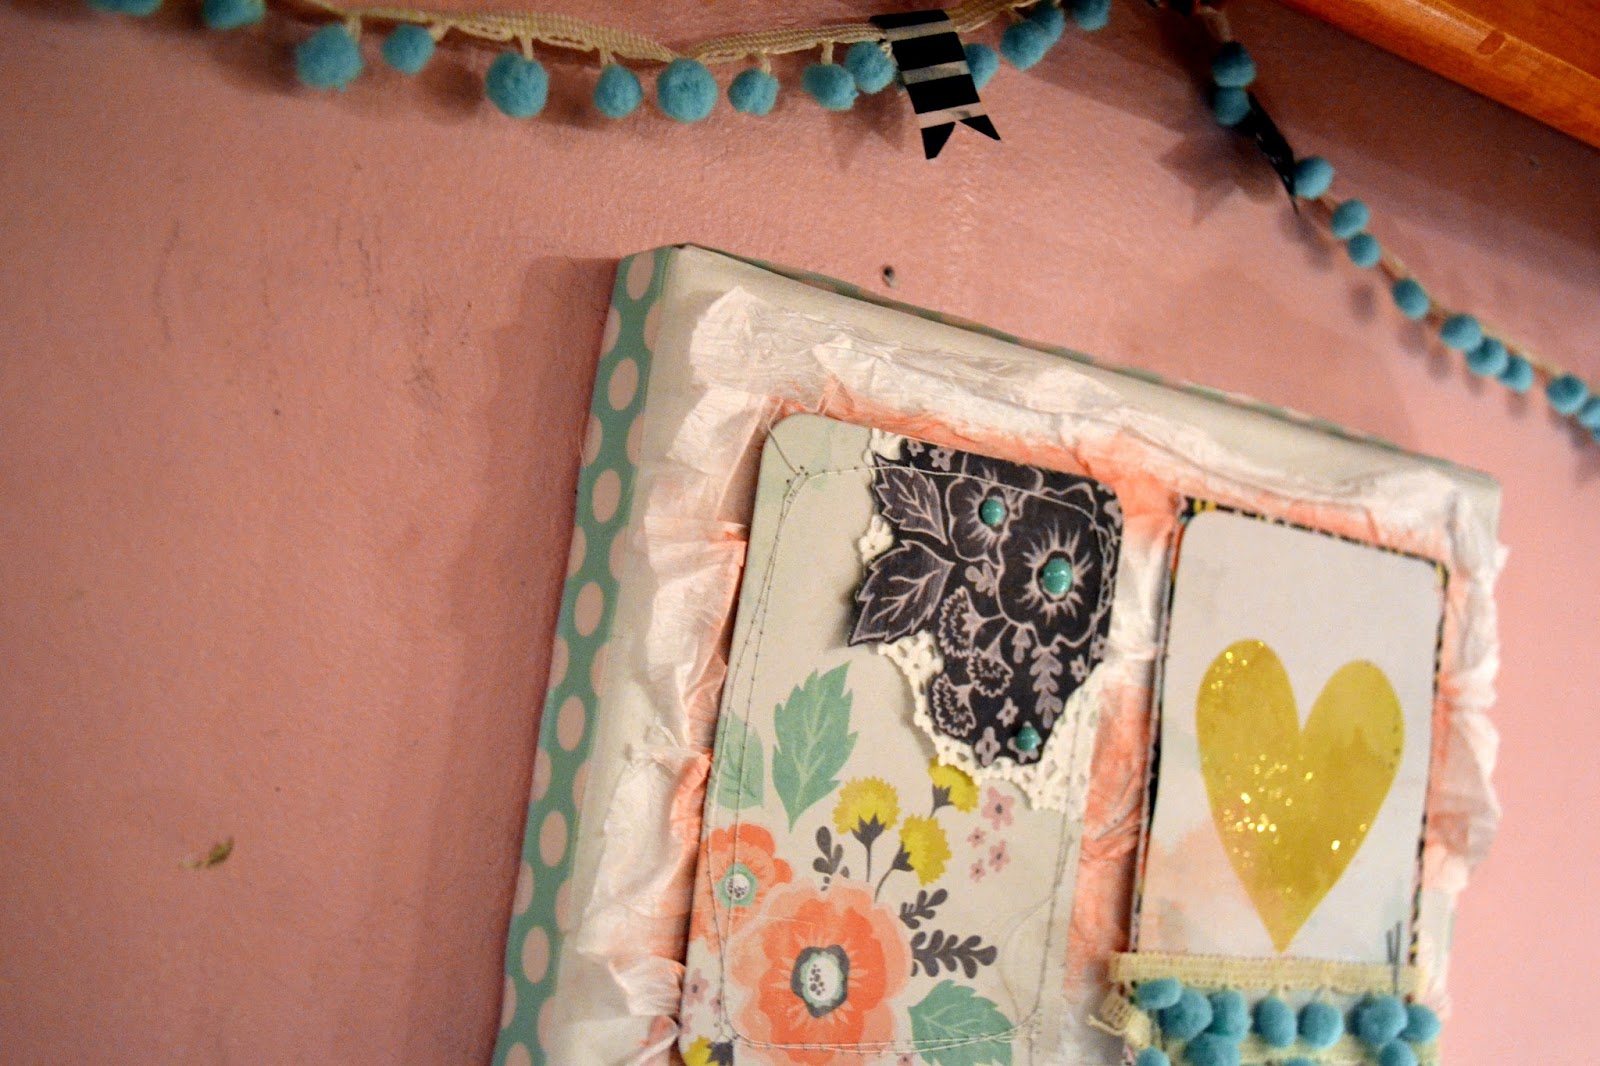
One of the other favorites from the main kit this month was the Maya Road Paper Twine (you can grab a whole roll of it in the store if you are addicted to it already like I am!). I unraveled some of it for the background of my canvas, and then used some blush colored gelatos to softly paint on it. I love the feminine look it has! 


I added a few things from my stash- pom pom trim, enamel dots, rhinestones for sparkle... 


The edge of the canvas is wrapped in the cute polka dot tape in the kit! LOVE it! 


I think she'll like it! :)