I LOVE the huge variety of papers and embellishments in the Noel Mignon kits so much---today I want to share with you how I organize and match my printed photographs to the kits...
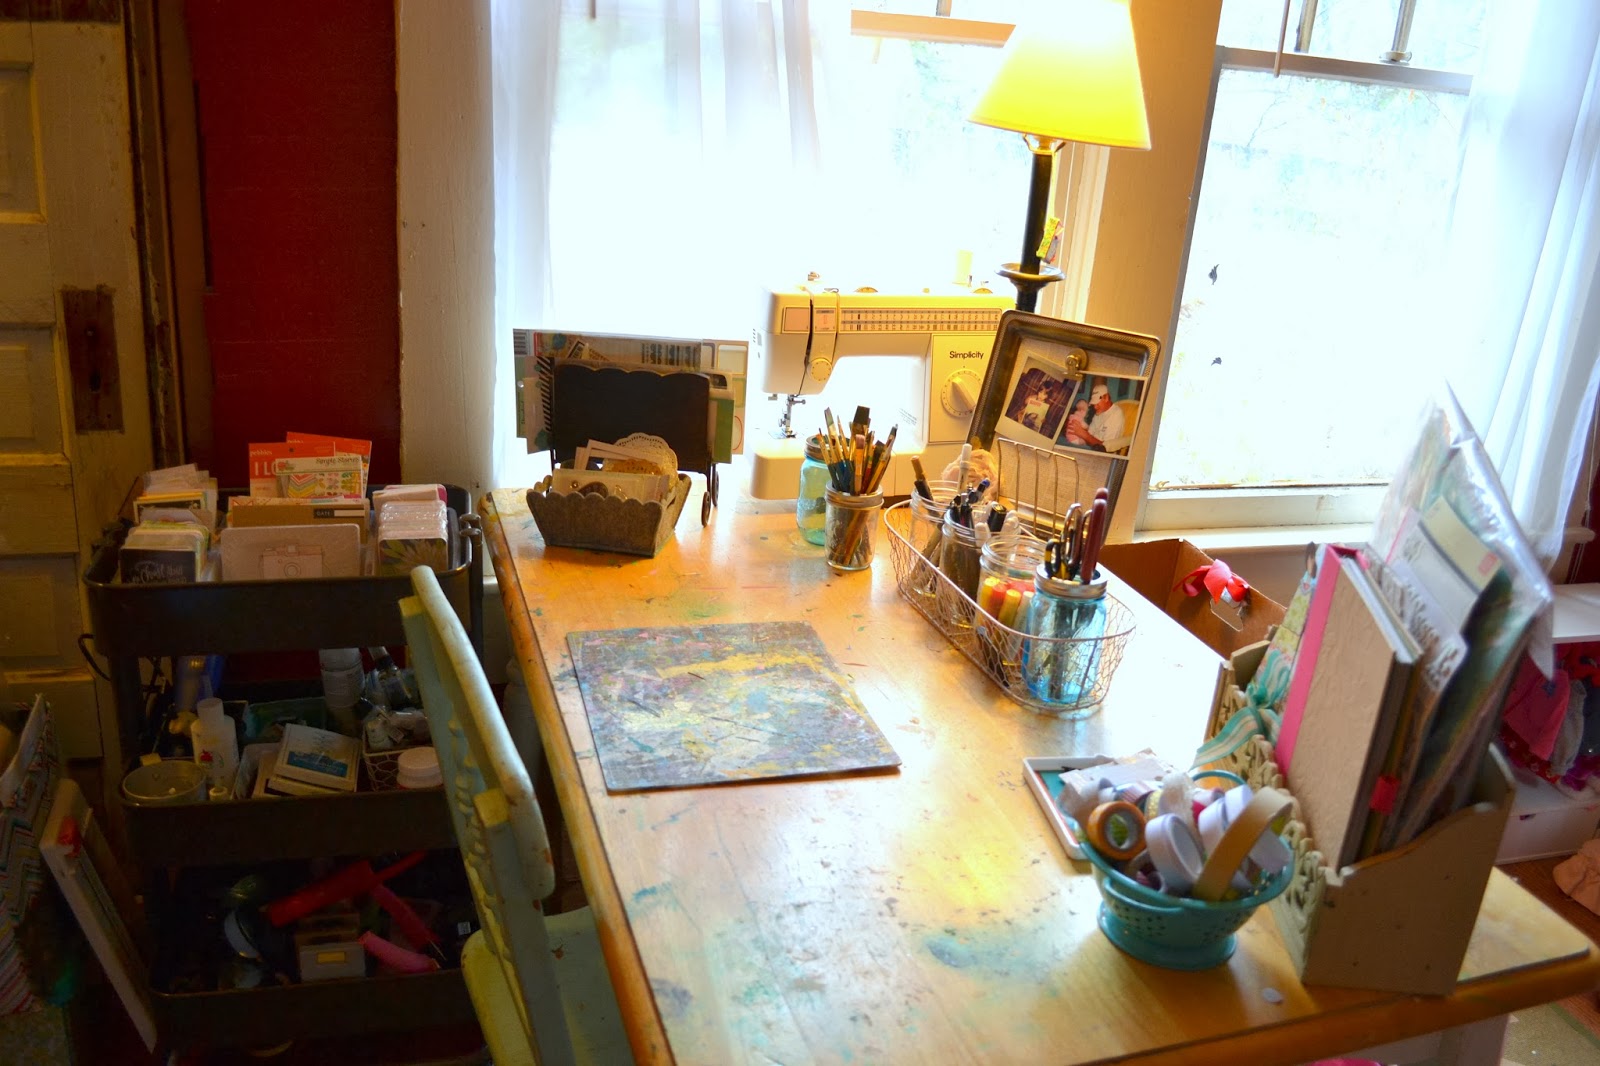
Each month after I stalk the mailman waiting for him to deliver my NM kit...I tear right into that box!
First, I pull everything out and study every piece of paper and embellishment---oohing and aahing over every last bit.
Next I face each paper so my favorite side is facing up.
Then I start dividing up the papers into 2-3 "mini kits". I divide them according to smaller color schemes and include 5-10 papers and some of the embellishments. I realize that everything in the NM kit coordinates---but I force myself to create smaller "kits" so that I can match pictures up easier. For example, this is the entire January 2016 "Sweet Charlotte" Classic Kit...

and here are the 3 "mini kits" I created...

I also have the following embellishments left over that I feel can go with all 3 of the "mini kits"...

Next I choose photographs that best match the color schemes of each of the "mini kits"
Mini Kit #1:

These are 6 sets of photos that I felt matched the colors in this mini kit...


Mini Kit #2:

These are the 3 sets of photos I thought matched these papers the best...


Mini Kit #3:

And here is a set of photographs that I feel matches the color scheme of these papers...

I will add my own solid cardstock to use as the base paper for each layout, I choose that cardstock as I create each individual layout. I may decide to pull papers, scraps, and embellishments from one mini kit to use in another. This initial breakdown just helps me get started so I'm not overwhelmed with 25+ pieces of paper to match photos to.
As you can see, I have enough sets of photographs to create 10 layouts using this month's kit. I know I will have lots of leftovers. Depending on how productive I am this month, I may go back through my prints and pull some more coordinating photos. It really depends on whether or not I scrap all 10 of these layouts within the next month.
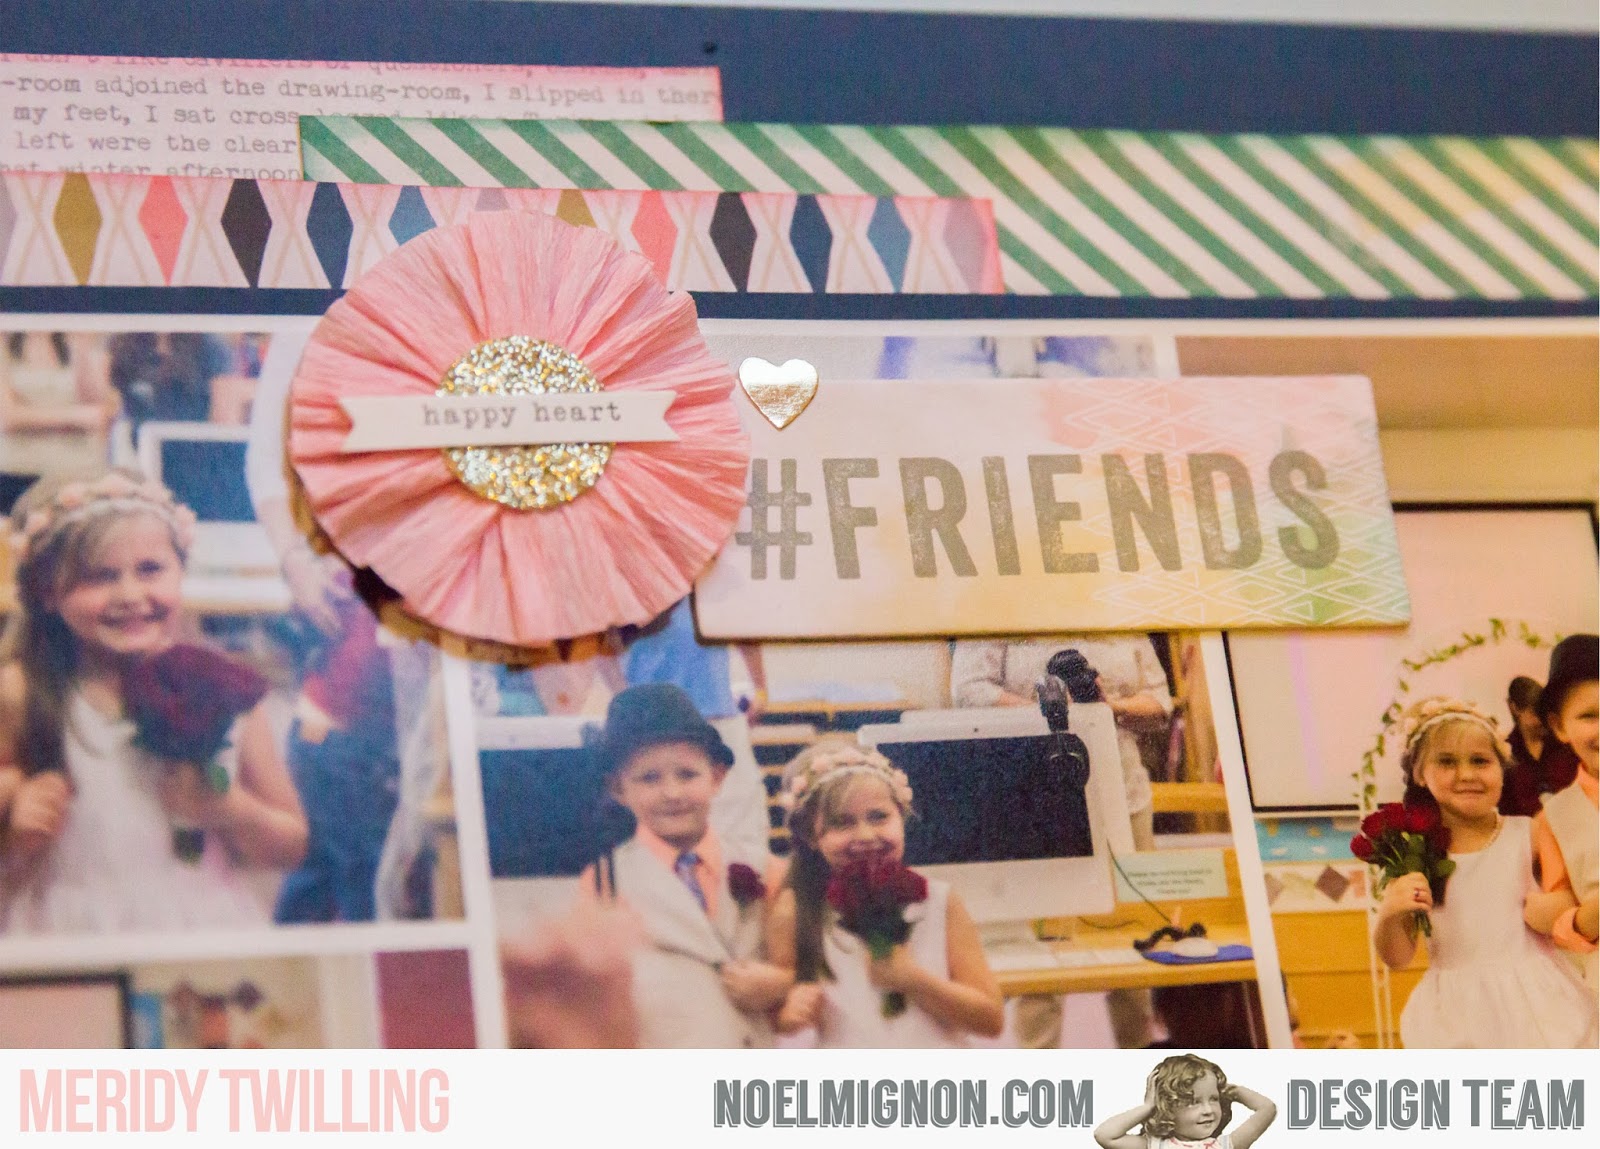
Here is the first layout that I created with the "Sweet Charlotte" Classic Kit...


I like the way the title came out using the random fonts and one of the tags from the kit. The "&" sign is something I had to pull from my stash. To pull the random fonts together for a cohesive look, I backed the Q and the U with the same color coral paper (from another tag in the kit) and cut them out.

I fussy cut the little bouquet of flowers from one of the papers in the kit and added a floral sticker to create this little embellishment cluster...

Just a few embellishments pulled together here, a sticker, chipboard, and a crate paper medallion created a cluster with dimension and texture on the layout.
Thank you for joining me today! Check back here every day this week to see some of the other "organization" tips that our design team is sharing!!!