So the new Vinyl Appliques that are available are so fun and cool looking, but I'll admit, I was a little overwhelmed by the huge instruction sheet that accompanied them. So I dove in and figured them out so I thought I would share how really easy they are to use! Step one - Cut out your desired shape Step 2 - turn you shape upside down on a hard surface and rub it hard like you would a hard to apply rub on. Step 3 - Peel the backing off the vinyl shape Step 4 - Place you shape sticky side down where you want your shape applied. Step 5 - Rub you shape on with moderate force into place like you would a normal rub on. Step 6 - Check out your cool vinyl applique!! :)
Hey guys! Today I want to talk about adding different elements to your scrapbook pages. Here is an oldie for me but I still love it. On this LO, I used several different techniques and that really made this one fun for me.
I printed on a transparency all the different words that described Kayla. I also added her name throughout the words in different fonts, so it wouldn't all look the same. Printing on transparency is REALLY easy and it's a good way to add subtle touches to your pages. I use Hammermill Transparencies and they work REALLY well. I always print on the rough side and depending on the boldness of what I am printing, I will print in draft mode. I have an Epson R1800 printer. It can be difficult to attach transparency, so here I decided to use eyelets and ribbon. It's anchors it to the page, but still gives me some texture. I also added ribbon to the strips of paper under her photo to tie it all together.
I also incorporated, inking, and sewing. It adds small touches without overpowering the LO. That is one thing you have to be careful of when using lots of different techniques. Not to take away from the photo or your story. And that is it :-)
Little things (even when working with a few different techinques) can add a lot of wow to a LO!
ALTERING PHOTOGRAPHS FROM COLOUR TO BLACK AND WHITE
I know there are many different software programs that you can use to alter photographs from colour to black and white. For the photographs that I have modified I have used Picasa2®. Something fun to do is to predetermine the specific topic for your layout (a focal point) and emphasize just that explicit item. For instance, in the example below I decided to accentuate the importance of my son’s birthday and his ‘coming of age’. I altered the entire photograph to black and white, except the glass of beer, to make his beverage stand out. Every time I look at the picture my mouth waters for an icy cold brew !!
In another layout I used a larger black and white photograph (5” x 7”) and I then took the exact same photo, but utilized a smaller size (4” x 6”). I like how this layout turned out, using the same shot, and I don’t think it looks like it’s been duplicated.
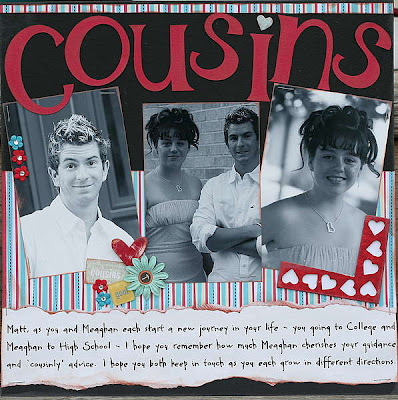
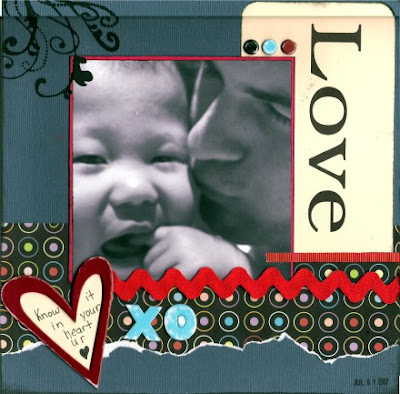
In this next layout I altered the entire photograph to black and white as I felt colour was dominating the layout. I also think that using black and white made the arrangement appear more formal, which suited the occasion.
Another example of using a black and white photograph is this layout. I altered the photograph to black and white so I could use fun bright colours without losing the intent of the photograph. I put a flower in my subject’s hair which I think stands out much better in a black and white photograph.
A few additional illustrations of using black and white photographs with my subjects left in colour are below ...
For me, a bonus in altering colour photographs has been varying photographs of my Grandson Ben. Ben has encountered bouts of eczema on his face and when I alter the photographs to black and white the rash magically disappears. Take a look ...
Final examples of when I have altered my photographs to black and white is when I have worked with a slightly out of focus photograph. These next photographs were some of my favourites; but they were out of focus. I wanted to include them in my Scrapbook, and I found when I altered the photographs to black and white the clarity improved and I was able to use the altered photos to produce quality layouts.
In closing, I hope my examples have illustrated the successful outcome of altering colour photographs to black and white. By manipulating your photographs you can open doors to new and exciting layout scenarios. Altering colour photographs helps to emphasize your subject without using embellishments or other additions that take away from the actual purpose of your layout. Remember - it's not just laundry that should be separated by colour !
Here's another LO using papers, stickers and alphas from the Sassafrass Lass Robotics paper pack. The rik rak is from the BasicGrey Gypsy ribbon pack. When my dd wore this tee to school her P.E. teacher tried to bribe her with good grades if she would give him her ticket!
Love the patterns, colors and robots in the Sassafrass Lass Robotics paper pack! Although I have a lot of sports photos waiting to be scrapped, this pic of my husband lazily playing the Wii cracked me up, so I went with it for the challenge. The American Crafts blue "giggles" Thickers seemed appropriate too. lol