Wednesday, September 11, 2013

A couple of cards

Good morning!
I've got a couple cards to share with you using some of my scraps from the "Our Summer" kit


I am kind of obsessed with that red & pink chevron paper from Fancy Pants.
I think I have ~1/4" scrap of it left...but I am not throwing it away!!
:)
I added some patterned paper behind the openings in the "Os" and "R" in the sentiment. 
I thought it helped the chipboard letters stand out better against the chevron paper.  


Then I got a little more colorful on this card and pulled out my trusty butterfly punch!
{i could not find it for a couple of weeks and i was pretty devastated}
:)


Aren't those candy dots from Queen and Co. so fun?? 


Thanks for stopping by the blog today!
:)

Monday, September 9, 2013

Hidden Journaling

Hello!! 
Veronica here using the GORGEOUS new main kit for September- Miss Nelson!! These colors are perfect for everyday scrapbooking! I know they are all out but Noel still has some Pl kits left and they are similar in colors!! So here is my first layout using Miss Nelson:
I usually add hidden journaling somewhere. I am VERY private with the words I leave behind. I am not sure why. lol I love to find neat and simple ways to hide my thoughts on layouts. Here is a quick and simple tip:
 Simply add some washi tape to the top of your photo instead of adhering your photo to the paper. This way it can flip up. Then you can journal on a card or on the paper under the picture!
Hope this gave you a new idea! :) Happy creating!!

Saturday, September 7, 2013

I'll Love You Forever

Hi everyone!! Amanda here today with my first post as guest designer!! First off, I just wanted to tell you all how much fun I had playing along during the Summer Camp week!! You guys are some of the sweetest people I have came into contact with in the scrapbooking community, and the talent! Wow! I was blown away, and super inspired that entire week! :)

When the ladies here told me about the book theme week, I had so many different ideas come to my mind. So I instantly went to my pile of "to scrap" photos, to see what inspired me, when I came across a photo that a friend had caught of my son and myself, I knew what I wanted to do.

 
Who doesn't love this book? When I stumbled across that photo, it easy conveyed everything it made me feel, about the photo, the stage he is in now, and what I know is to come in the future. This little guy is beyond words wonderful, and no matter how rotten he gets sometimes, and let me tell you he can be rotten, lol, he is always going to be my baby...even when he doesn't want to be! ;)
 
So of course, the famous lines from this book made for a perfect title to go along with my photo.
 
 
I loved all of the greens, blues, and yellows in the Our Summer kit. So I focused mainly on items that used those, though I couldn't resist adding some pops of red and pink! :) I kept this pretty simple, I really wanted to photo and title to be the stand outs in the layout. Lots of layering brought the photo up front and center, and I loved that the little "2" veneer made it into my kit. Perfect! :) I am having so much fun creating with this kit, and can't wait to share more with you throughout the month!
 
Have a great weekend!!!


Friday, September 6, 2013

On Being The New Kid

Hello everyone!!  Continuing on with this week's theme of children's books, I have a layout to share about how my son's current fave helped him at school :)  In addition to the theme this week, I decided to challenge myself even more by limiting myself to using only paper - yep, you heard me right, just paper!!  No pre-made bulky embellishments or tags or enamel dots or buttons.  Don't get me wrong, I LOVE all those things, but I decided to use only the Miss Nelson main kit papers and see what I could come up with.  I did throw in a bit of stitching and of course tools from my stash to help me out :)

 photo onbeingwall_zpsaa5097d7.jpg

In the white space, I decided to use my Silhouette and cut multiple arrows in white.  I layered the tone on tone and stitched across the rows.  The word bubble you see is cut from one of the patterned papers. I then used my Silhouette to cut the arrow circle.  I typed "the story" on white cardstock & then cut the ends to resemble a mini banner.

 photo onbeingcu2_zps06d3204a.jpg

The aqua file folder opens up to display my journaling.  The small arrow you see at the bottom is cut from one of the patterned papers.

 photo onbeingcu1_zpsf1a208bf.jpg

For the title, I cut out the "on being the new kid" with my Silhouette and then backed it with black cardstock.  Above the title I have a border strip stating "today" multiple times.  This was cut with my Silhouette as well, and then stitched down.

 photo onbeing3_zps9775f84a.jpg

Thanks so much for stopping by!!  Feel free to upload your own children's book themed layouts to our Facebook page!! We'd love to see what you come up with :)

Thursday, September 5, 2013

A Tribute to Miss Frizzle

Hi friends!  In honor of our children's book week I decided to pay tribute to one of the favorites in the Cyr household- Miss Frizzle!  I loved the Magic School Bus books as a kid (I'm pretty convinced it's what got me into being a scientist in the first place) and now that the TV episodes are on Netflix my 3 yr old has become OBSESSED with them. The first few episodes were really fun to watch, but fast forward 2 months and I'm getting quite sick of them and dancing along with the theme song haha.

Anyways I decided these photo's of my son, who happened to find a XL bottle of baby powder while he was supposed to be napping one day, were perfect for Miss Frizzle's motto "Take Chances, Make Mistakes, Get Messy!", because he sure did make a mess!  A cute mess, but a big one ;)


I used the oldie but goodie, Jack and Jill, to create this layout...the reds and blues in the kit were just perfect for these photos.  I decided to go with the "messy" theme and distress the edges of all the papers, as well as create some layered embellishments with stickers and brads.  I also got my Miss Nelson kit in just enough time to add a little detailing using the AWESOME white distress stain marker. WOW, that thing is so cool! I had never used one before, it was like writing with invisible ink.  That baby is gonna be put to work for sure.


Also, did you happen to see Noel's little sneak yesterday?  This isn't the next monthly kit, but a little sneak of a special project we have coming up for October- what do you think it'll be?

Happy Thursday friends!


Wednesday, September 4, 2013

The Babysitters Club

Hey there and good morning!
In keeping with the theme this week, I too have made a layout that somehow incorporates children's books. 
Well I used the "Our Summer" kit to make a page about some of my favorite books growing up. 
Anybody else read the The Babysitters Club series??!


I loved these books!
I remember there being like at least 40 books in the series. 
And this girl read them all!
They were so fun to read and quite educational if I do say so myself!
:)
Here are a few detail shots of the page...


Thanks for stopping by the blog today!
:)

Tuesday, September 3, 2013

"I love you to the moon and back" canvas- using the Project Life NM kit


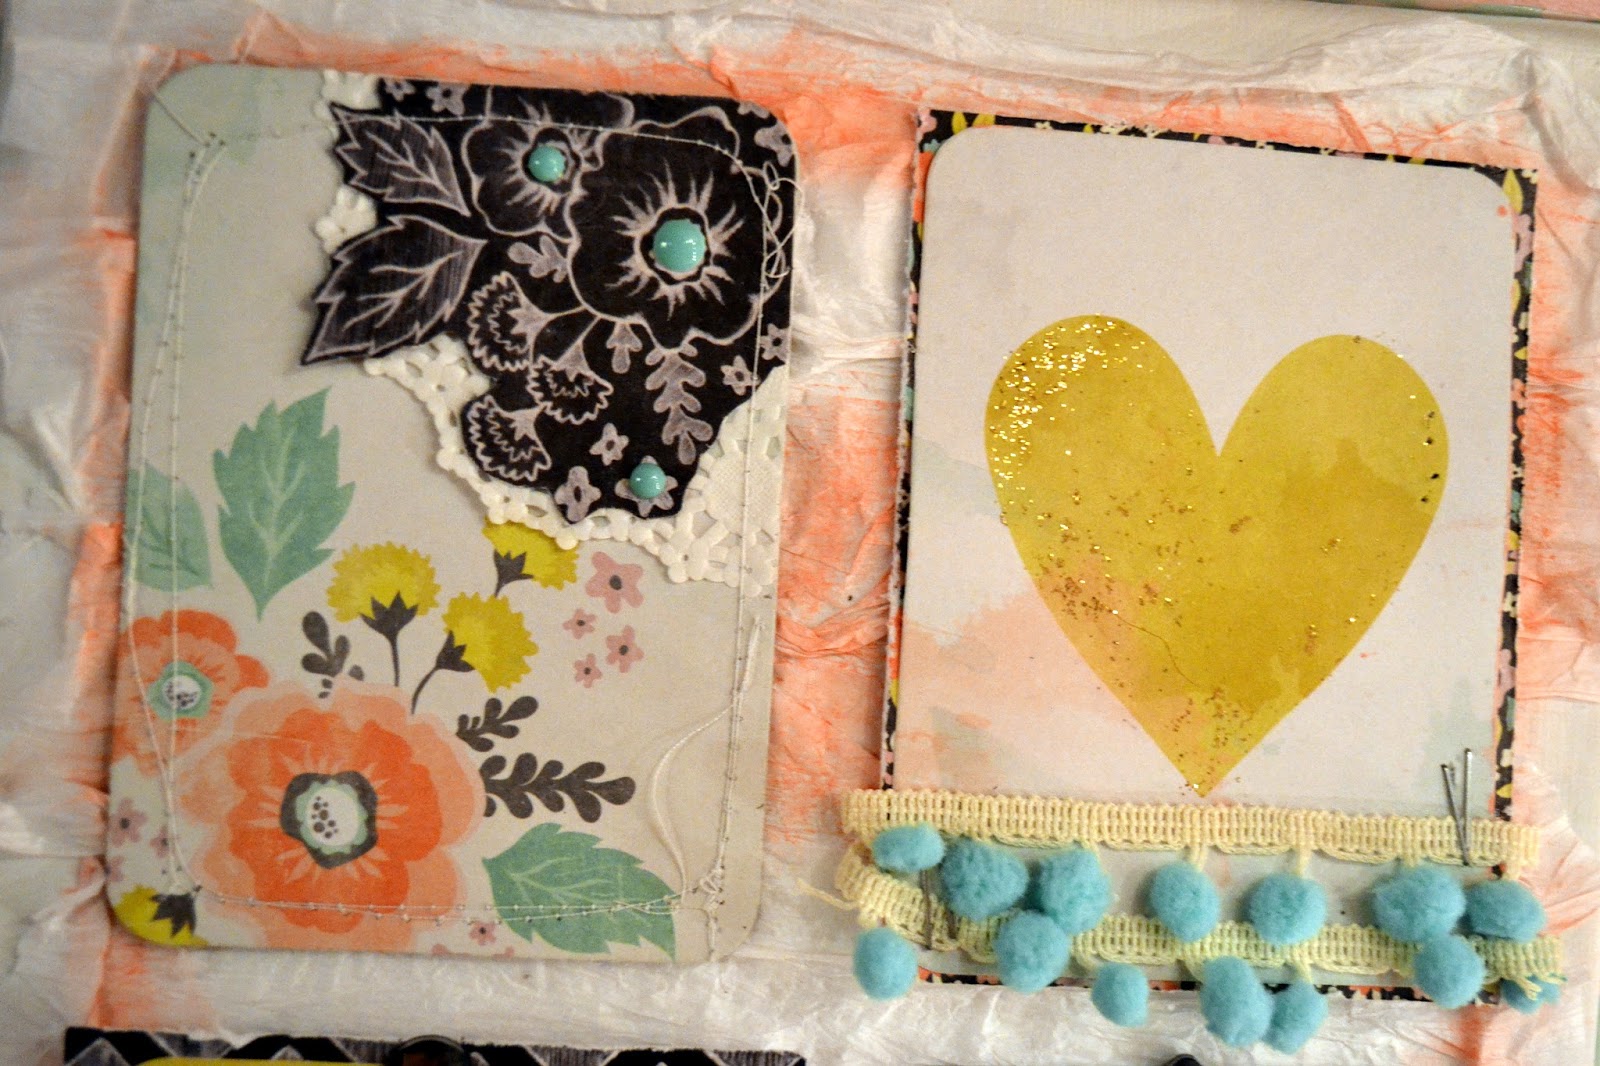
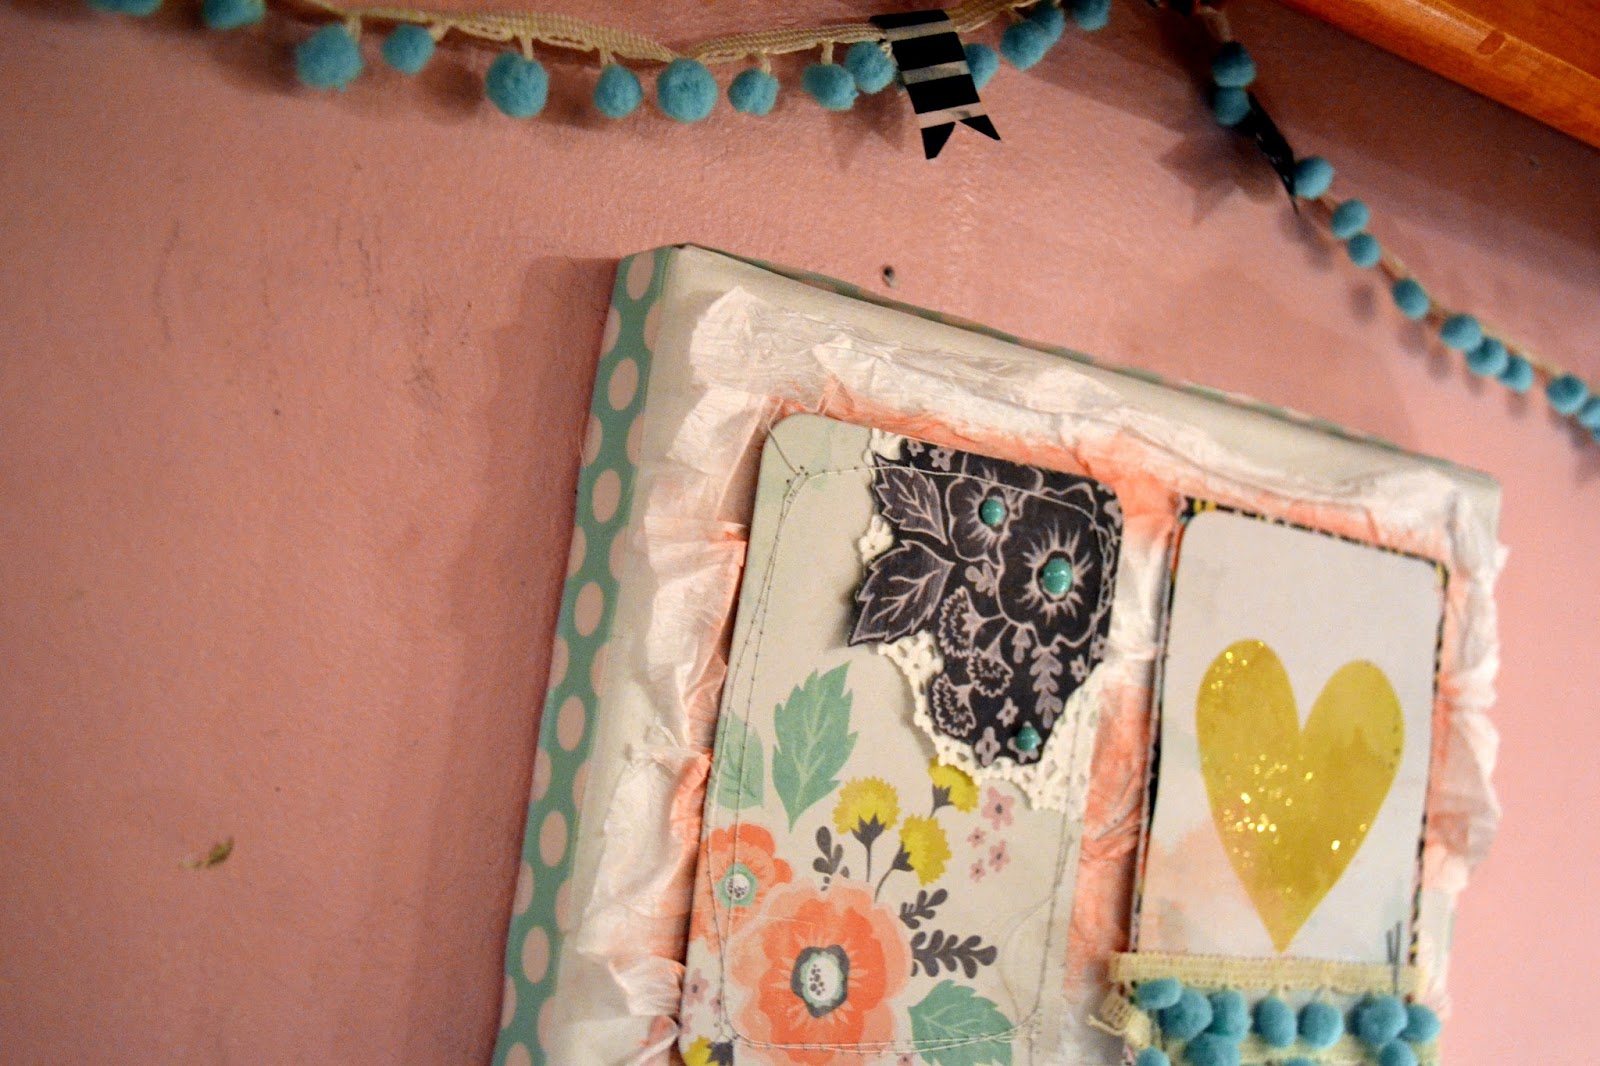
I received the Miss Nelson Project Life kit this month (there are a couple still available!) and instead of using it straight in my album, I decided to get crafty with a little canvas for one of my daughters. 

The great thing about the PL kits is that they really can be used for lots of other things- great for cards, mini albums, home decor projects, and lots of other things! 

This week's theme, to go along with our illustrious Miss Nelson , is to be inspired by children's books! As I was pondering this theme and trying to decide which direction to go in, I flipped through the kit and realized one of the PL cards had a quote on it from one of our favorite bedtime stories, "Guess How Much I Love You." 


One of the other favorites from the main kit this month was the Maya Road Paper Twine (you can grab a whole roll of it in the store if you are addicted to it already like I am!). I unraveled some of it for the background of my canvas, and then used some blush colored gelatos to softly paint on it. I love the feminine look it has! 


I added a few things from my stash- pom pom trim, enamel dots, rhinestones for sparkle... 


The edge of the canvas is wrapped in the cute polka dot tape in the kit! LOVE it! 


I think she'll like it! :)