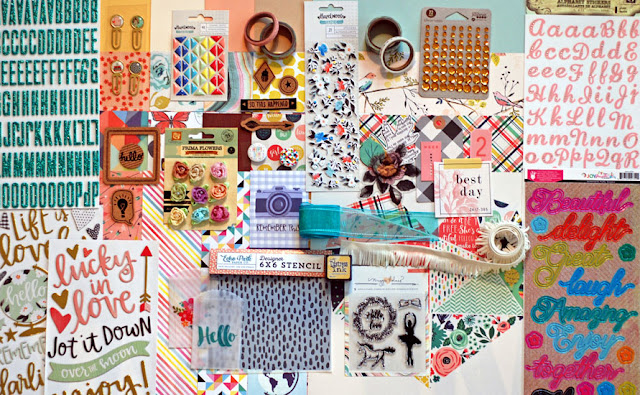
It's been awhile since I have published the kits over here. I need to get back in the habit of sharing them on this page again! So, let's get started with the January kits, shall we?! First up is the Little Bird Classic kit! It's a real beauty and super versatile, as you can see from the DT pieces shared over the past week.
Hey guys! Oh my goodness! I remembered how to do this whole scrapbooking thing! ;) It's been so long since I've been able to play with paper & glue, and man... it felt good. I am pumped to continue to create and get back to my creative roots. This kit was the PERFECT thing for me to do that with! It's got just enough stuff in it to get me excited to play, but it doesn't overwhelm me with choices. I can't wait to create some more today!
So it's been a while since I have printed pictures and such, and I began to get overwhelmed at what to choose to scrap. I started digging in my photos that I have stored in boxes and stumbled across this one of my dad and my son (who is now 10 1/2). My dad passed away 4 years ago and I don't have many pictures of him with my kids, so it was a bittersweet find. I knew this was the one I wanted to use!
The layout came together fairly quickly- I love to cut details out of paper and add hand lettering to my pages, so these were obvious go-to choices for me. I'm also a big fan of blues, greens, and yellows together, so the color palette was easy to choose from the Little Bird kit.
I loved the extra dimension this strip of epoxy accents added. You don't always have to use paper for an extra patterned punch on your pages!
Thanks for having me back, Noel! You've added a spark of joy I've been missing. :)
Hi there! Laura here today sharing my first layout using the January Little Bird kit. This month I am playing with the Daily Diary kit, typically put together for pocket style scrapbooking. Because I am not a pocket scrapper and do not wish to start this style of scrapping at this time, I challenged myself to create 12 x 12 layouts with my kit.
For my first share I did have to add in some cardstock to the kit, one piece to act as a base, and a second piece to create a die cut for my page.
Since we have started a new month and a new year, I decided to scrapbook about New's Eve a couple of years ago. My husband and I went out to a dance with some friends and had a great evening!
I started my page by creating this cut file, after that I added some water colour paint to my background. I created a sort of colour blocking look using three colours. Then I added some machine stitching. I wish my stitching was a little more straight but it is what it is!
I layered up some pocket and journalling cards under my photo to create a focal point, cutting one into a tag shape to create a bit of interest.
I knew I wanted to use this "hello" sticker as part of my title so I paired it with some number stickers to create "hello 2015".
I punched out the "enjoy this" from a pocket card, using a circle punch. Then cut the "beautiful moment" phrase from another card. I kept my embellishing to a minimum using only a few stickers and enamel dots, plus a couple of buttons form my stash.
I hand wrote my journalling and added a couple of hearts to accent it.
Then I decided my page needed just a bit more, so I cut another pocket card into a square, and then into two triangles, and added one each to two of my corners. Afterward, I stitched on some ribbon as a final touch.
I definitely had to be creative to use the kit for a 12 x 12 page, but I love the end result!
I also have a new process video today, you can watch the video for this layout below or here on my You-Tube channel.
Supply List: From the kit - Pretty Little Studios Belle and Mon Ami pocket cards; Fancy Pants Joy Parade journalling cards; Echo Park Just Be You alpha stickers; Simple Stories enamel shapes; Hazelwood shape stickers, date stamp and washi tape; May Arts pink silk ribbon. From my stash - American Crafts cardstock; my cut file; Leow's water colour paints; Sargent gesso; Heidi Swapp gold color shine; misc buttons; Annie's crochet thread.
Hello, Friends! Sherry here and I'm so excited to be sharing my first layout since joining the team! Today I'm working with the Little Bird Classic Kit; it is absolutely filled with gorgeous goodies. I was instantly drawn to Hazelwood (Quartz) and Gather (Jane) papers and used them as a starting point for my layout. Lucky for me, I had the perfect photo to work with these papers.
Since the Hazelwood paper is so bold, I started with white cardstock (from my stash) to add some white space to the layout. I cut small strips of paper, machine-stitched the strips, and pulled up the edges to add dimension and show the fun, black & white b-side of the paper. The photo is matted with salmon cardstock and the Quartz paper. I popped the matted photo up with adhesive foam. For the title, I combined the Gather Thickers and Fancy Pants die cut words. I adore the Hazelwood puffy flower stickers and scattered them throughout the layout.
I cut apart the Gather "Hello Love" stamp and stamped "love" on a chipboard heart and layered it over the wreath stamp and more puffy stickers. I love the versatility of the stamp set!
I added a strip of the adorable Hazelwood washi tape and my journaling to the bottom of the page. The layout is backed with EP Just Be You (Shine Bright) paper. I love how it compliments the Quartz paper.
Wishing you all a blessed and creative 2017; thank you for stopping by the blog!
Happy New Year everyone!! I'm excited to be playing with the Little Bird Daily Diary kit this week! My oldest daughter's birthday was on Monday so the kit was perfect for documenting that day.
I'm amazed I managed to put '2017' instead of 2016!!
I've mentioned in the past that I don't do the 'traditional' pocket pages, as in I don't do weekly spreads. I usually do my pages in 1 of 2 ways - 1) either I'm documenting a particular month and I'll do a left to right spread which will go in my family's scrapbook or 2) I'll document a particular event or trip and my page will be either just the front side or a front and back page so that I can slip it into whatever scrapbook it needs to go in.
In the case of this particular page I made today, it will go in my daughter's scrapbook mixed in with traditional scrapbook pages, so I made the page front and back so it can easily slip in her album.
I did a mix of color and black and white photos since some of my photos were taken at Red Robin where we went for my daughter's birthday dinner and the colors clashed big time and were a distraction on my page.
I also added a funny meme I found the day of her birthday and a photo of her and I after she was born. Amazing how time flies!!
Hello everyone! Nicole on the blog today for my first blog post. I'm so excited to join the Noel Mignon Team. Thanks again Noel for having me!
This month I received the Little Bird Classic Kit. When the kit arrived I quickly noticed the B sides of several of the papers were gold, black, and of the large dot pattern paper. The papers and the gold in the embellishments made me think of my sons school colors and his marching band uniform. The large dot paper even looks a little like the dot graphs they have to fill out when first learning a field show. Random I know since this kit has a very feminine color scheme and feel to it, but I will probably always find the masculine in any kit since I'm the only girl in my household. ;)
The title is a combination of chipboard and computer printing. I used the ink and stencil from the kit to imitate rays around the top of the title/journaling block.
I love to include little clusters of embellishments around my layouts. Items that help tell my story, but could seem out of place. In this little grouping by the main photo I included a butterfly cut from pattern paper, a small piece of the fringe ribbon, and a floral die-cut. The die-cut and butterfly symbolizing growth and the fringe reminded me a little of his marching band hat.
As a finishing touch I sprinkled some of the gold sequins into the the two embellishment clusters and back to my title to make a triangle around my layout.
Thanks for stopping by the blog today and hope you are all enjoying the beginning of 2017!
Happy New Year!!! It's Meridy here and I am happy to start the new year working with the brand new "Little Bird" Daily Diary Kit. And boy, oh boy, is this kit cute!!! And of course, packed with goodies!!!
Working with a Daily Diary Kit this month is a bit of a change for me from working with the Classic Kit. But I love switching things up and trying something new, so I am creating full speed ahead with this kit. In addition to the Daily Diary kit, I am also using the Paper Pack from the Classic Kit his month. The Paper Pack comes with one sheet of each of the patterned papers (15) and cardstocks (5) that come in the Classic Kit.
Today I'm going to share a 12 x 12 double page layout that I created with the Daily Diary kit. There are so many great journaling cards, cut apart papers, and embellishments in the Daily Diary kits that making a full 12x12 layout is just one of the many creative possibilities.
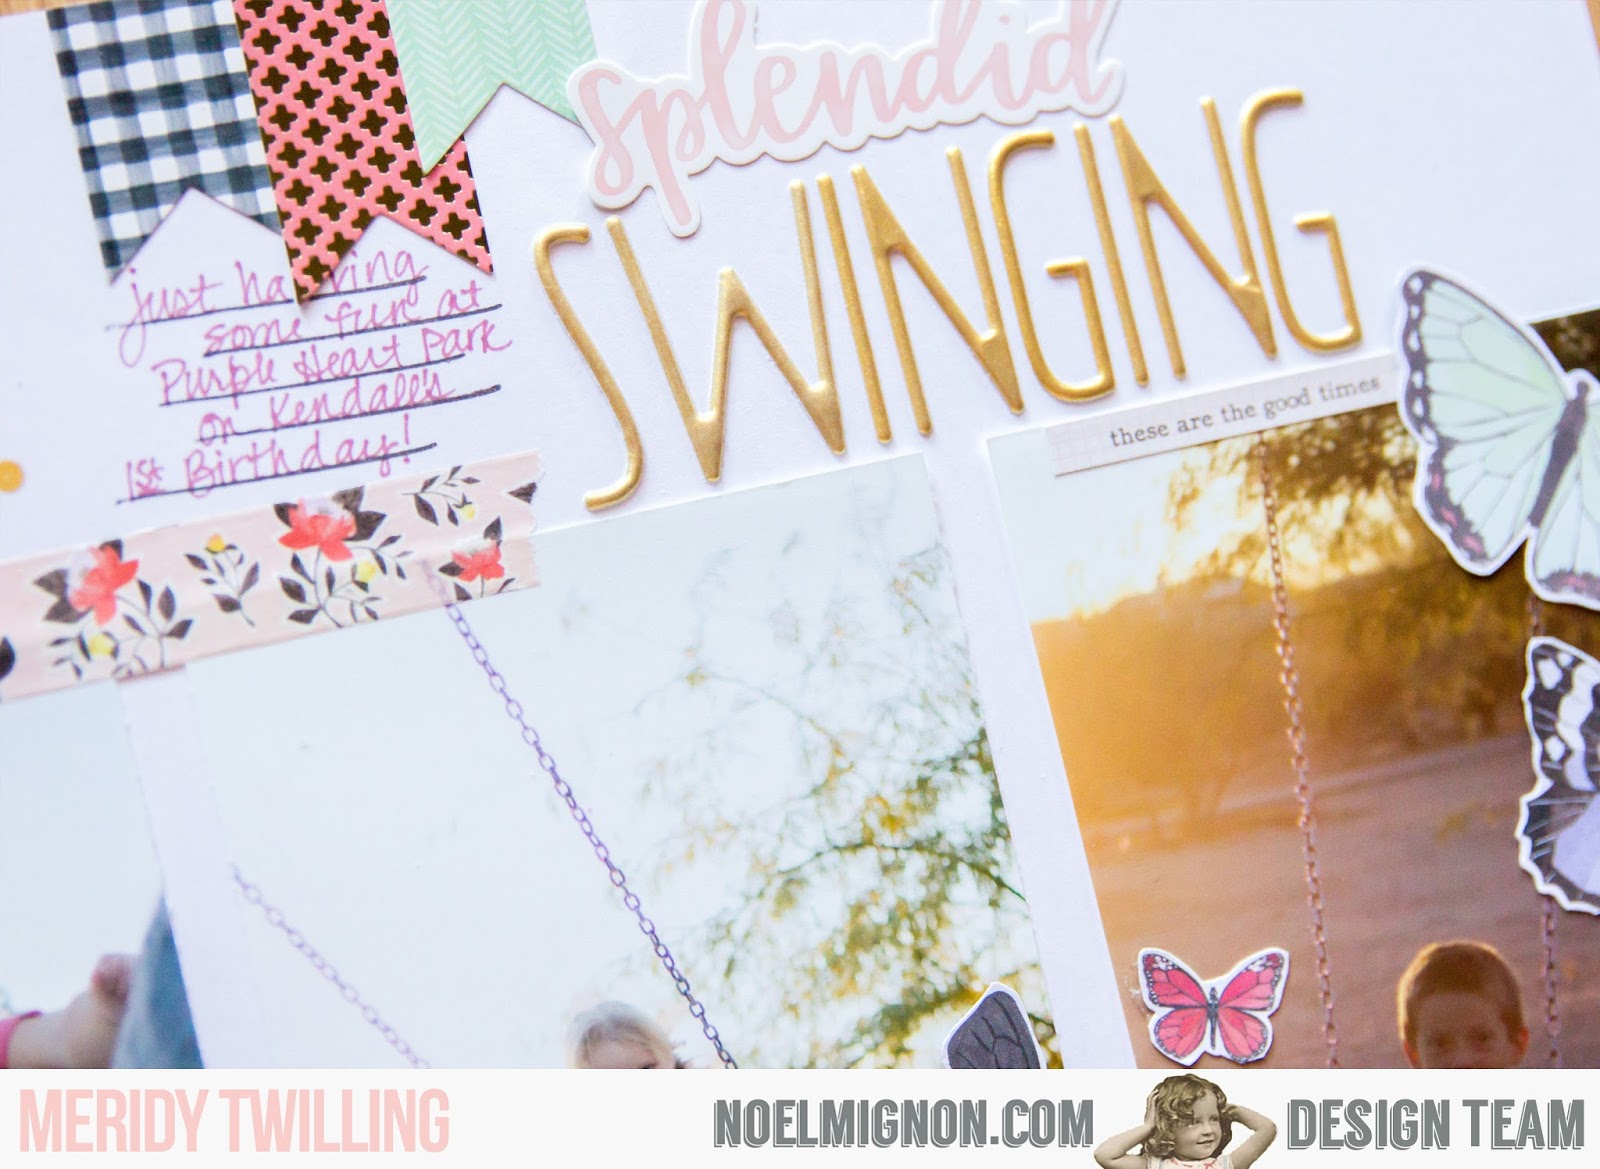
I started with a 6 photos, and decided to add 6-3x4 journaling cards, one below each photo. Once I had the overall layout of my page adhered to the white cardstock, I started adding embellishments. I really loved the butterflies in this kit, so I fussy cut a handful of them from the Hazelwood "Flock" Patterned Paper. I also cut a few tiny butterflies from the Hazelwood cut apart journaling cards in the Daily Diary kit. I placed these butterflies in a diagonal across my layout, to add a little
movement to the page.
I even got to use that cute date stamp that came in this month's kit!
Next, it was time to add some more embellishments and a title to my layout. With all of the great pieces in this kit, this was a breeze!!! I reached for the pretty Hazelwood washi tape and few coordinating stickers from the Hazelwood sticker sheet. I used some Thickers from my stash for the title and splattered a few drops of Heidi Swapp Gold Mist from a previous Noel Mignon kit across the layout to complete it.
I would love to see what you create with your "Little Bird" kits this month! Please share some of your designs over at our Noel Mignon Members Facebook page. Have a Happy New Year!!!