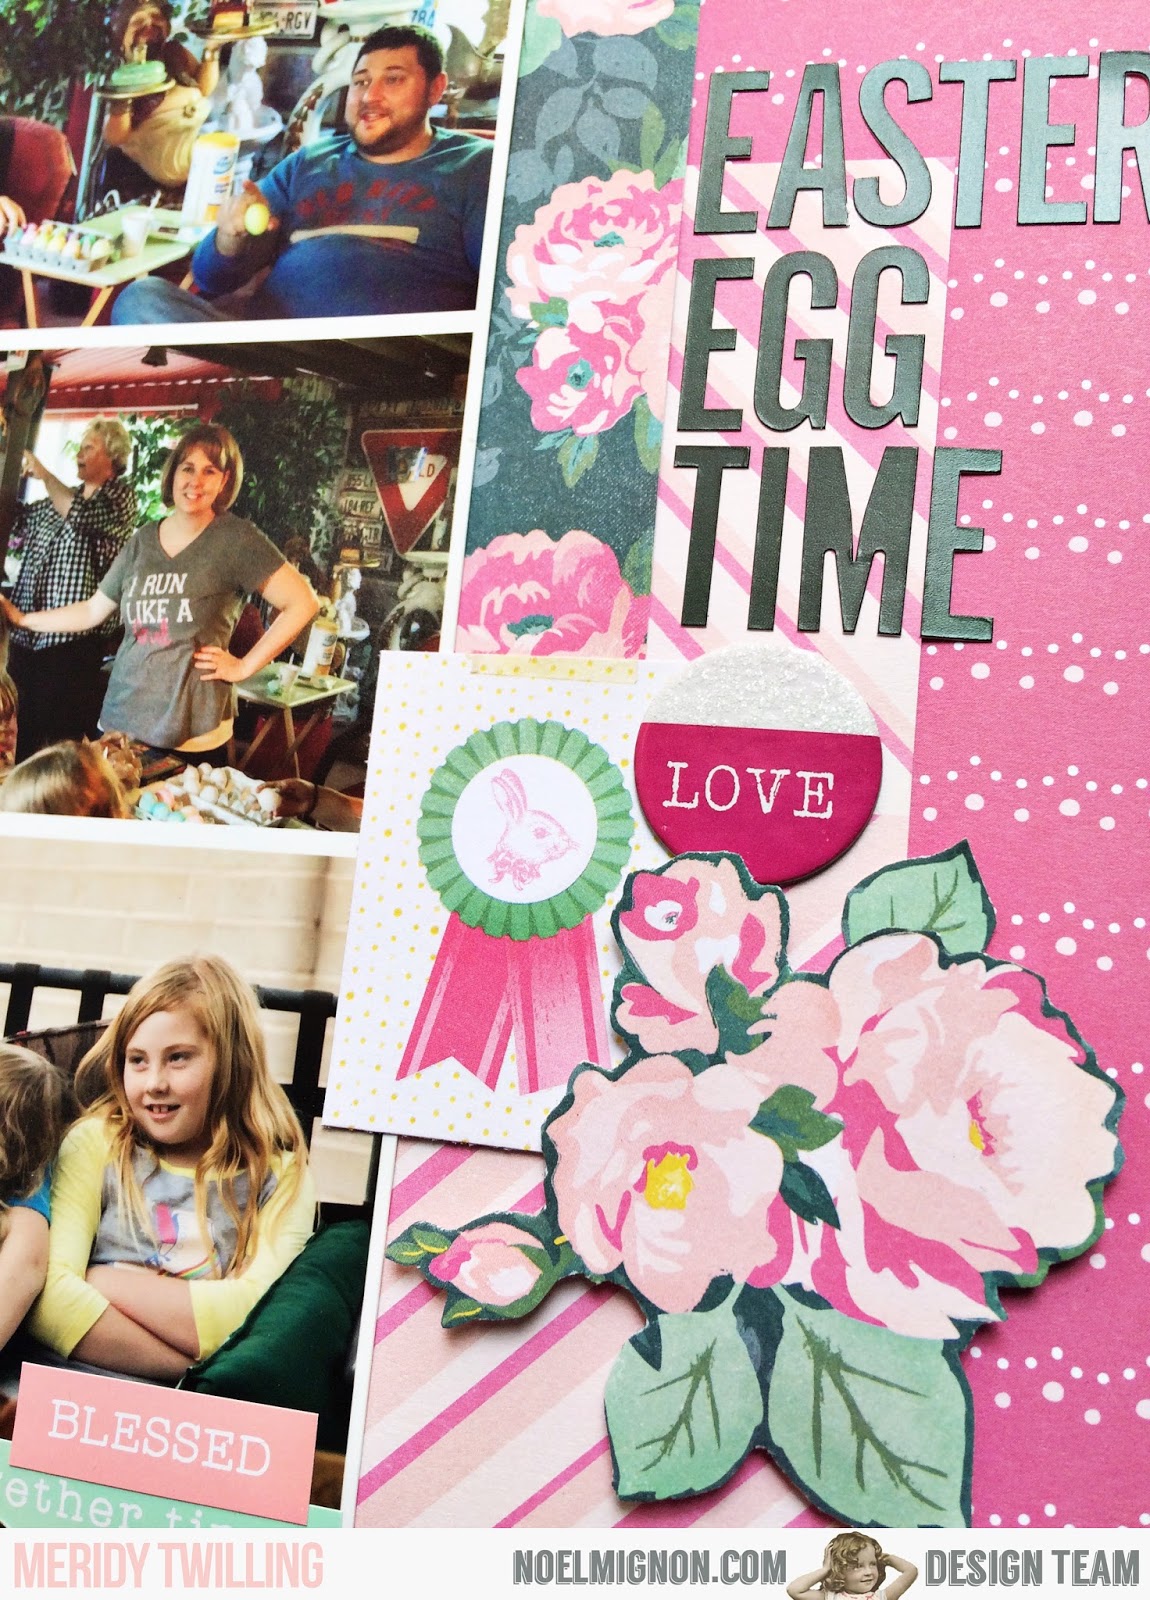
Hey guys! This month I got to play with the Spring Fling Daily Diary kit which makes me so happy because there are so many fun elements in this kit like the puffy stickers and the wood veneer half circles! Because there were fun bright colors and florals in this kit I used it to create a couple pocket pages with my Easter photos and they paired wonderfully.
I used a couple of the 4x6 cards in the kit and also made one with the 6x6 papers for my first page. I thought about changing my 3x4 photos to black and white but after seeing how that looked I went back to color. Sometimes you have to play around with your photos in order to decide what you like best!
Those Elle's Studio cards are probably my favorite ones from the kit. I loved the multicolored polka dot card that paired perfectly with my egg decorating photos!
And with that, another Whitlow family holiday is 'in the books'!
Showing posts with label Easter. Show all posts
Wednesday, May 3, 2017
Tuesday, March 28, 2017
Spring Decor with the Delightful Classic Kit
A few years ago I began to take stock of our holiday/season décor and realized besides Christmas and Halloween the decorations were pretty sparse. Each year I have been adding a few things. I decided with the rest of my Delightful kit I would add to our Spring/Easter décor on our fireplace mantle.
The first thing I decided to make was a banner using the colored doilies from the kit.
I counted the doilies and determined from there I had enough yellow to spell out Spring and with one blue I could do one accent in the center. I didn't want to break up the word spring but decided with the amount of dollies in the kit I would make it work.
I cut the pendants from several different pattern papers, matted them with cardstock, and attached a strip of pattern paper to the top. Using my trusty score board I made the folded paper medallions and topped them with pattern paper and letter stickers. Once the pendants were put together I hot glued them to the ribbon and finished with smaller bows tied with a button and baker's twine (from my stash) at the ends.
The center accent pendant I embellished with a paper butterfly.
After I got the banner finished and hung I decided to make a bunny box to compliment the egg shaped box I put together last year.
He (she?) was cut out using my Silhouette Cameo. He was a bit of a pain to glue together, but once finished I determined it was worth it. I finished him off with a bow and some of the puffy flower stickers from the kit.
And there you have it a few more holiday items for my house. Thanks so much for stopping by the blog today. I hope you were inspired to make holiday décor with your kit.
Happy crafting!
Tuesday, March 21, 2017
Easter Eggs with the Delightful Classic Kit
The first day of Spring! My favorite season hands down. I love the spring flowers, warm but not hot weather, the longer days. Yeah Spring is pretty great. This week the design team was given the theme of Spring. I chose to make a bright Easter layout featuring photos from our egg dyeing a few years ago.
I started with the white cardstock and layered pattern papers on top. I then used glitter mist from my stash to splatter ink on the top and bottom.
I placed the letter stickers to spell out my title and used labels from my stash for my date and finished this area up with one of the arrow paperclips.
I kept most of the layout pretty simple besides the pattern paper and title and finished the embellishing off with three of the Maya Road resin flowers.
Thanks for stopping by the blog today, Happy Scrapping!
Monday, March 20, 2017
{Easter Egg Time} with the "Delightful" Daily Diary Kit
Hello everyone! It's Meridy here. In honor of the first day of spring today, the design team will be sharing "springtime" layouts all week! I'd like to start us off with an Easter layout using the "Delightful" Daily Diary kit. I also used a paper pack from the "Delightful" Classic Kit.
I started with a collage of photos printed on an 8x10. I like using collages when I have multiple photos I want to use. All of the cropping, matting, and sizing is already done for me when I create and print a collage to use!
I used some of the 6x6 Maggie Holmes papers from the Daily Diary Kit to layer up the background and add some dimension. Next, I fussy cut some of the floral design from the 12x12 and the 6x6 floral papers in both the Daily Diary kit and the paper add on. I arranged some fussy cut flowers, chipboard sticker, and the bunny paper from the 6x6 cut apart paper in the "Daily Diary" Kit to make a little embellishment cluster under my title.
On the top left of the layout I adhered the notched chipboard banner stickers, a few fussy cut flowers, the date (using the alphabet stickers from the Daily Diary Kit), and a few word phrases.
My third embellishment cluster was also made with some fussy cut flowers, and a word sticker from the sheet of alphabet stickers in the Daily Diary Kit. I journaled across the bottom strip of patterned paper.
I added one more final touch, a subtitle, the word "COUSINS", towards the bottom of the layout to keep your eye moving evenly around the entire page. With that, the layout is complete!
Thank you for stopping by today, the design team will be sharing Springtime layouts all week, come on over for more inspiration all week long!
Friday, April 17, 2015
Using sketches
Using sketches is a great way to create great layouts without spending a lot of time on the design aspect of a page. We all have moments of scrapper's block where, despite having the desire to create, we just can't come up with anything. And then other times, we spot a sketch and instantly know what photo(s) would look great with it.
That's what happened with this sketch. One of our fellow Noel Mignon members shared this sketch on the group page and I thought instantly that would work great with my Easter photos. For holidays I usually like to create one "focal point" type of layout and then I'll create a pocket page style layout to share all of the other photos.
In the past I would've created a 2 page traditional spread with a bunch of smaller photos but the whole pocket page style of scrapbooking has totally changed up how I do things...and has made it much easier!
I used the Hello Darling classic kit for this page (and I will most likely use this kit for my pocket pages as well). This kit is packed with so many bits and pieces that it makes it so easy to embellish your pages!
I stuck pretty closely to the sketch. By the way, if you don't have a die cutting machine to make that scalloped edge you can easily create the same effect with a circle punch :)
In the past I would've created a 2 page traditional spread with a bunch of smaller photos but the whole pocket page style of scrapbooking has totally changed up how I do things...and has made it much easier!
I used the Hello Darling classic kit for this page (and I will most likely use this kit for my pocket pages as well). This kit is packed with so many bits and pieces that it makes it so easy to embellish your pages!
I stuck pretty closely to the sketch. By the way, if you don't have a die cutting machine to make that scalloped edge you can easily create the same effect with a circle punch :)
Thursday, April 17, 2014
Bunny Hop Day #4 and Easter Eggs
Hello again!
We are hop-hop-hopping this week and hope you are all having fun checking out the brand new Noel Mignon store and are finding all of the hidden Easter eggs!
All you have to do is read each blog post this week and, using the clues given, head to the store, find the eggs hidden in the store and post them in your Facebook or Instagram feed with the tag #noelmignon. One lucky egg finder who posts the image of all 5 eggs will have a chance to WIN the May kit, "Carousel."
Here is your clue for today:
Today's egg can be found in an all time favorite product. This sturdy alphabet is perfect for title work. It is sparkly, and the color of something you chew. Start your hunt here... http://www.noelmignon.com/ and be sure to copy and paste the egg (or screenshot it) and share on your facebook or instagram (or both) feed with the #noelmignon, so we can spy your find.
Good luck!
Speaking of Easter Eggs, I have an Easter layout to share with you today that I made using the April kit, Social Butterfly.
I really liked the idea of using this paper for a background and knew right away that I wanted to cut out some of the squares. I first figured out where I wanted my photo block to be and chose random squares around that area to cut out using my x-acto knife. I used spray mist and a paintbrush to paint around the edge of the squares and then backed the openings with other papers from the April kit, adhering them to the back of my paper with tape. I misted my background with droplets of a variety of spray mists (some Heidi Swapp Color Shine and some Studio Calico Mister Huey) to mimic the egg dye.
I used one of the Jillibean Soup mini placemats on the left side and some of the fun distressed Thickers as well. The pink bow matched so well with Sarah's egg that I just "had" to add that, too.
I added some of the fun October Afternoon stickers here and there on my page to finish things off.
One more thing before I go:
If you have been waiting to get a subscription to NoelMignon kits now is the time to reserve yours for July-December. You can sign up at http://www.noelmignon.com/ . There is a sale on kit subscriptions right now so hurry and sign up for the best deal! You can sign up for the main kit, the new Daily Diary pocket page kit or a combo of the two kits.
Have a great Easter weekend and happy hopping to you!
Subscribe to:
Posts (Atom)


.png)