Friday, September 19, 2014

Enjoy Today

Hi friends! Today I'm sharing another layout I created with the Tea for Two kit. I absolutely love its versatility. I feel like I get so much out of these kits! So far I've created 2 layouts and 3 cards and there's still so much kit left! Here's my latest creation with Tea for Two.


I was inspired by the triangle trend that is currently popular, so I chose to hand-cut the triangle pattern paper into smaller triangles. Then I cut individual triangles too. To go one step further, I used the gold enamel triangles to finish off the pattern.

To create a foundation for my picture, I chose to layer the half inch strips that I'd been saving from trimmed sheets of pattern paper. On top of the strips is the square doily and my matted picture. Then I added my title.

That's all from me today. I hope you guys have a great Friday and a super weekend! Be sure to upload your creations to the Noel Mignon layout album on Facebook. We designers are looking for inspiration and we may choose one of YOUR designs to scraplift. So be sure to play along with us on the Facebook page! See you there!

Thursday, September 18, 2014

Good Times Captured

Hello friends!! I have a fun and colorful layout to share with you today using the "Tea for Two" classic kit. The bright colors and sayings had me pulling out a photo from Easter that I hadn't yet scrapped.

At first glance, this may not seem like the "perfect" photo to choose, but it perfectly captures all of their personalities at this moment. My husband, wanting me to hurry and get it over with so giving me the "closed mouth" smile, our youngest snuggled up on daddy, our middle lady caught mid-sentence, and our oldest with her very well trained "if I smile nice, it will be only one photo" smile. So them at this moment, so of course, it was the one I chose, over the one that really was the "perfect" photo.


I loved this background paper, and how it already had the perfect photo spot in the design. Sometimes that it the thing I struggle with the most, where to place my photo! From there, I just started adding in layers. Lots of simple, flat paper layers, then I added in some of the chipboard frames for a little extra dimension. When I saw this sticker from the MME sticker sheets, I knew it had to go front and center, it was too perfect!!


Then I wanted to add in a few more layers in another cluster up at the top of the page. I used the bottom portion on those same chipboard frames, layered in with some chipboard stickers and enamel shapes for a fun pop that helps bring your eyes around the page.


This kit is so versatile, and easy to create with, we really hope you share all of your creations with us over on the facebook page, which you can join here! Sneaks have also started for the "Early Autumn" October kit, which is looking AMAZING!!!


Wednesday, September 17, 2014

Just Another Friday Night- Tea for Two Layout

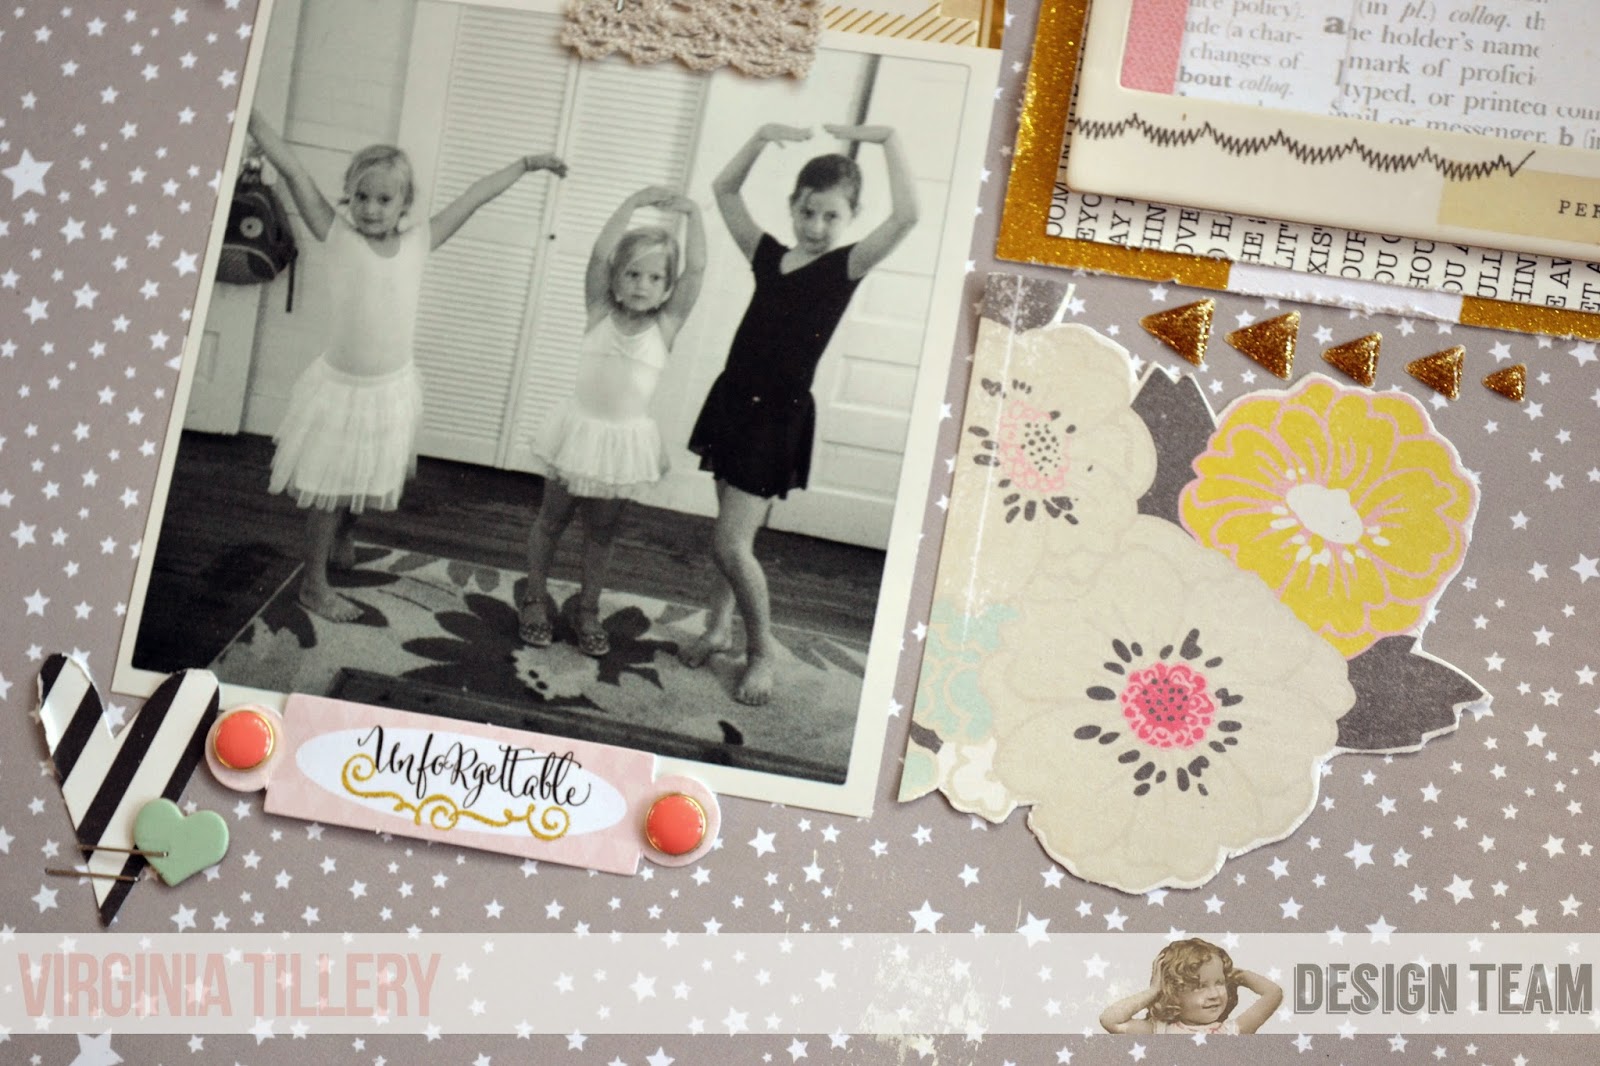
I don't know about you guys, but having a "special performance" at our house is a fairly regular occurrence. Gymnastics, ninja moves, secret agents displaying their awesome detecting skills, fancy princesses singing, and ballerinas swishing their tulle skirts are just a few of the many shows I've seen. I wanted to make sure to capture at least one of these on a layout. 

(Side note: my girls so remind me of the girls on Despicable Me.) 


I used the Tea for Two kit to create this simple layout. 


Tuesday, September 16, 2014

Enjoying Life and lots of texture with the Tea for Two kit

Hello again!

I have another Tea For Two kit project to share with you today.


One thing that I for sure know about my style is that I like to layer and to have lots of texture and color. I did this on my page by adding layers of patterned paper on angles and I tucked a bit of the Maya Road lace trim under the edge of the striped paper. I added even more texture by adding enamel and cork hearts as well as a cute piece of flair. 


I popped up my title piece (Heidi Swapp chipboard sticker) by using some foam adhesive. I did the same when I added the "every moment counts" sticker to the ribbon sticker from the Crate Paper Notes & Things collection. 


I used a circle punch slightly larger than the flair to give a place for that to rest. I used the piece of punched patterned paper at  the top right of my page. 

How do you add texture to your projects?

We'd love to see!

Stop by our Facebook group to chat and share your projects.

Have a wonderful day!


Monday, September 15, 2014

1 layout 2 ways

Hi friends! Today I want to share how you can take one layout design and use it to create multiple pages that look similar yet very different.

Every year I have some layouts that I create that have a similar (if almost identical) theme. This usually happens when scrapbooking my kids...sports, school, etc. For example, first day of school layouts. I wanted to create one for each of my 2 kids that are currently in school yet there's no reason that I have to come up with 2 totally different designs for the same theme.

Let me show you what I mean...


This first layout is for my oldest daughter's 1st day of school. I used a layout I found on Pinterest as inspiration (found here). You can see I kept the basic layout design of the original but then made it my own.

I stuck with one 4x6 photo as the focal point, adding embellishments around it. I also found those great chalkboard printables on Pinterest (found here). I used those in both of my layouts.

And here is the layout I created for my son's 1st day of school.

Again, you can see I kept the same basic layout but then made it look totally different for him by using more masculine papers & embellishments.

And you know what the best part is? I used the same kit for both layouts (Tea for Two) and yet they look totally different and, I think, have a totally different feel to them! This goes to show just how versatile these kits are. The Tea for Two kit has a very girly feel to it but you can definitely use elements of it to create pages for those boys in your life!

Saturday, September 13, 2014

You Are Loved: A Challenge!

Ok guys, I have to confess that scrapbooky-type challenges are not my favorite thing. I know. Fail. So when I saw that this week was going to be about turning the tables on us, and getting us to challenge ourselves instead of YOU I was a little...meh. So Becky graciously gave me the "use five patterned papers on your layout" challenge. And I love her for that.


So here's what I came up with. And may I just say, I used EIGHT patterned papers?! Yes, I did.


I used the woodgrain paper to cut a heart background with my Cameo, then backed some of the insides of the hearts with various scraps I had from the kit. And it always feels good to use up those babies, dontcha think? That took four patterned papers. And although they don't photograph well, that little gold foil confetti is amazing! It worked perfectly to scatter it over the pink splatters that are already printed on the striped paper.


I cut apart the 6x6 butterfly paper from the Daily Diary kit and placed a few of them around the page. I also finally used a few of the butterfly wood veneers I've gotten in past NM kits. On this one, I used that adorable "this life" rubon, and can I say, I see a lot of this technique in my future?! Under the butterflies is the back side of the kraft/white diagonal striped paper. I just cut out the strip I had leftover and love that it looks like a file folder! On top of that I layered and stitched the designed side of the label strip on one of the Pebbles papers.


I am so out of practice with my pop-dotting these days, since I stay away from them in my Project Life albums. So I am having this great feeling of YEESSSS getting to pop up that cute circle, over which I layered over the "smile" vellum piece from the Crate Paper Notes and Things ephemera pack. And you can also see a sliver of that floral paper I layered under my photo.


And can I tell you how much I LOVE that I was able to use up the last of the MME brads from the Sweet & Simple kit? I leave all of my favorite embellies in a little container to carry over to new kits, and I get such a thrill when I use them all up! Here you can see just a hint of the journaling tag tucked under the photo.


And here you can see it pulled out, Brittny-scrawl all over it.
And that's it for me! Thanks for the challenge, Becky - I had a great time doing it!


Friday, September 12, 2014

Challenge: the crochet tape 3 ways!

Happy Friday everyone! I'm wrapping up Challenge Week with a set of cards all using the Maya Road crocheted tape that came in the Tea for Two kit. What you'll notice about this tape is that while it looks just like crocheted ribbon it IS in fact got sticky tape already attached to the back of it.  And if you've ever tried to attach lace to a layout, you'll know that this is a good thing!

So while I was still trying to figure out how to use this new found tape, I realized that I could use it almost exactly like ribbon, and THAT spurred on the creativity! I started using the tape as I would a ribbon.
 
First I chose to make a lace rosette, where I punched a circle out of cardstock and then began to wrap the tape around the circle starting at the outside and working my way it.  I ended up creating 2 of these for my card, one is larger and has a different look than the smaller one. The size of the circle beneath the tape effects the look of the rosette. Here's how those turned out.


Next I chose to cut my lace tape in half down the middle. Word to the wise--it's so much easier to cut BEFORE you peel the backing off the tape. If you peel the backing off first, then start to cut, the lace starts to shred at the edges and the adhesive makes it hard to cut. Once I'd cut 2 full lengths of lace, I tucked one set underneath the edges of my patterned paper. Then I layered the second set of trim on top of the paper. It created as simple way to add lots of texture to my card.


And for my last card I chose to weave strips of lace together to create a foundation for my embellishments. Again, I was hoping to use it in a different way to add texture and interest to my card.  Tip: just like above, it's easier to weave the lace BEFORE you peel the adhesive backing. Once you've gotten the woven look that you want, then cut the backing off each end of the trim. Don't try to take the backing off the entire thing. The ends will be sticky enough to keep the whole piece in place. Here's how that one turned out.

And here they are all together again.


Thanks for joining me today and learning more about the crocheted lace trim. I really love that it's adhesive backed, because that made it so much easier to work with! I can't wait to see your creations using this trim.  Please show us on our FB Community, we'd love to see! And if you end up using one of these techniques, please tag me in the comments section so I won't miss it!

Have a happy Friday and a great weekend!!