Sunday, June 1, 2008

Explore....

Summertime starts really early here in the South, so I've already started making summer memories! ;)

These are some pics of my daughter, Emerson, playing in our backyard- a very favorite summertime activity in our house.

I used the beautiful Madeline Kit for this layout, plus some colored pencils and embroidery floss.

Start making those summer memories!


Summer Night Ritual

This layout was created using the Madeline Kit. I added a sheet of Making Memories Die Cut Scallop paper from the Hopscotch Kit. The Fancy Pants Fashion Sense felt, American Crafts Cream Giggles Thickers, Scrapworks Shimmer Carnival Alphabet, and SEI Dill Blossom Puffy Alphabet stickers are available in the store.

To add some interest to the cardstock background a used Fruit Punch Stickles to paint on a glittery dot pattern. I LOVE the sparkle and fun feel it added! Happy Summer, Everyone!


a hot day, perfect 4 cold ice cream!


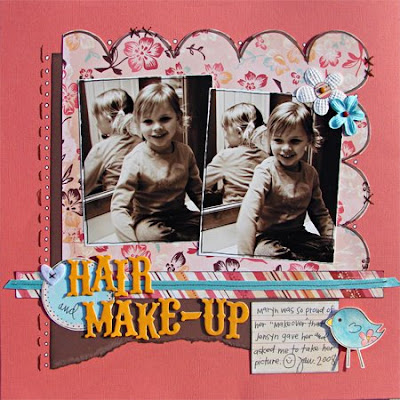
This is done mostly with stuff from the NEW COTTON CANDY KIT!! All the papers are October Afternoon (Hopefully all my spit marks from licking it aren't showing...lol)! I added a few things that aren't in the kit, just because... I added several different Thickers (cricket, LAX red and blue) a rub on from OA, a couple of In Stitch blossoms, some stickles on my little bird ( 2 come in the kit!), and a Maya road bloom.

Saturday, May 31, 2008

Thank you!

Just a quick little thank you to everyone who applied to be on the new Design Team! I have about 100 applications to get through over the next week, and if I haven't emailed you personally yet I will. But I wanted to let you all know how honored I am that so many of you would like to design here. I'm speechless at the level of work I have been getting...seriously fantastic stuff! THANK YOU!

Friday, May 30, 2008

Cotton Candy Kit!


Click photo to enlarge


It's a bit more than the previous kits (3$)...but this pretty baby is packed!! 21 pieces of PP alone!!

Kit includes the following:
Papers
Pink Paislee Office Lingo Collection
-Lunch Hour
-Outside the Box (Shaped)
October Afternoon Daydream Collection (double sided)
-Garden Chair
-Paper Lanterns
-Rain Boots
-Poppy Garden
-Patio Umbrella
-Freshly Mown Lawn
Crate Paper Blue Hill Collection (double sided)
-Grass
-Flower
-Rain
-Breeze
Basin Grey Cupcake Collection
-Crepe Paper
-Twister
-Confetti
Cosmo Cricket Honey Pie Collection (double sided)
-Megan
-Ella
Prima Tea and Silk Collection (double sided)
-Daigoji
Making Memories Noteworty Collection
-Addie DieCut Circle
Hambly Screen Prints
-Grandma's Wallpaper (cream)
KI Memories Lace Cardstock
-Bouquet Cosmo
Bazzill Basics Cardstock
-Sugar Cookie
-Mango
-Baby Pink
-Parakeet
-Kevin

Embellishments
-1 Sheet October Afternoon Daydream Journaling Cards
-1 sheet Cosmo Cricket Honey Pie Journaling Cards
-1 sheet Crate Paper Blue Hill Impression Die Cuts
-1 pkg Crate Paper Descriptions Rub-ons
-1 Fancy Pants Glitter Die Cut Circle Frame
-1 pkg Scenic Route Man/Woman chipboard shapes
-2 Fancy Pants crocheted Blossoms (color and size will vary)
-4 Fancy Pants Crush stick pins (colors will vary)
-12 BasicGrey Cupcake buttons (colors and size will vary)
-1 Prima Journaling #5 acrylic stamp
-1 American Crafts memory marker in Bubblegum
-4 assorted BasicGrey Cupcake brads
-2 Prima acrylic Bird shapes
-2 Making Memories velvet brads (pink and aqua)
-2 Jenni Bowlin felt butterflies
-4 American Crafts photo turns with brads in Tangerine
-4 Every Jot and Title Journaling spots
-1 pkg American Crafts Vinyl Thickers- Poolside
-1/2 yard of American crafts felt rick rack in pink
-1 yard of Prima lace in baby blue
-2 7 Gypsies Journaling Cards (Let's Celebrate! and Happy Everything!)
$40.99....click here to order!!

Monday, May 26, 2008

Fun in the Sprinkler


This is my take on the new Pencil Lines Sketch (#86). I used a bunch of stuff on this. The papers are all from the Tree house kit, except the mini Jenni Bowlin accent paper. This is my 8th LO using the papers from this kit, so make no mistake, you get a lot for your money in this kit!! I also used the new Sassafras Lass "In Stitch" buttons and blossoms! Oh, these are so much fun to play with!! I included a few ArtChix butterflies, a journaling circle and the Scrapworks letter stickers. Last but not least are the FABULOUS new American Crafts Glitter Thickers.... swoon! Thanks for looking and feel free to leave a comment....thanks! :)

Simple Stamping Fun

Stamps are a really fun way to make accents for your scrapbook pages and cards. Using just a black stamp pad and a few supplies you probably already have on hand, you can create several different looks with your stamps. And the best part is, you can customize the look of your image to match your project perfectly!


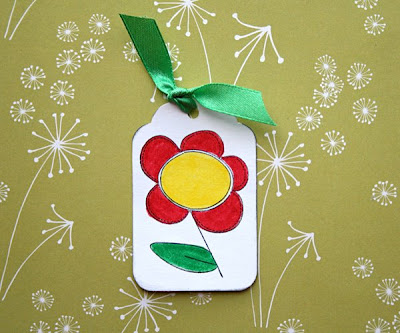
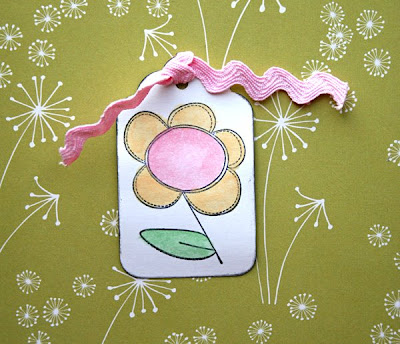
Use COLORED PENCILS to color in your image. Yep! Your kids Crayola or Prang work just fine!
MARKERS give a more vivid, bright look.
You don't have to have several different colors of ink pads to get a colorful look. Try using MARKERS to ink up your stamp.
This image was colored in using a combination of COLORED PENCILS and MARKERS. I colored in the image with the colored pencils and then used the markers to add bright doodles on top to add a little more depth.

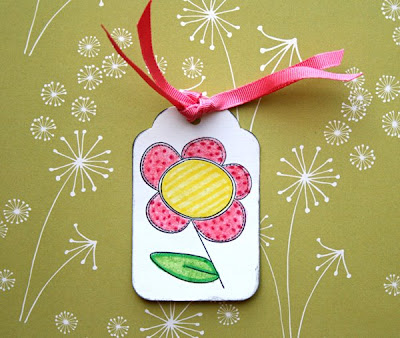
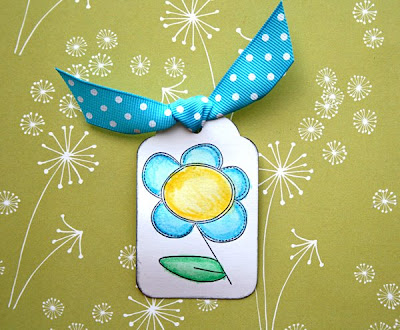
For a softer, more fluid feel WATERCOLORS are a great alternative. Be sure to use a permanent ink pad, like Staz On Ink, so that your stamped image won't run when it comes into contact with the water.
This image was colored in using WATERCOLOR PENCILS. These are found in an art store. I colored just the outer edges of each section and then used a paintbrush loaded with water to drag the color inward. This helps give the flower some dimension.
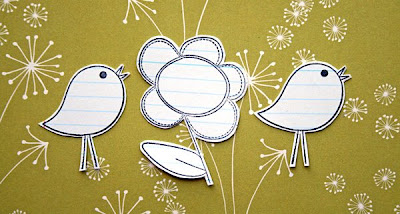
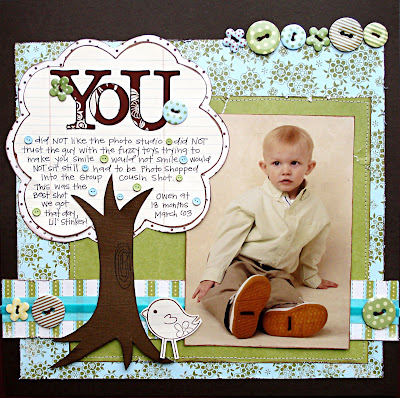
Do you love the look of doodling? Try stamping your image onto NOTEBOOK PAPER. Cut out and apply to your page for a neutral accent. I especially love how it looks on boy pages. If your page has a lot of colors and patterns going on already, try using this technique to create a neutral accent.


Or you can DOODLE right on top of your image! Stamp your image in light colored ink and trace right over the top. No one will ever know you didn't draw it freehand! :)

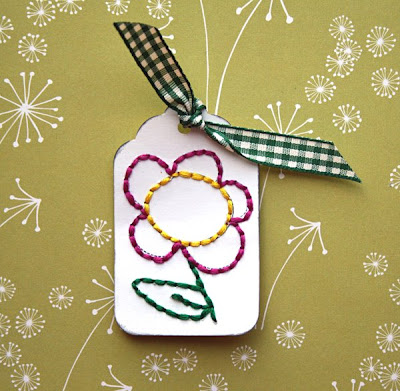
STITCH over your stamped image for a handcrafted look.
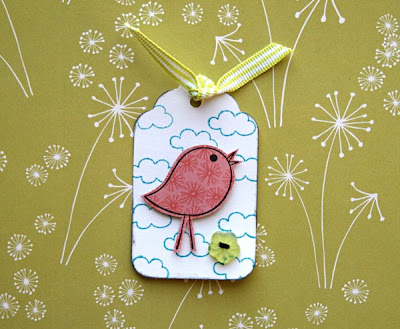
Don't know what to do with smaller stamps? Try stamping them several times to CREATE A PATTERNED BACKGROUND.
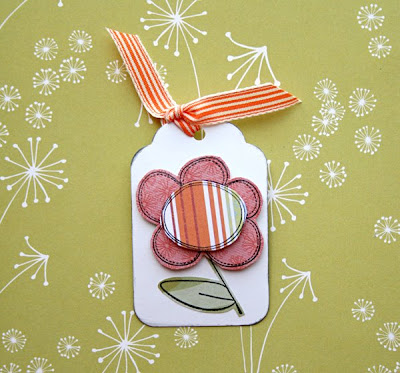
I created this accent by stamping the same image onto several different PATTERNED PAPERS. I cut out each "piece" and layered them together using foam dots to add dimension.
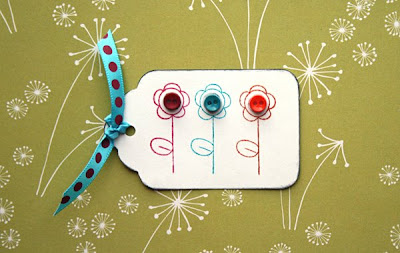
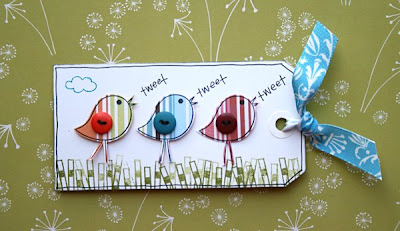
Try using the end of a border stamp to create grass. Here I stamped the image several times before reinking to create several different SHADES of green for the grass. Wouldn't this make a cute accent on a card? You can also ADD BUTTONS AND OTHER EMBELLISHMENTS to your images for additional dimension.
So, go ahead! Blow the dust off your stamps and try creating one-of-a-kind accents for your pages. It's a lot of fun!