Showing posts with label Prima. Show all posts

Thursday, March 22, 2018

Welcome spring

Hello again!

It's always great to be here to share projects with you that I make using Noel's kits.

The You Go Girl kits are gorgeous- and if you think so, you should see the kits for April. They are so beautiful. You will love them ♥

Anyway, for my project today I decided to create a piece of home decor using bits from both of the You Go Girl kits:


I started with this wooden piece from Jillibean Soup Mix the Media that I found at my local Walmart store.


I cut some flowers out of cardstock using my Silhouette diecutting machine and then covered those with patterned paper from the kits. I also cut the word "welcome" to use on this project. I layered the diecut flowers with Prima paper flowers found in both of the in the kits this month.


The butterflies are from a sheet of patterned paper in the Classic kit. I simply cut around them and glued them onto the project.


I finished off this simple project with a strip of gold scalloped washi tape from the washi book included in the kit. 

Thanks for stopping by Noel Mignon today ♥

Friday, March 9, 2018

Book Fair: March "You Go Girl" DD kit

Hi!  Sarah here with a layout using March's daily diary kit.  I really wanted to highlight the school book fair this year because it's something that I volunteer for each year and it helped me come to the decision to pursue my master's in library sciences.


The Pebbles paper from the kit was perfect since it's really a school themed layout.  I also pulled fun little elements like the typewriter from a die cut pieces and the little girl's head.  I cut one of the 6x6 papers in half to make it look like it's a longer piece to take up more room on the layout.


I used the Thickers from the kit for my title along with a pieces from the circle die cut and a cute puffy sticker and flower.  I love the way it all came together.


The large epoxy sticker is from my stash and I was saving it for this layout because of the quote on it.  I have discovered my passion for books and reading and I'm not letting fear keep me away from my dreams!


I cut out the "woo hoo" from a die cut hat piece because I liked the words, but didn't need the hat part of it.  Make your supplies work for you!  I added some sequins to help finish it off.

Thanks so much for joining me today.  I hope you will consider documenting a time when you didn't let fear get in your way of your passions!  This is a great kit to do just that!


Friday, October 20, 2017

Football Life: Apple Crisp Classic Kit

Hi all!  Fall time in our household means college football time!!!  We are huge Georgia Bulldogs fans, both of my parents went to the University of Georgia.  I grew up watching the games and it has stuck with me.  I got my husband on the bandwagon as well and my girls love to see their mascot, UGA when he's on tv.  It's a big deal to watch the games on Saturdays.  


Since the Georgia school colors are red, black and white, I took advantage of those colors in the kit.  The Prima paper was perfect for a background since it has a grey-toned marble look.  I used some reds and oranges as well to complement it.  I did pull a couple of things from my stash to pull it together such as the Georgia flair badges, the floral paper and some Tim Holtz distress ink.


The fall die cut was a great starting point for my title.  When fall comes around, we definitely get excited for football!  


The white acrylic pieces were a nice little touch.  I cut one of the die cuts up that said "go outside / stay inside" and just used the inside part.  The other word strips emphasized staying home and watching the games.


I finished off the layout with the black heart circle and the gems from the kit.

Nice and simple and showing our love for the Dawgs!  Do you guys enjoy watching football in the fall?  If so, who are you cheering for???


Monday, October 9, 2017

{Family 2016} layout with the "Apple Crisp" Classic Kit

Hello friends!  It's Meridy here with you today.  I have a layout to share with you this week featuring some mixed media and the "Apple Crisp" Classic Kit.  This layout is featuring photos of our Thanksgiving dinner in 2016.


For this layout, I started with the BEAUTIFUL Prima papers from the Autumn Moon line.  They are just gorgeous! 


 The left side of my layout features my 2 favorite pictures from Thanksgiving dinner.  I really enjoyed layering up different textures and media for this side of the layout.  I started with the dimensional leaves in the kit, then added some of the twine.  Next I stamped a few images directly onto the layout.  


I also splattered some of the beautiful stain that came in this month's kit across the corners of the page, right over my embellishment clusters.  


The right hand side of my layout features an 8x10 collage.  I find this is a great way to add multiple photos to a layout without making it feel cluttered.


I finished off this page with a strip of glitter washi and a cute cluster of embellishments from the great selection in this month's kit.  I love that everything in my Noel Mignon kits work so well together.  I used some crystal dots, paper leaves, a paper bow, some printed die cuts, and a few puffy stickers.


And that wraps up my layout this week, with a touch of mixes media.  Thanks for stopping by!!!


Friday, October 6, 2017

St Bernard Farms: October Apple Crisp Classic Kit

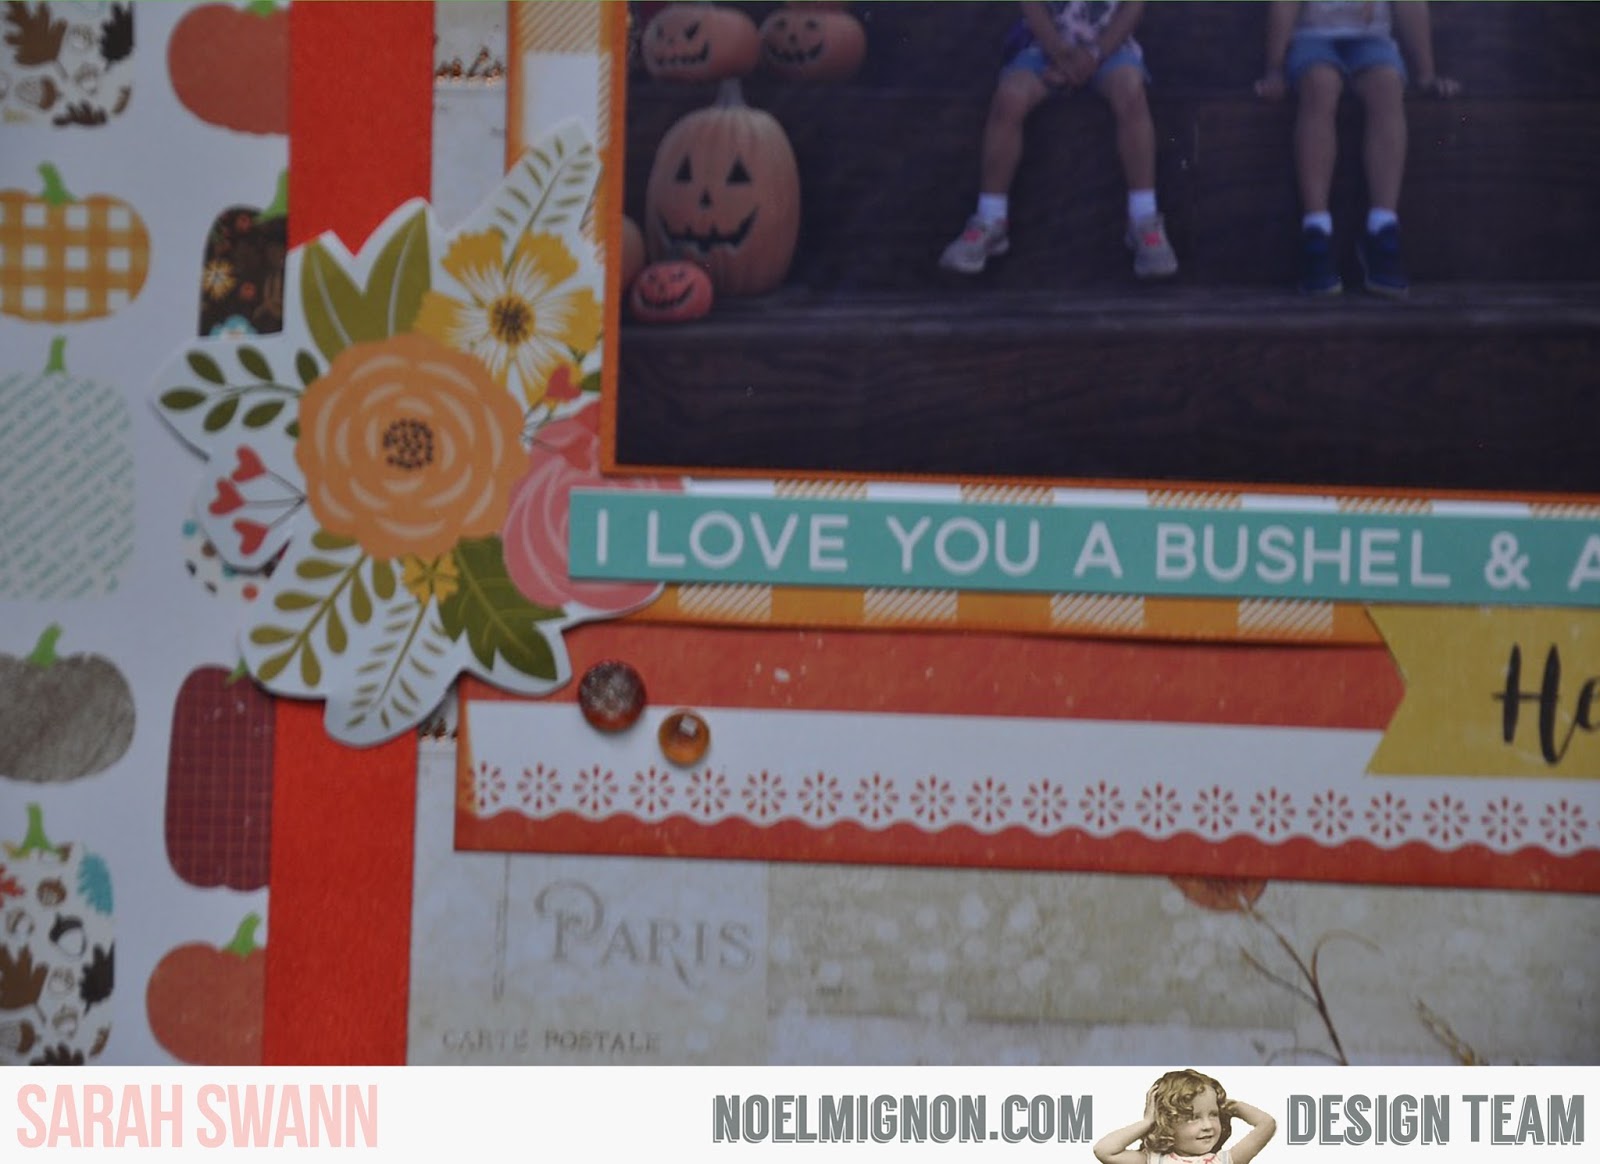
Hi everyone!  Sarah here with my first layout using the Apple Crisp classic kit.  It's fall just the best time of year?  We took the girls to a local farm to celebrate the start of the season.

 
This kit was just so perfect for this picture.  I used a combination of the Prima paper with the beautiful pumpkins printed on it and the Echo Park pumpkin print paper.  Using the orange ribbon I created a good border between the two papers.


Using a mix of the Thickers and Jillibean Soup I created the title, which is the name of the farm.  I used a pumpkin print die cut and a large paper bow to add to the title piece.


I fussy cut some of the floral prints from a Jillibean Soup paper.  There was a sticker on the Jillibean Soup that says "I Love You a Bushel & a Peck" which was so cute!  And there are some blue elements in the pumpkin print paper.  And since they're sitting among pumpkins, I thought it was so cute!


For the cut apart element, I used a craft knife to cut around the raccoon's tail and the top of the banner so I could tuck the gingham paper under it.  The prima crystals helped to finish off the layout perfectly.

Thanks so much for stopping by today!  I hope this month's kit will help you ring in the fall season!


Friday, September 29, 2017

Must Have Books: Study Guide DD Kit

Hi!  Sarah here with the best challenge ever...BOOKS!  If you all know me, you know I have a passion for books and reading.  I even have a YouTube channel dedicated to books.  I love reading and sharing the books I love (and don't love sometimes).  I adored this challenge and wanted to do a layout about just wanting to buy all of the books all of the time.

 
I had a friend take some pictures of my with some of my favorite books of all time.  It was the perfect way to use this kit!  I used up a whole bunch of scraps from papers that I used on other layouts.


I loved layering the papers behind my photo and used up some of the die cut labels and a Freckled Fawn chipboard piece.


The Jillibean Soup bookshelf paper and library card paper were just begging to be used on this layout.  Those two papers are my life!!!  I loved cutting them into strips to really maximize the use of them.  The labels on the Echo Park sticker sheet were perfect to just tuck behind my layers to add a little something extra.


I really love how this layout came together and the Thickers were just perfect.  I paired them with some Teresa Collins tiny alphabet stickers (from my stash).

Thanks so much for joining me today.  I just love books and I love scrapbooking about books.  This kit just spoke to me!  

Don't forget to add your layouts to the FB group so we can see them!!!


Tuesday, September 26, 2017

First Day with the Study Guide Classic Kit

Happy Tuesday!  I hope you are all having a fabulous week so far.  It's turned chilly here in UT the last week and although fall hit us hard, I personally am enjoying the much cooler temps and the leaves beginning to turn.

I have this week another layout of my boys.  Every year on the first day of school I make them pose on the doorstep before they head off.  The oldest isn't always happy, but he still cooperates.  


As we start packing for our move I have quickly learned what my go to tools are and what I can actually live without.  I have to admit though that I miss my Silhouette and had to instead hand cut stars from the orange pattern paper.  I went a little old school and even pulled out the AC marker from the kit and outlined them to make them stand out against the stars in the background.

It was refreshing to only use items to the kit and it made me have to get a little creative with odd shaped pieces of pattern papers that I had left still in the kit.

I thought by now that my house would be all packed up and ready to move, but I am actually really grateful that I have been slow to pack up my computer and a few of my crafting supplies.  I have used it as a way to escape a little of the madness.  I have my "emergency supplies" ready to go though and I will soon be creating with my freshly opened October kit in our new/old house! :) 

I hope you are fairing well wherever you live and are able to spend some time creating.
Happy Scrapping!


Friday, September 22, 2017

Small Town Bar: Study Guide DD Kit

Hi!  Sarah here with another layout using the September Study Guide daily diary kit.  This week I'm documenting a small bar that is in our small town.  My girlfriends and I decided to go check it out one night and as we sat down, we took a fun little picture of us being a little nervous about going to a new place (spoiler alert: we had a blast!).


I really like the ombre paper and the effect it makes on the page.  I kept everything centered so you can really see that paper.


I didn't have an "R" in the Thickers, so I used a "P" and added on a piece from another letter to make the R work for me.  I loved using the layers above the title.


There was a piece from the cut apart sheet that had "Let the ADVENTURES begin" and I just loved that for a spin on this topic!  I used two stickers from a sticker sheet that were intended to be labels or banners and used them as layers under the photo.


I loved being able to use the globe on this layout.  Even though it's not a travel themed page, I used it since we were going to a certain place.  It worked nicely!

Thank you so much for joining me today!  We would love to see how you're using your September kits, please post them in the facebook group so we can see them!


Tuesday, September 12, 2017

Summer Reading with the Study Guide Classic Kit

Hello everyone!  I am always amazed at how fast little ones learn to read.  At the end of kindergarten last year my little guy was reading.  I encouraged him through the summer to practice and did so by only allowing him the use of his kindle after doing his to do list for the day, which including reading.  It worked pretty well except he only wanted to read three books. 

At least he learned how to read those three books really well, right?  ;)


I started with #23 Pink Paislee pattern paper.  I love that it includes all the colors from the kit.  I then cut a piece of white cardstock and laid that on top.  I decided to choose a center weighted design and cut two more pieces of cardstock to fit the space above my picture.  Both patterns really help support my reading theme for the page.

Once in place I started on the title placing my chipboard stickers right above my picture and then chose to add the small Pink Paislee stickers to the chipboard flag.


I cut the "R is for Reading" from pattern paper and paired it with two shipping tags from my stash.
I layered these together and added a few stickers on top.  

The white space around my title seemed very empty and I filled it with a few of the star chipboard stickers from the Echo Park sticker sheet and a few of the Prima Sugardots.

I thought I was just about finished and felt like I needed a darker base.  I then took my trimmer and trimmed off both sides of my layout and backed the whole thing on a piece of Kraft cardstock.

This months kit works great for school themes, but also if you love reading, learning, or even want to record a few of those long ago childhood memories.

Thanks for stopping by the blog today!  Happy scrapping :)


Tuesday, September 5, 2017

Kindergarten with the Study Guide Classic Kit

It's that time of year when all the students are headed back to school.  This months kit is such a great mix of school themed and non school themed products.  I decided to document a few things about my littlest from last year when he was starting school as a kindergartener.


I started with the yellow cardstock and cut about an inch off two sides and used the black script pattern paper underneath.  I then started cutting strips of pattern paper to go on top.  I ended up three different patterns and lined up on top of the cardstock.

I cut a strip of pattern paper for the top of the block and placed ribbon underneath.  I then decided to use the Heidi Swapp stamp on to of one of the cardstock stickers and placed that on the upper left corner.


I then used the thickers to spell out my title and added the pictures and journaling block underneath.  I cut one of the library cards from pattern paper and added his teacher, school, and school year with the American Crafts marker before tucking it behind the picture.  

The final touches were some enamel dots, flair, and cork stickers.  


I hope you all had a fantastic holiday weekend.  Thanks for stopping by the blog today and be sure to share any of your projects on the Noel Mignon Facebook Page.  We would love to see what you have been creating.

Happy Scrapping!