Showing posts with label Pebbles. Show all posts

Friday, May 18, 2018

Science Spectrum: Enjoy the Journey Daily Diary Kit

Hi!  Sarah here with another layout using the May daily diary kit.  For this one, I layered up some papers from the April kit that I hadn't used.  I really like all the colors together and they paired nicely with the die cuts from the kit.


With the two photos I had of the museum, I also had one of our tickets that I placed on it's side next to the pictures.  I like how the blue on the ticket plays off the colors.  


I really liked the oversized arrows from Pretty Little Studio and used two of them to point towards the photos.  The "Stop Here" sign was also a nice touch and helped me to build that embellishment cluster.
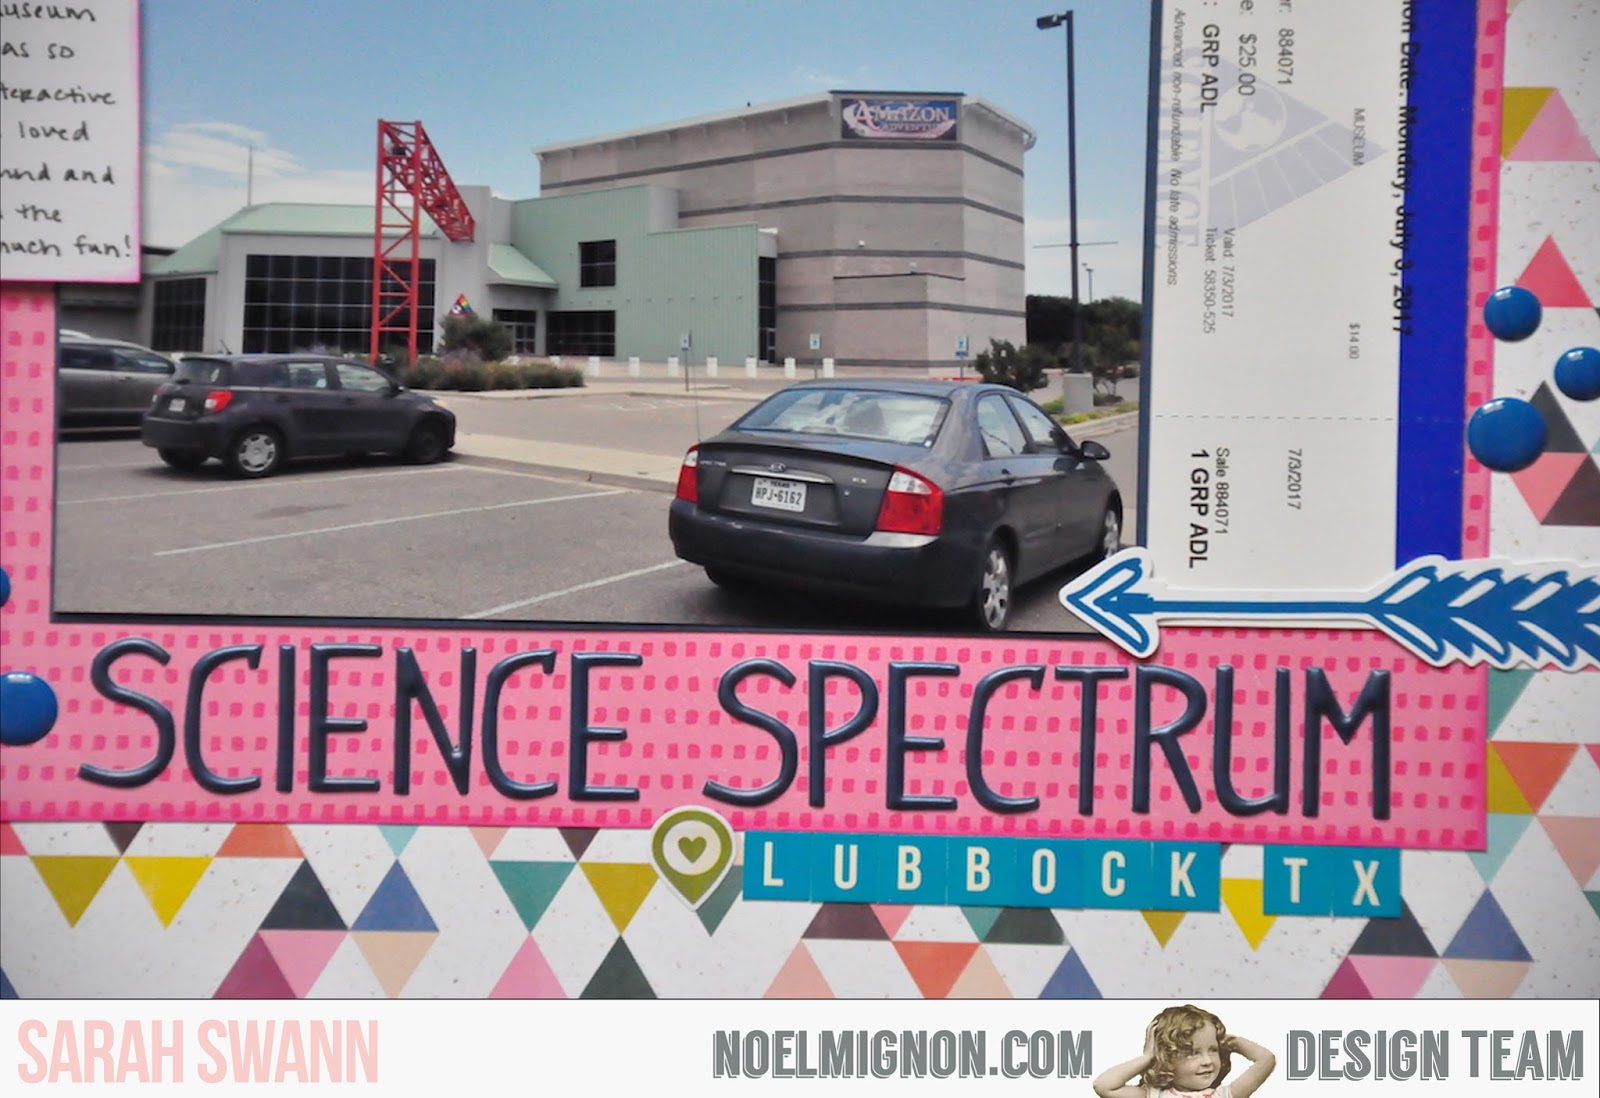


I used some Hip Kit Club alphabet puffy stickers for the title.  I like how the navy pops against the pink paper.  I used the Pebbles tiny alphabet stickers from the kit to indicate the city where the museum is.


I did my journaling on a piece of white cardstock and popped it up on some foam squares.  I finished it off with some navy enamel dots from Teresa Collins from my stash.

Thanks so much for joining me today.  I'd love to see what you're making with your May kits!


Friday, March 30, 2018

You Are Awesome: You Go Girl Daily Diary Kit

Hi!  Sarah here with my last layout using March's You Go Girl daily diary kit.  I really wanted to use that little puffy sticker of the Boston terrier....I had a Boston terrier...it was meant to be!!!  I had this picture of my sweet Brody, who passed away last April.  


For this layout, I made it 8.5x11 to go in an album I had started a few years ago and never gotten back to.  It's basically a "Stories" album where I'd like to house some special stories from our lives.  This picture of Brody is perfect to go into the album.  I used an 8.5x11 piece of navy paper with gold foil hearts on it that went really well with the 6x6 papers from the kit.


The navy foam Thickers were perfect for the color scheme.  I cut out the camera from one of the cards in the kit and put that adorable dog face in the center of the camera.  It was perfect!


The #flawless die cut was so great to use here because he was pretty flawless.  


One of the journaling cards from the kit was so great to place my journaling on.  I also pulled out a chipboard "Hello" from my stash and some navy enamel dots from my stash as well to help pull it all together.

Thanks so much for joining me today.  We can't wait to see what you're making with March's kits!


Friday, March 23, 2018

Grad School: You Go Girl Daily Diary Kit

Hey!  Sarah here with a simple layout using the daily diary kit for March.  I wanted to document the fact that I decided to go back to school at the age of 39, which is scary!  The die cuts really helped me to put this together quickly.


I pulled a few papers from my stash to layer behind my photo since the last paper I have from the kit didn't really fit the look I was going for.  So I layered them up and used a full Felicity Jane paper for my background, which is a gray with a scalloped bottom.


I loved the backpack die cut from the kit and knew I could use it here since it is a school themed layout.  I also used a Pebbles puffy sticker of the coffee cup, because...school.  


I used the square die cuts in a grid pattern to embellish the left side of the layout.  I felt that the quotes on them were perfect for this layout.  The "You Got This" is cut from one of the 6x6 papers from the kit and layered on top of a die cut where I didn't need the quote, so I covered it up with a better one for the layout.


I used a long title!  I put the "Grad School" in white to highlight that as my overall title and the rest I used the navy Thickers.  I really like the look of the title.  The Pink Paislee butterflies helped to anchor the journaling.

Thanks so much for joining me today!  I can't wait to see how you are using your March kits!


Friday, March 16, 2018

Taco Friday: You Go Girl Daily Diary Kit

Hi!  Sarah here with a layout using the You Go Girl daily diary kit.  When I saw the "Taco Tuesday" sticker in the Pebbles package, I knew exactly what layout I would make.  My girlfriends (and occasionally my husband) go out every Friday night and have tacos.  It was perfect!


I used a background paper from my stash since the only paper I have left to use in the kit didn't fit the look I was looking for.  I pulled out this neutral paper to use which had the top patterns and stars and the bottom drops already printed on it.  I also pulled the large gold doily and the blue branding strips with hearts from my stash as well.


For my title, I knew I had to use that "Taco Tuesday" sticker as a part of it.  For the rest of the title, I did a little take on the quote from The Lego Movie where Wyldstyle talks about Taco Tuesday turning into Freedom Friday...but still on a Tuesday.  So I took that to influence my title for "Taco Tuesday...but on a Friday."  I took two of the 6x6 pattern papers to layer behind my two photos which are both 4x4 sized.


For the outsides of the photos, I used a few stickers to embellish it.  On the right side here I used a Pink Paislee epoxy sticker and two Pebbles puffy stickers.  The little BFF phone was awesome because these girls are my BFFs!


For the left side I cut out this quote from one of the 6x6 papers that says "happy girls are the prettiest" because we are happy when we have tacos. And the #girlsquad was great, and I did preface in my journaling that it's always us girls and occasionally my husband, lol!

Thanks so much for joining me today!  I can't wait to see what you're making with this month's kits!


Friday, March 9, 2018

Book Fair: March "You Go Girl" DD kit

Hi!  Sarah here with a layout using March's daily diary kit.  I really wanted to highlight the school book fair this year because it's something that I volunteer for each year and it helped me come to the decision to pursue my master's in library sciences.


The Pebbles paper from the kit was perfect since it's really a school themed layout.  I also pulled fun little elements like the typewriter from a die cut pieces and the little girl's head.  I cut one of the 6x6 papers in half to make it look like it's a longer piece to take up more room on the layout.


I used the Thickers from the kit for my title along with a pieces from the circle die cut and a cute puffy sticker and flower.  I love the way it all came together.


The large epoxy sticker is from my stash and I was saving it for this layout because of the quote on it.  I have discovered my passion for books and reading and I'm not letting fear keep me away from my dreams!


I cut out the "woo hoo" from a die cut hat piece because I liked the words, but didn't need the hat part of it.  Make your supplies work for you!  I added some sequins to help finish it off.

Thanks so much for joining me today.  I hope you will consider documenting a time when you didn't let fear get in your way of your passions!  This is a great kit to do just that!


Friday, March 2, 2018

Key Spouse: You Go Girl Daily Diary Kit

Hi!  Sarah here with my first March layout using the "You Go Girl" daily diary kit.  As a military spouse, we spend a lot of time supporting each other.  We have to.  Or we would go nuts.  Because of this, the military came up with a program called the Key Spouse Program.  Basically it is designated spouses who serve as liaisons between the spouses and the base and squadrons that they are a part of.  I am a key spouse currently and we will be on a new journey soon where I won't be a part of a spouse squadron like we are now, so I won't be a key spouse again for a while.  I wanted to take this time to reflect on it because it's a big part of my life currently.


I pulled a Studio Calico paper from my stash to use as my background.  The 6x6 paper is from the kit and adds a nice pop of pink.  


I used the Thickers form the kit for my title.  A strip of washi tape really helps ground it.  I also used a phone puffy sticker which is fun because as liaisons, we use our phones a lot for making calls, messaging and updating the facebook group constantly.  I thought that was a nice touch.  The blue "Air Force Key Spouse Program" piece is from a pin that we get after we go through our training.


I really like the die cut that says "Let's Do This" but I didn't want the headphones that are on the top.  So I tucked the headphones behind the photo and kept the words and scrolls that I love.


I loved that quote on this card and it really is relevant.  As a military spouse, you have to be strong because it can be difficult at times.

I really love the way this layout turned out.  It's a great memory for and I want to remember this time in our military career.

I hope you're enjoying your March kits!  Please share your layouts in the Facebook group so we can see them!


Friday, February 9, 2018

Total Eclipse: February So Sweet Classic Kit

Hi!  Sarah here with a layout using the February classic kit.  This week, we are using outside inspiration for our prompt.  I went to my Pinterest board and looked at some sketches that I had saved.  I found this one and thought it would be perfect for the layout I was planning.


I really wanted to be sure I documented the solar eclipse that recently happened.  I loved the circle elements in here and with the sun, I thought it went nicely. 


I love the constellation paper from Authentique and with the sky element here, the paper and the color was just perfect.  I also cut some circles from other papers to complement them.


I had been saving this "Looking Up" die cut for a long time and I was finally able to us it!  This is from my stash, but it fit so nicely here.  I used two lace strips from a patterned paper to anchor the top and bottom of the photo cluster.


The Thickers from the kit were just great to tie everything in all together.

Thanks so much for joining me today!  Please share your layouts you're making with February's kit in the FaceBook group!


Friday, December 8, 2017

Santa: Gingerbread and Peppermint Classic Kit

Hi!  Sarah here with a fun Santa layout.  Obviously, this kit was perfect since it is Christmas themed.  As soon as I saw the Pebbles paper with "Santa's Delivery List" on it, I knew I would use it for this year's Santa picture.


Like I said, the background paper is from Pebbles, along with the striped branding strip on the bottom of the layers.  I also used a Crate Paper kraft polka dot paper to help ground my 5x7 photo.  


The Thickers stand out nicely against the layers and holiday colors.  I used some of the circle stickers from My Mind's Eye and Echo Park.  The word tiles are from Pretty Little Studio.


I knew I wanted to use the chipboard "always believe" tile on here, it's just perfect!  I also did my journaling on the lines along the left side of the photo.


That Santa from the My Mind's Eye sticker sheet fit perfectly next to my paper layers.  I cut out a heart from one of the stickers and added it to his bag as well.  Some sprinkles of Heidi Swapp Colorshine in Tinsel (not in the kit) helped to finish it off.

I hope you enjoyed this layout!  Anyone else using this kit for their Santa pictures this year?  Please upload them to the FB page so we can see them!


Friday, December 1, 2017

Potter Party: Dec Gingerbread and Peppermint Classic Kit

Hi!  Sarah here with my first layout for the month of December.  I'm using the holiday...Christmas...winter kit...and making a Harry Potter layout!  Naturally...


The reason I wanted to do this layout with this kit is to show you how you can use a themed kit in a different way.  The holiday colors really give me Harry Potter vibes and I wanted to use that here.  I backed my layout with the green cardstock and used the Pebbles papers to create my layers.  


I used the Thickers and the Elle's Studio white letter stickers to create the title.  I also wanted to use one of the banners from the My Mind's Eye sticker sheet and layered up a few stickers and added two brads.


I journaled on the back of one of the die cut tags and added some twine from my stash.  The Harry Potter button was from the party we went to and it helped me to pick my color scheme.  I used one of the long stickers from the sticker sheet to make a "shelf" for my button.  


There was one word strip sticker that says "I believe in magic." HOW PERFECT IS THAT???  I just had to use it here.

I hope I could help you think differently about a holiday themed kit if you find yourself without any holiday pictures to scrap.  Don't forget to share your layouts with us in the FB group!


Friday, July 28, 2017

You Go Girl: High Five Daily Diary Kit

Hi!  Sarah here with my last layout using the July High Five Daily Diary kit.  This week we are showing you how to use this summer themed kit for layouts that are not about summer.  We are challenging you to think about your supplies in different ways.


This layout is about my daughter's last week of school this past year.  She came home with a ton of awards for her class and for the school.  We were so proud!  I pulled a coral pink piece of cardstock (from my stash) and used 6x6 papers from the kit to build my background.  I love how the purples, pinks and yellows look together.


The "shine" word is also from my stash from Heidi Swapp, I just had to use it on here.  I cut one of the bingo cards from Pretty Little Studio in half and used the top up here and the bottom in the bottom corner.  Great way to stretch your supplies!  I loved the transparent sticker from the Pink Paislee sheet that is definitely summer themed.  This one says "Light It Up" which was great for this layout since I'm talking about her accomplishments.  Washi tape and Pebbles flower stickers from the kit helped pull the top together.


I doubled up the ribbon from the kit to help anchor my photo.  I used another transparent sticker and an Elle's Studio puffy sticker to start off my journaling.


The Thickers from the kit were the perfect size for where I put my title.  Finally, I added some of the Pretty Little Studio sequins to scatter around the whole layout.

I love the colors in this kit and I'm happy we could show you different ways to use these summery supplies to help stretch your supplies.  We can't wait to see what you're making with these kits.  Don't forget to share them in the FB group so we can see!