Showing posts with label Tim Holtz. Show all posts

Friday, February 16, 2018

Llama: February So Sweet Kit

Hi!  Sarah here with another layout using the February classic kit.  Once I saw that llama die cut I knew exactly what to scrap!  My girls both have llama shirts that they love to wear so I had them wear them on the same day and snapped a picture.


I thought it would be a fun way to document a trend since llamas seem to be everywhere right now.


I love the woodgrain paper and thought it would be a nice anchor for the pink and patterns I planned to use as well.


I used the Distress Ink that came in the kit to ink the edges of the papers to help tie them together and give them good definition.


The chipboard elements worked out great with the florals and the ticket and the little word strips helped add a little extra detail.

Thanks so much for joining me today!  Don't forget to share your projects with us in the facebook group!


Friday, February 2, 2018

Sisters: February So Sweet Classic Kit

Hi all!  Sarah here with a layout using February's classic kit.  I love all of the hearts and pinks in this kit and it was great to be able to use it with a sweet picture of my girls.  This picture is just a random day in our kitchen and Layla went up to Caylan and said, "Pick me up!"  And she did and they stood there hugging for a few minutes.  Such a sweet moment and I'm so happy I was able to capture it.


I can't explain how much I love the brick paper with the pink heart on it.  It's perfect!  I made sure not to cover too much of it so you can see the heart clearly.


I used the Tim Holtz distress ink from the kit to ink the edges of all of my paper layers and it adds the perfect little pop of hot pink.


I had a sticker that had a large "2" on it that I've had in my stash for YEARS and I was so happy to be able to use it here.  


I used a strip from one of the papers to ground my layers and picture and used the Thickers for my title.  Chipboard pieces and heart gems help to finish it off.

Thank you guys so much for joining me today!  Please show us how you're using your February kits in the FaceBook group!


Tuesday, October 17, 2017

Marching Band Mini Album with the Apple Crisp Daily Dairy

Hello all!  As I have been weeding through my scrapbook stash trying to decide what to pack and what to purge I ran across an old Making Memories mini album.  I'm not sure how old it is but decided to pair it with the daily diary kit and document my sons marching band season.

I started with the cover.  I love the large alphas in the kit, but the letters I needed to spell RHS weren't in the right colors.   I traced around pattern paper and a 4x6 card for the black/gold school colors.


I then embellished with enamel dots, cork stickers, and a date stamp.


On the inside cover I printed out the season calendar.  On the opposite page I printed a photo that features my piccolo player from a recent competition.  I used pattern paper for the photo corners.  


This album contains a few pockets on the sides and some in the top.  The next spread contains a few more large photos of the band during the summer parade season.  I took one of the folding 6x4 cards and tucked it into the pocket.  

I am going to have the boy do the journaling for this mini.  I think it's important to get his voice for this project.

The next spread includes snaps form drill camp and a page protector that I ended up adhering cards and stickers to the outside.

The last photo is from the homecoming game and halftime field show.  I am still working on this mini and will share the rest in next weeks post.  Hope you come back next week to see how I am documenting the rest of the bands busy competition season. 

Thanks for stopping by!


Friday, October 13, 2017

PSL Season: Apple Crisp Classic Kit

Hi everyone!  Sarah here with a layout using the October classic kit about one of my favorite topics...COFFEE!!!  More specifically, my precious pumpkin spice lattes.  I'm one of those people that want to line up at Starbucks at dawn for a cup of this glorious nectar.  This kit was perfect for documenting it.


This week we are challenging everyone to use some mixed media on your layouts.  I'm not big into mixed media, but I did take advantage of the fact that the kit came with some distress stain.  I used the stain and some coordinating ink to make some coffee stain images on the background paper.  


Up at the top, I used a scrap piece of paper from the kit to make an extra cluster.  I used the washi from the kit along with a word strip and gems.  The coffee cup flair badge is from my stash.


I fussy out some of the wood images from the American Crafts paper.  I also layered some of the Jillibean Soup stickers (coffee cup and heart).  


The puffy stickers from the kit are my favorite things ever!  The detail on them are amazing.  I used the coffee cup and the pumpkin to help emphasize the layout topic.  And the acrylic word helped to round it all out.


I just love this time of year!  I can't wait to continue making some layouts to document it using this kit.  We'd love to see what you're making with it as well!


Tuesday, October 3, 2017

Red Maple Trees with the Apple Crisp Daily Diary

Fall is here and it so happens that it is my very favorite season.  Here in Utah we get a beautiful change in the leaves and the slight nip in the air as the weather begins to cool down.  This months kit is perfect for documenting this season.  I decided to make a full page spread with the Apple Crisp Daily Diary kit and document my love of the red maple and the glorious color it turns in the fall.

I started with the Jillibean Soup pattern paper for my background. I used the large die cut letters for my main title and then added the 3x4 cards around it.  I chose to use two of them for embellishing, one for journaling, and one for my picture.

I then took the 6x6 Echo Park pattern papers and added a few strips among the 3x4 cards and added more across the top.


Noel combined some of my favorite embellishments this month:  letter stickers, enamel dots, and cork stickers.  I picked from the Tim Holtz word phrases and paired them with the heart cork and a couple of enamel dots.


Once I had placed everything down I went back and outlined the title letters with the AC Marker from last months kit and a few staples along the top.  Another very simple page put entirely together using the kit and a few must haves that are in my moving scrapbook tool kit.  At this rate I might need to get rid of all my stash and go back to all the basics . . . nah, that is probably too extreme, but it's nice to know that all I need is a few tools and Noel's kits and I am set.  :)

Happy Scrapping!


Friday, June 9, 2017

Fun with Mom: June "Dive In" Classic Kit

Hi!  Sarah here with my second layout using the June classic kit.  I searched through my photos for some good summery layouts to make.  These pictures caught my eye because not only is my mom wearing a good yellow shirt, but they were taken at a bar on the boardwalk in Florida.


Since I used that busy Crate Paper chevron paper, I used the yellow cardstock to let your eye stop the pattern when you look at it.  I added the floral paper as well because it really reminds me of my mom.  She loves florals!


For the title, I used a mix of the Echo Park chipboard pieces and the Elle's Studio tiny alphabet stickers.


I used the Crate Paper stamp set to stamp out the name of the bar where we were.  Then used the Tim Holtz Distress Marker to color in the letters.  I also love how the flair badge snuggles nicely next to my journaling.


I used a strip of the yellow ribbon along the bottom and framed my photos with four of the yellow flowers as well.  I love how they both tie in to my mom's yellow shirt.  I echoed the blue cross pattern from the title with the small chipboard circle from the same package.

Thanks so much for stopping by today!  I encourage you to pull a color from your photos to concentrate on with this kit.  Happy Scrapping!!!


Saturday, July 9, 2016

Summer Daze | Summer Lovin' Classic Kit

Hello friends!   It's Laura Whitaker here sharing a new layout and a short video.  The DT was challenged to use water-colours in some way on their projects this week.  How fun is that! I used water-colours in three ways on my page, so let me share them with you.

Summer Daze


This page documents the day my son and I took a few minutes away from unpacking to explore the beach at our new home, after our move last summer. I could not resist using this gorgeous patterned paper from Echo Park's Summer Party collection as my background, I just love that it looks like it was hand painted with water-colours! So that is the first way that I incorporated the water-colour challenge.


I used the "Peacock Feathers" Distress Crayon from my kit to add a water-colour look to the die cut clouds that adorn my layout.

I just love the way they look, the colour is so rich!  Here is a quick video to share my process.


That was the second way that I incorporated water-colours into my page!


The embellishments in the July kit are so super fun, the die cuts from Imaginisce blend so seamlessly with the puffy stickers from Elle's Studio and the brads and chipboard from Echo Park.

Just a tip, the acetate pieces from Imaginisce have a clear protective film on them that needs to be removed.


I haven't added ribbon to my layouts in quite a while, simply because I never remember to, so I am a bit out of practice.  This is why kits are so fabulous, everything is all together and it reminds you to use up your goodies!

The third way that I added water-colors to my layout was to use some of the leftover "paint"  from my clouds to "flick"onto my page


I used the washi tape in the kit as another layer and tore strips of it to tuck under my paper layers.


Supply List:
(From Kit) Echo Park Summer Party patterned papers "swimming fish", "beach love", vacation time"; American Crafts cardstock in Geyser; Elle's Studio Sunny Days cut outs and puffy stickers; Imaginisce Sunny ephemera and alpha stickers; Echo Park Summer Party chipboard, washi tape and brads; Tim Holtz Distress Crayon is Peacock Feather and Spiced Marmalade; ribbon. (From my stash) Tim Holtz Tiny Atacher; Dear Lizzy date stamp; CTMH black archival ink; Staedtler fine tip felt tip pin grey.

Thanks for visiting!
Laura
xo

Thursday, March 31, 2016

Bit of Flair Challenge and "Kill-A-Kit" Layout Share- "Picture Perfect" Classic Kit

Hello!  I can't believe it's already the end of March---where did this year go!??!!  Today I'm sharing a layout for the "Bit of Flair" challenge that the DT took on this week.  I also had a very productive scrapbooking month, and wanted to do a "Kill-A-Kit" layout share as well.

I will start with my "Bit of Flair" Challenge.  I used both pieces of flair that came in this month's kit on this layout about my daughter and her new baby brother...


Here is a close up of the left hand side of the layout, I used the stamp set in this month's kit to create my own "patterned" paper on the bottom half of the layout.  I inked the stamp with the Lawn Fawn ink that came in last month's kit and stamped 3 "generations" of the image before reinking it.  Then I continued the same process with a teal ink that I had in my stash.  


For the title of my layout, I fussy cut around the "love" sentiment on one of the cut apart sheets in the kit and inked the edges.  I then cut the "every moment" phrase from the patterned paper that I used, I cut it from part of the paper that would be covered by the photos, mounted it on pop dots, and placed it directly over the "every moment" phrase that was printed on the paper. Next I colored the letters in with the Tim Holtz marker that came in this month's kit.  I added the heart charm and the enamel dot from the kit and finished it off with 2 buttons from my stash.


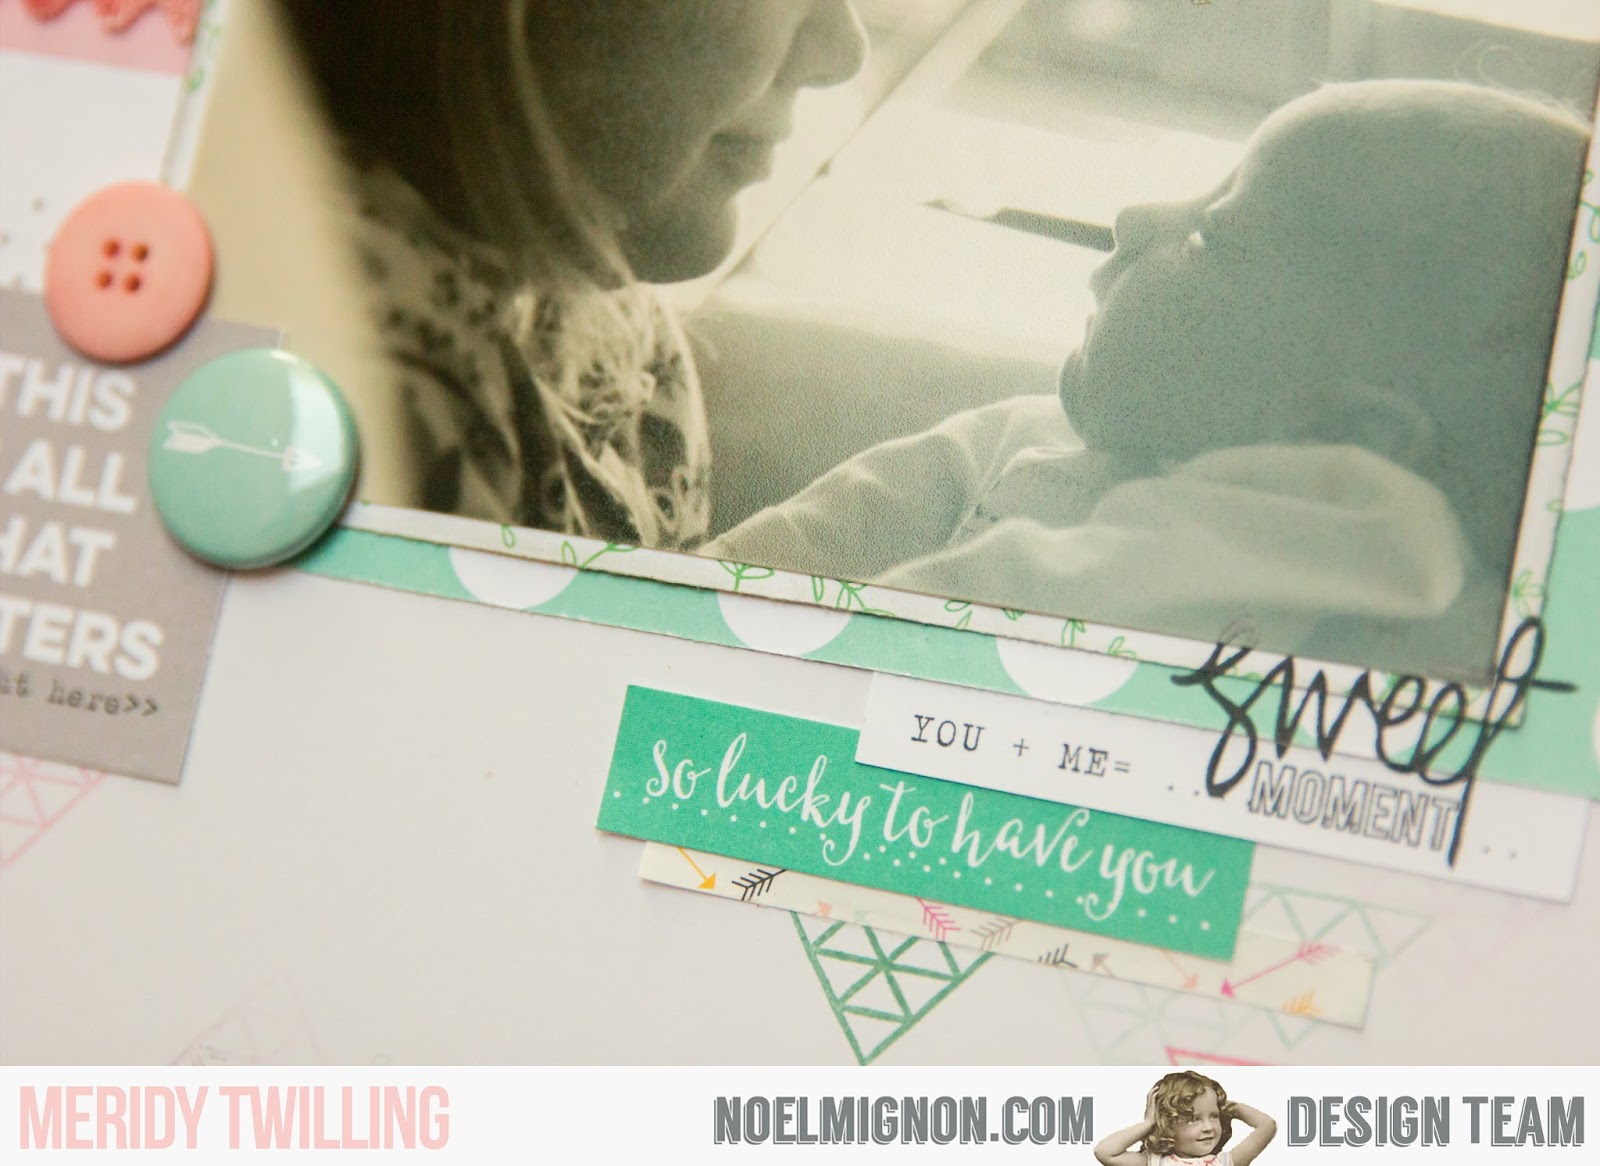
Below is a close up of the "sweet moment" stamp from this month's kit that I used in combination with some of the cut apart sentiments. 
 

You can see that I used one of the flair buttons on the bottom left of this photo, along with an enamel dot, a couple of more buttons, and some of the beautiful self adhesive velvet ric rak.


The right side of my layout was more of the same types of embellishments as the left side.  I cut the phrase "special memories" from the background paper and popped it up with pop dots, added a couple of cut apart journaling tags, a piece of ric rak and a few more buttons.  I place the other piece of flair on the bottom right hand side of the bottom picture along side a few more buttons and that completed the layout!


To wrap up today's blog post I wanted to quickly share all of the layouts I made to "kill" this month's "Picture Perfect" Classic Kit.  I created 8 double page layouts and 1 single pager.  I nearly killed the kit, I can probably squeeze 3 more layouts out of the scraps if I really try.  

I did add cardstock from my stash in with the kit to create most of the base pages of these layouts.  I also add a couple of embellishments here and there (a few buttons, a doily, a couple of Thickers titles, and a small piece of ribbon).  But for the most part, a majority of these layouts come straight from my Noel Mignon kit---such an awesome kit, and as usual, I got so many layouts from it!