Showing posts with label Thrifty Tip. Show all posts

Friday, October 1, 2010

Chic Front Door Halloween Decor

SignatureVirginiaTillery.png

Some of you may remember my post from the springtime when I altered a Dollar Tree sign for my front door with the Sonoma County kit. You can click here to see my step by step instructions on how to create this. It's really simple and fool-proof (hence why I can make it, hehe).

Photobucket
I bought two or three (ahem) of the same flower design sign because I thought I might want to make more of them. I'm glad I hoarded- er I mean- planned ahead, because I love the non-Halloween background of a flower sign for a chic twist on a spooky sign. I used the new Sleepy Hollow kit to decorate it!

Photobucket


To glue on this icky, fuzzy spider, I used some of Helmar's Liquid Craft Glue. I really dig the stuff- it's great for these types of embellishments that you aren't sure on what will hold it on. It is super strong and dries fast.


Photobucket


(p.s. That spider gives me the heebie jeebies because I'm super scared of the crawly creatures. However... it IS a perfect touch to my Halloween sign!)

Friday, September 10, 2010

Being Gigi Makes Her Heart Sing


If you haven't noticed by now, I have a few staple items that I always reach for when I'm creating a layout. These are the things I consider the "little black dress" of scrapbooking; as every wardrobe needs a little black dress, every scrapbook page of mine needs these things:


(of course, I'm subject to change my opinion of these on a whim, but for now...)

masking tape
manilla shipping tags
inking
and the latest trend, thanks to Britt, matting my titles

*a common denominator of all of these things is that they are a cheap way to add extra oomph to your page, and they coordinate with nearly everything!

(This page is about our sweet Gigi, aka my Grams. I adore this picture I caught. Man, can you get any more genuine than the expressions on Sabby & Gigi's faces? It makes my heart smile. I created this layout with the beautiful Sweet Sue kit- 7 left!)

Friday, September 3, 2010

10 Years

I love, love, love the richness and subtle contrasts that the colors of fall bring us. Such great inspiration for scrapping!

This is my layout for the current challenge. (Check it out!)
I used part of the lovely sheet of Hambly rub ons from the Sweet Sue kit. I cut the far right strip of squares off because I am hoarding them for another layout. I also purposely didn't entirely rub on some of the little details- I wanted them to look distressed.
I made this envelope using my Silhouette machine (although you could easily trace one of the lovely Maya Road envelopes onto the paper or cardstock of your choice for the same effect). Instead of using the two cardstock circles as the closure, I used two of the vintage buttons from the Sweet Sue kit (along with some embroidery floss). I love looking for little ways like this to add a unique touch to a project.
(I loved Diana's idea of cutting out the die cut from the kit to make leaves, so I did the same thing!)

Inside of the envelope, I have notes from my hubs over the past ten years. I wanted some sort of journaling on the layout, but I wasn't sure what. I usually turn to song lyrics for these types of layouts, and these are the lyrics I used (from one of my favorite artists, JJ Heller).

You have a way of stirring up my soul
Did you know
When you hold me in your arms the way you do
It feels like coming home

And I am lost for words
You’re more than I deserve
And when I cannot stand
You are where I land

And when the years have stolen youth away
I will stay
You will be the keeper of my heart

Until my final day

Sunday, July 18, 2010

I'm Thrifty! (Sort of!)

Good morning and happy Sunday to you! I don't know if I am an oddity or if other crafters look at everything and wonder if they could possibly use that item in their scrapbooking......somehow. I can't bear to throw anything away until it's gotten the "Kovack once over!" Take tissue paper for example. I have lots of it......all ready for those gift bags.....but instead of sticking it out the top of a gift bag, it could be used to create butterflies......that are die cut and Glimmer Misted!
.............Or stamped on and cut out to create this pretty flower.

Or how about an ordinary stick from your backyard? How about painting and glittering it so that your little birdie has a place to perch?

How about all of those clothes that your children grow out of? Instead of immediately throwing them in the Goodwill bag, ask yourself, "Self? Would these die cut into pretty butterflies? or possibly flowers?" If the answer is yes.....grab that pair of shorts or old T-shirt and die cut away! Or tear it into strips and make your own ribbons with it! Oh, and see the scrunchy ribbon? That was my tutorial last week using Glimmer Mist and used coffee grounds. I use coffee grounds A LOT to stain my ribbons! I've even used coffee grounds mixed with paint and glue to create "dirt." (If you missed any of those tutorials click on them! : )


For this LO of my niece using the new "Office Party" kit, I used gauze from my stash. Yep....gauze. Even medical supplies are not safe in my hot little hands! LOL! I Glimmer Misted it and glued it down. I added some tiny rocks/shells to emulate the lake.

Some other things I stash are doilies from hotel rooms. (I slip them into my purse alllll the time!). Twill from my daughter's shorts that no longer fit. Jean pockets cut away from the rest of the jeans to make a cute pocket for your journaling and such. Aluminum foil die cut for interesting shapes or title. I used bubble wrap once to create waves for a watery LO I did years ago.
So before you throw anything away be sure to look at it with your crafty eyes! You might surprise yourself with what you come up with! And sometimes those thrifty finds are the most interesting!

Tuesday, June 29, 2010

Thrifty Tip- Usin' that Adhesive

I was brainstorming the other day, trying to think of things in everyone's stash or even just home stuff, that could be made to do other things in scrapbooking.

If you are a scrapbooker, you HAVE to have adhesive on hand. Most likely, a wide variety of ones that you've tried out for different things. I have some that I have found I love, but then I have this excess of other adhesives that I don't use on a regular basis... but they are sitting there, taking up space.

So I came up with a few ways to use them up, besides just sticking things down.

On this first tag, I used some pop dots to raise up some of the sun beams cut from the Sun-Kissed kit... but that's not the innovative idea here.
I used these ginormous glue dots that I have a BUNCH of, and stuck them down in the middle of each circle of the patterned paper. I then poured Pink Paislee Pixie sticks glitter on them, and squished the glitter down into the glue dot with my finger. Once I shook off the extra glitter, the rest stuck on the glue dot. AND there isn't any "shedding" of glitter. That stuff is staying put! I finished off each little embellishment with a blue rhinestone.
For my next experiment, I used some Quick Dry 450 Helmar Adhesive to draw a heart and write the word "love." The trick here is to use an adhesive that dries quickly (unless you have major amounts of patience). Once it was dry- within a few minutes- I sprayed on some of the Chick-a-Dee Shimmerz Spritz that came in the Sun-Kissed kit. I followed that with a couple of shades of blue (which turned to green in some areas... perfection!). I then used my finger to rub off any mist on the glue areas. It left these beautiful resists and it was so simple and fast!
And finally, for this flower tag, I used Britt's tape/flower technique (which is super easy, I might add!), but instead of using the Pink Paislee tape, I used regular old masking tape. I love the kind of vintage/worn look it has.

(P.S. Masking tape can be stamped on... and inked... and misted.) :)
(A Jenni Bowlin button finishes off the center of the flower.)

I hope this helps you to look at some of your adhesives- and other common stash items- in a new way!

Tuesday, June 15, 2010

Title Tip- Masking a Unique Looking Title

Sometimes when creating a layout, I don't have the right letter stickers that match the mood of the layout, or I'm missing letters from the set that I do have, so I have to improvise.
When creating this "Community" layout, I wanted some letters that were soft looking, but still had some impact & punch against the pretty blue of the cardstock.
I decided to cut out the title on my Silhouette (more about my favorite tool, here!) and then use the negative space as a mask for my blue ink pad & dauber. I just loaded up my dauber with blue ink and lightly tapped it over the mask. I added a little bit of olive green on top of it just to add dimension.
I then removed the mask and outlined the title with my white gel pen, then scratchily went around that with my black pen. I love the look this gives, and it's a fun way to experiment within boundaries.
(Layout created with the Sunkissed kit) I did the same technique in the above photo on a canvas album I'm working on, with a mixture of glimmer mists and inks. It's fun- try it out!

Friday, May 21, 2010

Tip & Technique: Painted Embellishment


I have lots of friends named Michelle that inspire me. ;) A couple of them on this team! However, today my inspiration comes from another Michelle that is not a scrapbooker, but is a incredibly talented artist (and one of my best friends!).

She created some little watercolor paintings a few years ago on top of text paper, and that is what I had in mind when I made this little embellishment for my layout.

Start off with a square or rectangle of text paper. I used some October Afternoon paper from the Lemonade Stand kit (5 left!).


Choose several colors of acrylic craft paint. You just need a small drop!

Add a little bit of water to each drop.
Brush on some of the watered down paint on the text paper.

Continue to do this to form your background. You don't have to cover the whole thing!

I wanted to make a happy little flower picture- it's simple enough for me to paint!

If you leave some globs of paint on the picture, it'll dry with some texture.
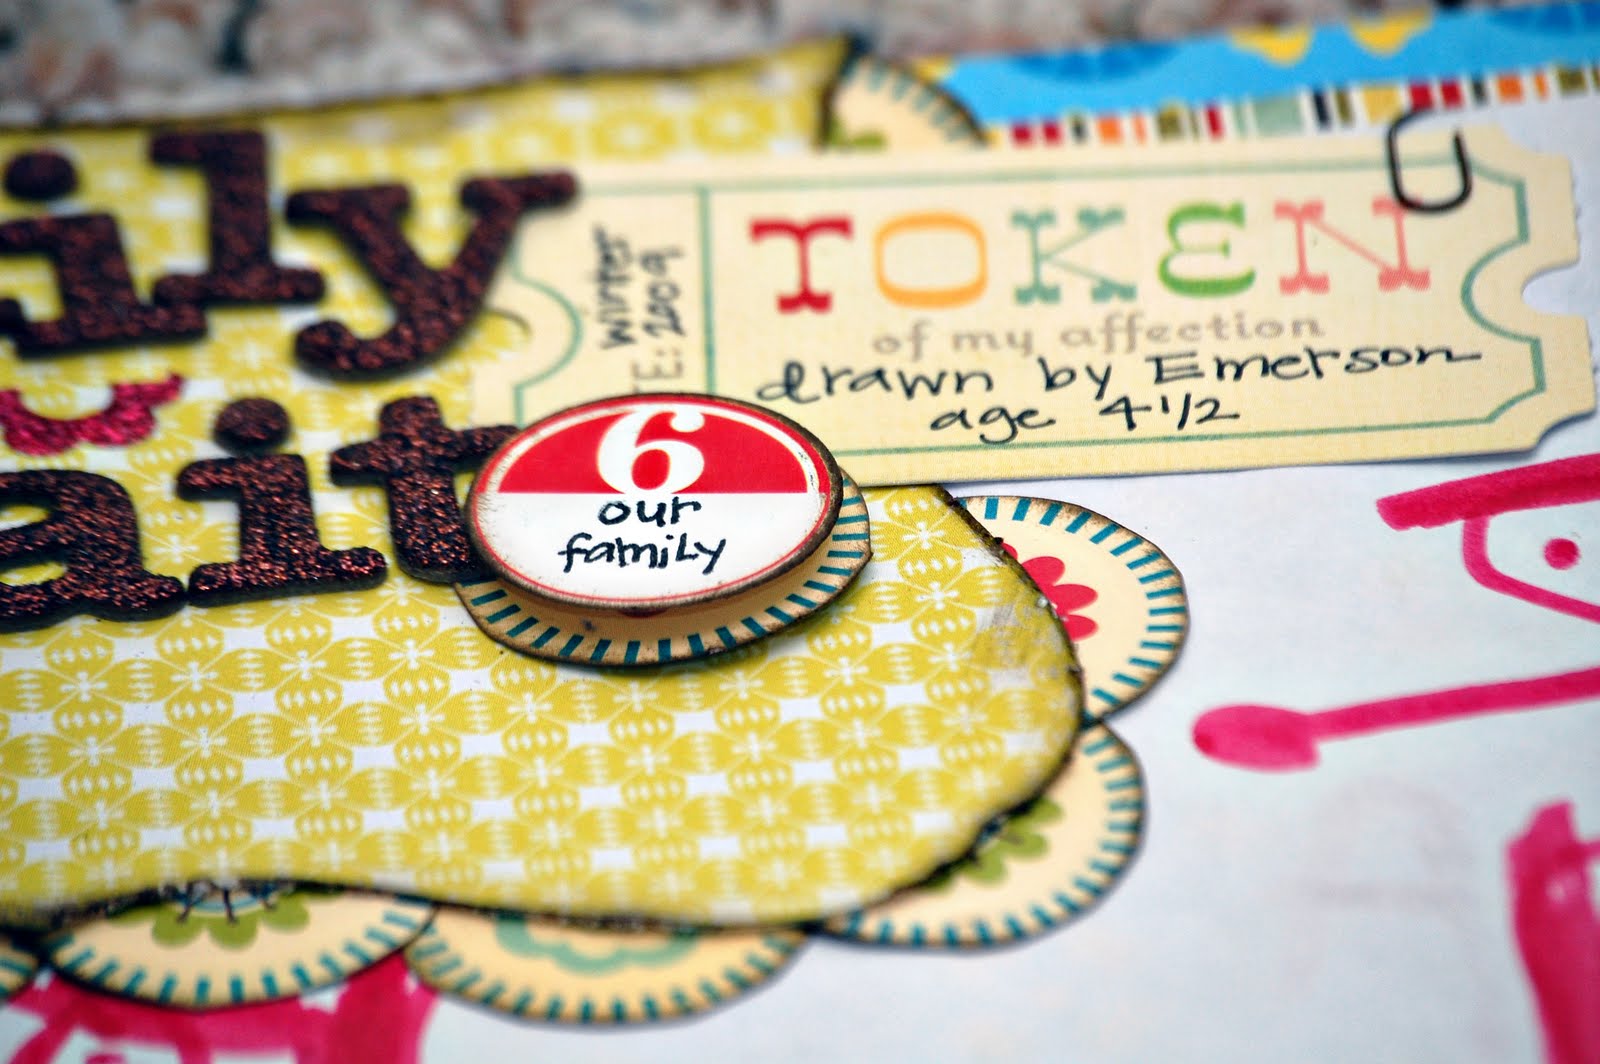
I cut out another quote from the same paper and adhered it on top, along with embellishing it with one of the rhinestone brads from the kit.
Check out that cool embellishment!


(The background/border of this page is made from the Jenni Bowlin Coredinations cardstock in the Lemonade stand kit. To make it coordinate with the painted embellishment, I used the same paint on the embossed polka dots, and then roughly traced around them with a pen.)

Tuesday, April 20, 2010

Low on photo printer ink?


Don't you hate it when you are low on photo printer ink, and don't have time to get new pics developed?

Here's a thrifty tip that doesn't require a photo for a layout, but isn't too "artsy-fartsy" looking! ;)

Make your child's artwork the focal point of the page!

I loved this "family portrait" that Emerson drew a few months ago right after Ariana was born. It definitely needed to be included in our family album.


I used the Playdate kit (sold out!) to frame it out and embellish it. It didn't need too much product on there because I wanted it to stay the main focus of the page.

The blues & yellows of the Lily Bee paper contrasts nicely against the white & red of the drawing, and a thin border of Pink Paislee striped paper makes up the frame. Scatted buttons add a little interest.


Circles cut from some October Afternoon paper, and then cut in half, make up the scalloped border around the Lily Bee die cut.


Hope you try out this thrifty technique some time soon!

Monday, March 22, 2010

Thrifty Tips


We had such a great time at our Swing Into Spring Crop over the weekend! Thank you to all of you who played along with our challenges and games! And remember you have until Tuesday night to upload and link your pages on the appropriate threads to be eligible for all the great prizes. :D

I wanted to share a couple of Thrifty Tips with you today. The first one involves the page I created for the crop. When you just can't find the right accent to fill that empty spot on your page . . . instead of running to the scrap store, try using some clipart or an image from the internet.

On this page, I used the Ledger Clouds (dowloaded from MelStampz) and a Betsy McCall Paper Doll found on the internet .


Page created with the Noel Mignon Core Curriculum kit. The buttons and My Mind's Eye chipboard letters are from my stash.

My next tip involves letter stickers. Can't find the perfect color to match your page? Try coloring in a light colored alphabet sticker with a marker. Here I colored the letter stickers black . . . but I could've easily colored them any other color to suit my tastes.


Papers, Borderline Stickers, Flipnotes, Letter Stickers and Tape are by Pink Paislee. Crystal Accents by Zva Creative.

Don't forget to shop your stash. Make the supplies you already own work for the project you are creating.

Happy Scrapping!
Jana