Showing posts with label decorated items. Show all posts

Wednesday, September 30, 2015

Adventure Sketch Book

A friend of mine gave me this cute little sketch book, and the insides are just begging to be sketched on! I wanted to jazz up the cover, so I used the Show & Tell kit to prettify it! 


I love things that are dimensional and pop off the page. These layers are so inviting to me. 


Y'all know I love these jumbo clips! I think these will be great to mark my place in the sketch book. But for now, they'll sit right here on the front for all to see! 


TOMORROW are the subscription openings for the new term! Even current subscribers need to subscribe! Set a reminder on your phone! ;) 


Monday, January 12, 2015

"Hey Girl" Decorated Purse Planners


I grabbed these cute planners from the Target dollar spot not too long ago, and while they are cute on their own, I thought I would jazz them up with the "Hey Girl" kit! 


First, I took them out of the plastic protector and adhered a few favorite papers to them.


Then I simply decorated each one, and put the plastic protector back on. I'm planning on giving a couple of these to friends. 


I also covered the edges of the calendar pages with washi tape. 


Don't have a "Hey Girl" kit yet? Swing by the shop- we still have a few Daily Diary ones left


Friday, November 14, 2014

Easy and simple Thanksgiving Decor!

Have y'all been loving the "out of the box" decor items that the design team has been sharing this week? I know I have! I absolutely love brightening up my home with the papers and scrappy products that I enjoy using. 

I know as a busy mom, it's sometimes daunting or overwhelming to think about adding seasonal decor- trying to find the time, supplies, creativity... it all can get too much! I have something VERY simple and yet so charming that I think any woman out there could make quickly to add a personalized touch to their fall decor! 


I made this adorable jars by using some of my favorite papers from the Maple Creek kit. To make the letters, I used my Silhouette machine, but you could truly just use a letter sticker or handcut out the letters in a short amount of time. I thought about decorating each jar with embellishments and extra layers, but to be honest, once I wrapped the papers around the jars, I loved the simplicity of the look that I left them this way. Just a bit of adhesive on the back and some twine wrapped around from my stash completed the look.


I love how they look with the candlelight glowing through them. The bonus to wrapping double sided pattered paper around the jars is that the other side of the paper shows in the inside of the jar, glowing beautifully when the candle is lit.


I hope this gives you a simple idea to brighten up your decor in a few minutes! 


Friday, February 15, 2013

Valentine's Love


I think it must be every scrapbooker's curse to at least once have something spill all over one of their projects. I had a lovely layout all created with Julie's awesome sketch, but as luck would have it, my trusty cup of water was toppled over by one of my smaller companions all over my desk, and the main victim was my layout. :( Wahhh wahh! I'm in the process of re-creating it, and I'll be posting it later this weekend.

In the meantime, I do just happen to have another project I can show you today (thank goodness!). A friend of mine asked if I could make a gift for her to give to her husband for Valentine's day, using old photos of them. I was so excited to be able to help her out! 

She gave me several school photographs to choose from, and I converted them to black & white to give them a more "timeless" feel (and so I wouldn't have to work to compete with the colors).

I covered a canvas in text wrapping paper I picked up in the Target dollar spot a while back, and then added a layer of burlap on top of that. A cardstock frame cut out with my Silhouette machine added an elegant contrast to the rugged edges of the burlap. 


The burlap heart from the Lasting Love kit made a fun focal point, and an accent cut from corrugated cardboard added the right texture to complete the simple design.

I used cool office clips attached with two brads (and some hot glue for security) to clip  up mini collages made from papers & labels from the Lasting Love kit and the photos on top. I wanted to keep the whole piece simple, shabby, and elegant, and I think I accomplished it. And now I want to make myself a piece just like it! Ha! 


Friday, December 28, 2012

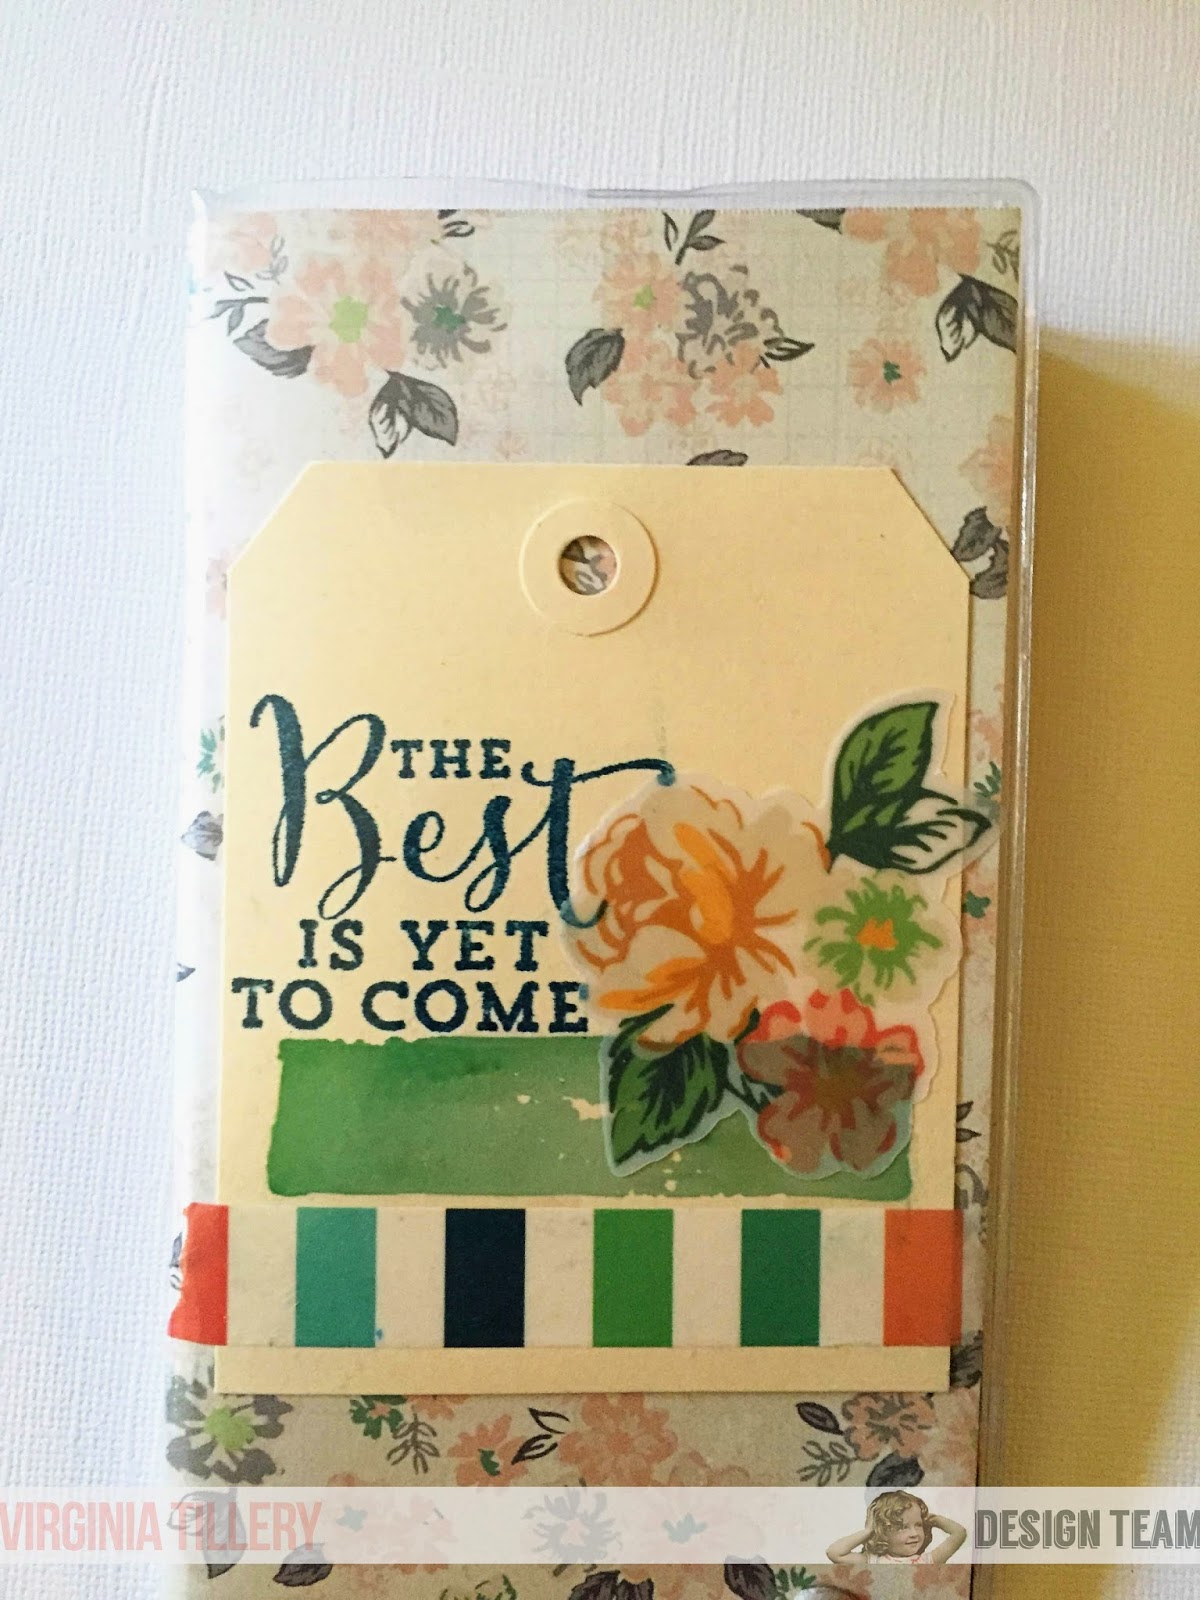
2013 Pocket Calendars for my Kiddos!


One of the things my kids asked for this year was calendars. They are all getting a grasp on the sequence of time, counting down to special days, etc. and the visual of a calendar is really important to them! 

I found these little pocket calendars in the Dollar Spot at Target, but they don't particularly reflect my kids' personalities, so I thought I'd personalize them. 

I used the new Soda Shoppe Kit (now on sale!) and selected two papers to just simply cover the outside of the calendars. 


One of my girls like simple, feminine things, so this one is for her. 


The other one is more spunky, so I thought this fit her a bit better! :)


I used my decorative tape collection to put a strip of tape on pages that had important dates, like birthdays, vacations, holidays, etc. 


It helps them to see how much longer to those special days! :)


Have you checked out Soda Shoppe yet? It's a beautiful kit that you won't want to miss!

Friday, September 14, 2012

Brightening up the Bedroom with a NoelMignon kit!


How much do you love NoelMignon kits? Enough to decorate your home with them? LOL I do! 

I love a bright, whimsical, happy look in my home, and my bedroom needed a few more touches of that. 

The piece you see in the picture below was just a boring ol' nightstand, but with a little yellow and white Valspar spraypaint and primer, I was able to transform it quickly. One final touch of some My Mind's Eye paper and some Mod Podge, and it turned a regular piece of furniture to a custom boutique piece! 


I added wiped on bits of espresso brown acrylic paint to act as a stain on the paint... I love that aged look. 


If you've ever seen one of my kit review videos, you'll see the horrible eyesore in the background... an old brown bookcase with a clumsily tacked up curtain on it to hide the stuff set on it. 

I got the organizing bug a week ago and headed to Target to get a few bins and baskets and frames. 


The two teal frames were a set for $3 (college product clearance!) and I customized them with papers from the Evening Stroll kit- a perfect match! 


This is SUCH an easy way to give a "big mat" look to a frame. Plus, it makes it way easy to change pictures out! 


I added some letter stickers from the Evening Stroll kit and a small cut out heart on top of this picture to make it even more special. :)


My hubs and I always have a big mess of library books, so these baskets with Silhouette labels worked out perfectly to contain them, and look cute to boot! 


I hope this gives you some inspiration for a few easy ways to make some seasonal or permanent changes to your home! You could adapt these ideas to Christmastime decor, or to a child's bedroom... the ideas are endless. :)

Friday, November 11, 2011

Hudson Valley- Review Video


I got my Hudson Valley Kit in the mail yesterday and was so very excited to open it up. It's like "Autumn" in a box. The colors and textures are completely up my alley. I made y'all a little video so you could get a peek at the insides! 


Remember the Halloween display I made? I just revamped it and added a simple little banner made from the Hudson Valley Kit for my Fall decor. I see all sorts of gorgeous mantles online, but for now, simple is really good for us. :)


Friday, October 8, 2010

The Spookification of Your Home


We've been discussing over on the message board different ways to use the Sleepy Hollow kit, as it is packed with SO much spookiness, and unless you need to make a heck of a lot of layouts or a mini album, there is plenty to go around to use in your home decorating.

I like to decorate all available surfaces for Halloween... okay just kidding. But I do find a lot of fun in the whimsy & spooky silliness of the season, so I like to incorporate that in my home.

Most of the time, I try to stick to my decorations that are pre-existing, and just make them conform to the season.

Granted, this works especially well at Halloween as I already have creepy, old fashioned posters of little girls standing in the woods on my mantle.

(Before)

What? You don't have that too? ;)

Here's my spookification:

(After)
This took a crazy long time to do, because I used Girls' Paperie alphabet stickers from my stash to write out the final verse from "The Spider and the Fly." In retrospect, it would have been a lot easier to just go buy a new ink cartridge for my printer and print it out, but alas...

(Created with the Sleepy Hollow kit.)
The pumpkin in the lower left corner of the photo above is decorated with little pieces of black cardstock that I hand cut and just adhered on with scrapbook adhesive. I figure we can change out his face if we want to give him a new look.

Below are simple, cheapo thrift store frames that I quickly brushed with black paint & inserted with pieces of paper from the kit. I used some mist on them to give them a splattered look, and then used my Silhouette machine to cut out the giant letters out of cardstock. Tape on some of that gorgeous ribbon from the kit and you have a cute focal point.

We believe that everyone in our home should get in on the costume action at Halloween. Try this out with a painting, photo, or poster in your home. Even if it's not already creepy like mine. :)
The simplest of things can add to your fall/Halloween vignette, like a stack of books tied together with ribbon. Throw in anything from your collection that seems spooky/whimsical, like Edgar Allen Poe, Grimm's Fairy Tales, Sherlock Holmes, Harry Potter, etc. Sometimes you might need to take off the book jacket for a more elegant look.
Finish it off with some tealights, a pumpkin spice candle, and some sticks from your yard stuck in an old vase.

The whole fun of the Spookification of my home was that I didn't have to pay a dime for anything I used. It's all stuff I had on hand and just re-purposed for my plan. Look around and see what might work for you!

Don't have a mantle? You can always create a focal point for a room like this on top of a bookcase or entertainment center, on a coffee table, on a stack of old suitcases, or somewhere else that suits your family. I would love to see pictures of your Spookification! :)

P.S. I like what my friends & I call "deliciously spooky"- not scary stuff, if that makes sense. No gore & horror here. I want my kids to remember this time of year for a fun time of silliness, not fear.

One of the things I included in my mantle is the final verse from this classic story. If you haven't seen this before, check your library for it (that's where we got ours). It's super fun & deliciously spooky to read to your kiddos- we're doing that tonight on our front porch after dinner!


"And now dear little children, who may this story read,
To idle, silly, flattering words, I pray you ne'er give heed.
Unto an evil counselor, close heart and ear and eye,
And take a lesson from this tale, of the Spider and the Fly."

Friday, October 1, 2010

Chic Front Door Halloween Decor

SignatureVirginiaTillery.png

Some of you may remember my post from the springtime when I altered a Dollar Tree sign for my front door with the Sonoma County kit. You can click here to see my step by step instructions on how to create this. It's really simple and fool-proof (hence why I can make it, hehe).

Photobucket
I bought two or three (ahem) of the same flower design sign because I thought I might want to make more of them. I'm glad I hoarded- er I mean- planned ahead, because I love the non-Halloween background of a flower sign for a chic twist on a spooky sign. I used the new Sleepy Hollow kit to decorate it!

Photobucket


To glue on this icky, fuzzy spider, I used some of Helmar's Liquid Craft Glue. I really dig the stuff- it's great for these types of embellishments that you aren't sure on what will hold it on. It is super strong and dries fast.


Photobucket


(p.s. That spider gives me the heebie jeebies because I'm super scared of the crawly creatures. However... it IS a perfect touch to my Halloween sign!)