Showing posts with label hey girl classic kit. Show all posts

Friday, January 30, 2015

Think Happy Thoughts (Hey Girl Kit)


Before I dive into the scrumptious "Love Life Kit" (there's a few left!) , I wanted to use a few leftovers from the Hey Girl kit. Since my girl turned seven last month, I wanted to be certain to use these bright, vibrant colors to celebrate & document her! 


I loved that the thickers had a few other little designs mixed into them, including these hearts. I just matted it on some patterned paper as a little accent.


As I mentioned in my video, I wanted to try spraying the felt bows with a little mist to see how it would look. I love the results! I didn't completely saturate them because I liked bits of white peeking through, but you could definitely completely change the color if you'd like! 


Wednesday, January 28, 2015

two Hey Girl projects for today

Hello!

I apologize for the late post today but it has been CRAZY here this week!

And, while I was working on this post earlier my computer crashed.

Isn't life fun?!

To make up for my tardiness I have two projects to share with you.


First up I have a card to share. I used the beautiful watercolor paper as my base and then backed a diecut 2"x3" card with a piece of the same watercolor patterned paper. I used some of the beautiful citron ribbon to tie a bow around the card, added some foam adhesive and some of the Heidi Swapp washi tape. 


I also created a 12x12 page using the kit and some twine and a burlap heart from my stash. 

I like how the rub-ons have some dots that look like big ink splotches. 


Noel's kits are always so full of texture and I love it! 

I tried to mix up a lot of different textures on this page. 


And of course I finished off the page with journaling. I think it is the most important part of a page and a great way to document info that we tend to forget way too quickly. 

Have a great day!


Monday, January 26, 2015

Honestly, I Love You.

So guess who got their brand new 'Love Life' Daily Diary kit!? And guess who made a video of it!? Yep, yep! That's right! 


Picking up in July. Because that's where I'm at. I got really patchy with my album this year. I mean, when you get a good Christmas kit, delivered straight to your door, how do you stick with finishing July? I mean, you don't. You move right on to Christmas. And then catch up. In January. But only if you're super on top of things...


The Hey Girl Classic Kit is seriously adorable, and has been so great to fit into my album, and there are so many sweet little pieces that are perfect for pocket style scrapping, not just for pages. Because I can't stick to one format. Thought I could. Wrong.


LOVE the Thickers in this kit - the foam are the greatest for making titles. You can kinda squish them together so that they look welded together like they're one piece. Super nice.


I've always had a hard time putting rubons and stickers directly on the photo. I always think I can be minimalistic and cool and just let the photo speak for itself. But then I remember that in no way am I cool on any level, and add little bits here and there. Like the awesome watercolor rubons and the little stamp, stickers and cork sticker.


I used this adorable sheet of paper to create a 4x6 card. I LOVE the heart strip at the bottom. Love it. And with the ginormous pack of stamps included in the kit this month, I'm pretty sure I can make a bazillion different 4x6 cards. And I just might.


So that's it for me today! I hope you all had a great weekend!


Friday, January 23, 2015

jobs for hire

No, this isn't a job posting :) I've been needing a new way for my kids to earn money around the house. Lately it seemed like my kids were always asking me what they could do to earn money (even though they knew what jobs they could do around the house). I remembered seeing something on Pinterest that sparked the idea to create this project. 

When I thought about how I wanted to tackle this project I decided to grab a clipboard I had and decorated it with some of the papers from the Hey Girl Classic Kit. 

I used elements from the classic kit and the daily diary kit for this project. 

I found these cute blue clothespins at Michaels which would work perfectly to hold my 'job postings'. I printed out a bunch of the jobs, punched them out, & used one of those cute envelopes to hold them. 

Weed mom's garden...that's definitely a job that I will pay out in the summer months!
The clothespins and envelope are both attached to the clipboard with magnets. At first I was going to glue them to the clipboard but then I worried that my son would 'accidentally' grab at it & rip it off. He was the kid, afterall, that broke the towel bar off the bathroom wall when his towel got 'stuck' and he yanked too hard! 
Boys... :)

Anyway, even though I used magnets that had adhesive on them I still glued the magnets to the board, clothespins, & envelope. I have to confess that I really dislike the magnets that you buy in a roll at the local craft stores because they're not very magnetic but it was all I had. My usual go-to magnets are ones like these (they are seriously super strong) but I was all out. I also added magnets to the back of the clipboard so I could hang this on my fridge. Be sure you use really good adhesive to hang this up...a glue gun probably won't do the job. I like using E6000 for crafts like this because it's super strong.

If you want to see some of the rules I've set up for our new jobs board you can head over to my blog. So far it's working out well and I'm hoping it will continue to encourage my kids that it's a good feeling to earn money for themselves!

Wednesday, January 21, 2015

Not one, not two, but THREE different looks with the Hey Girl kit!

 Good morning fellow scrappers! Over the long weekend, I had a bit more time to scrap, so I had the idea to show you three completely different looks with the Hey Girl kit!

The first layout is one I would say represents the kit as it appears: fun, bright, happy, girly. 

I had fun making this very playful layout and adding random bits here and there to it. 


The second layout I wanted to make a male version of the same feel... playful, happy, but with a boyish touch. I feel like I successfully pulled that off! 


I loved incorporating that stamp set into this title. To space it out right, I just laid the rubber stamp on the spot I wanted it to go and then arranged my stickers around it, and then stamped it after I was all done with the sticker placement. 


The last layout is a very feminine, but more serene one. I love how this one turned out because it feels very "me". 


I hope you are enjoying the Hey Girl kit as much as I am! We still have a couple of the Daily Diary kits available, so swing by the shop


Monday, January 19, 2015

Playing a Little Catchup!

You guys, it is shameful how far behind I am in my Project Life Albums! Like seriously. Can I here confess that I have about 7 moths complete in 2014, with patches here and there that are completely blank. And I am actually considering trying to catch up on that album, as 2015 sits in front of me, waiting for a cover page and the first two weeks of life? And don't get me started on the mess that is 2013. I mean.... sigh....

So today I have one layout from way back in August. I've had the pictures printed and in place for a while now, and little post-its with notes scrawled all over on each pocket, waiting for the right stuff to come along and hop into them. And for some reason, my supplies are not quite animated enough to do the work for me yet, so it's taken me this long to get busy filling the pockets.

You'll have to pardon my potty mouth sticker down there. But I gotta say, it's so accurate, I just couldn't leave it out.


Though I gotta say, the Classic Hey Girl kit is coming in pretty handy so far this month, with helping me catch up!


I love the two 3x4 diecuts included this month! I just sprayed a little glue on it and sprinkled some gold confetti. Subtle, but I like it. Then I filled in the 'o' with that adorable cork sticker and the "documented" sticker to finish it off.


And Laaaaawwwwwd,  do I love me some cute flair! Just layered it over that beyond-precious gold foil ephemera and scrawled a few notes underneath.


I have to tell you, Noel put this date stamp in a kit she made about a thousand years ago, and I still use it ALL THE TIME!! In fact, I just realized that I am going to have to switch over to a newer one next year, that goes beyond 2015, and I'm already sad about it.... Can we say yay for stamps fitting perfectly in tabby stickers? YAY!


Love those tiny white alpha stickers - perfect for a little title on this photo and a little cluster of circle-ee thingies ties in the colors from the rest of the layout.

And now, just looking at this layout makes me want chocolate chip with bacon cookies. So I'm outta here!

Have a great day!

Friday, January 16, 2015

finally some SNOW!

In my neck of the woods it's pretty common to have had lots of snow by now. But, unfortunately, Mother Nature has not cooperated this winter. We had lots of rain in December, freezing temps, but very little snow. That is, until January 4th. And let me tell you, I had some happy kiddos! Well, 2 of the 3 that came outside anyway!
I don't document every single snowfall but there's usually at least one layout per season of this fun winter activity (especially since 2 of my kids spent most of their childhood growing up in the south).
All of my photos were printed at approx 3x3 (I seem to be gravitating toward this photo size lately!) When I started off creating this layout I was looking for pinks & blues to match my kids' clothes in the pictures. What I ended up doing is using the leftover scraps from my Disneyland layout since they matched perfectly. Waste not want not! After adding some embellishments, that cute heart strip from the bottom of another patterned paper (love that companies do this!), stamping with that cute stamp from the Hey Girl Daily Diary kit, and my page is complete. 

For added fun I added a photo of the weather screenshot I shared on facebook that day :)

Wednesday, January 14, 2015

one of my favorite girls and the Hey Girl kit

Hello again!

Are you loving the "Hey Girl" kit as much as I am?

I am back today with another layout that I made, and I used one of the circles left over from last week's project.


I started out as I often do with a piece of patterned paper. This time I wanted to ground it on a bolder color so I chose the navy cardstock from the kit. I cut 1/2" from the length and width of the patterned paper and then centered it on the blue cardstock. I then added some of the pretty navy Heidi Swapp mist from the kit along with droplets of other colors in my stash. I like white space in a layout but don't like it to look too plain. 


The "always", star and clouds are all from the rub-on pack included in the kit. I like the whimsical fun element they add to my page. 


I thought the stickers in the kit were so fun! I used some black dots from the foam Thickers pack as bullet points for the stickers. I also added the cute gold heart rub-ons that you can see on the left side of this picture. 


We hope that you are loving this kit! Please share your projects with us in our Facebook group and also check that group for sneaks of the upcoming February kit. 


Monday, January 12, 2015

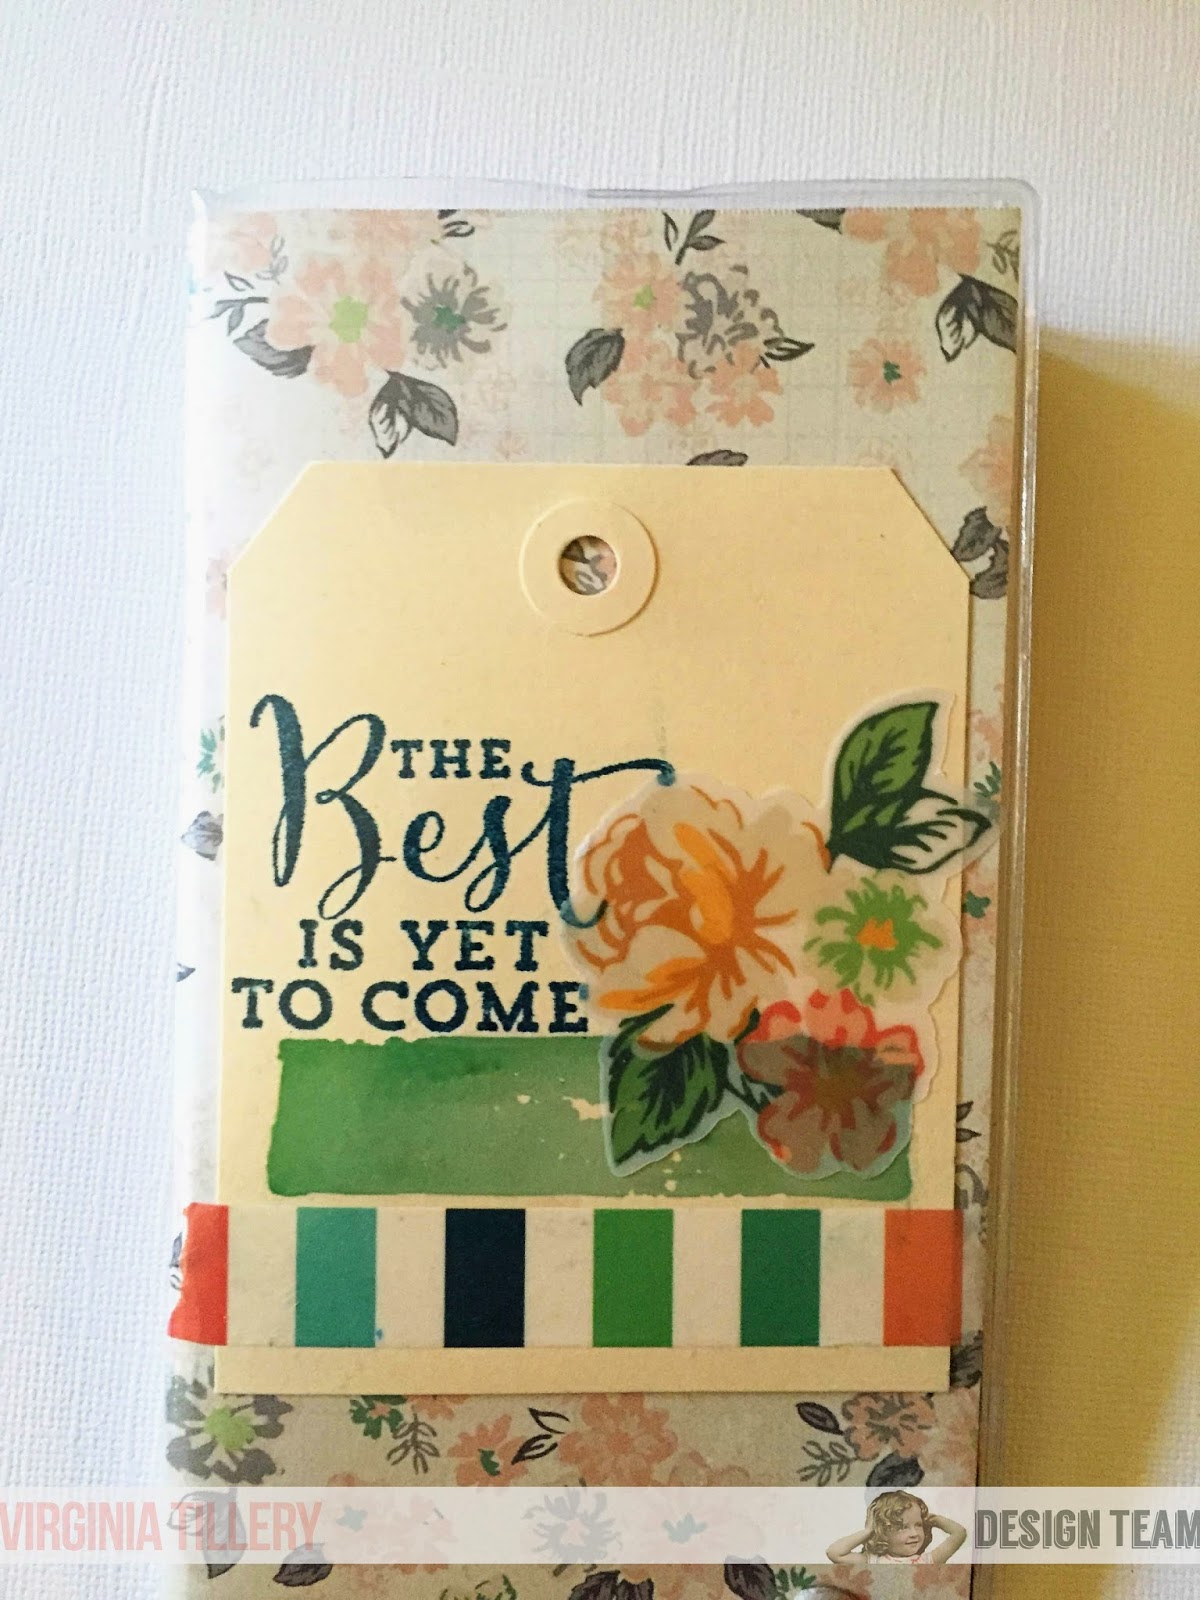
"Hey Girl" Decorated Purse Planners


I grabbed these cute planners from the Target dollar spot not too long ago, and while they are cute on their own, I thought I would jazz them up with the "Hey Girl" kit! 


First, I took them out of the plastic protector and adhered a few favorite papers to them.


Then I simply decorated each one, and put the plastic protector back on. I'm planning on giving a couple of these to friends. 


I also covered the edges of the calendar pages with washi tape. 


Don't have a "Hey Girl" kit yet? Swing by the shop- we still have a few Daily Diary ones left


Friday, January 9, 2015

lucky number 13

Hey all! Last week I officially became the mom of a teenager. Hard to believe, time goes by so stinkin' fast! I knew I wanted to get my photos documented pretty quickly and the quickest way for me to do that is to use pocket pages. These are great if you have a lot of photos, more than you'd want to put on a traditional layout.
So first I took a look at all of my photos and decided what kind of page protector would work best & ended up going with Becky Higgins Design K. I love this one with the 4x4 square photos. These are especially great for Instagram photos but I love to use them when I have lots of photos that just don't need to be printed at 4x6.
Then I pulled out my Hey Girl Daily Diary kit and got to work. The first thing I always do is cut out my photos (I print a 4x4 photo on a 4x6 & then trim) & place them on my page to see where I want to add embellishments. This kit worked great since it had some girly elements that were perfect for my page. 

I also added the black thickers and brads from the Hey Girl Classic Kit.
For that awesome 'hey' die cut, I simply placed it inside the page protector where I wanted it and then stapled right on the outside with my tiny attacher to keep it in place. The trend to have see through pockets is pretty big right now and I'm all about that!
On the backside you'll notice I haven't filled in 'the list' journaling card. I'm going to have my daughter fill in everyone that was at her party...since I didn't play the "uncool mom card" and take pics of the boys that were there ;) I also changed one of the photos to black and white because it had a horrible yellow background that was totally distracting to the rest of the page.

And by the way, I believe there's still a couple of the daily diary kits left! So if you want one, be sure to head here to snatch one up!