Monday, June 19, 2017

{H2O Day} with the "Dive In" Classic Kit

Hello!  It's Meridy here today.  I have a 12x12 layout to share using the "Dive In" Classic Kit.  I think there are 2 more of these kits left in the store, and let me tell you, they are PERFECT for those bright, summer photos that you are taking these days!

The layout I'm sharing today has photos I took about a year ago of Water Day for my son's 1st Grade class.  I was able to get a couple of photos of the whole class together, and since there were so many bright colored swimsuits and towels, this kit was a perfect match!


I tried a BRAND NEW TECHNIQUE, that I have never tried before on this layout.  I have been accumulating a few stencils here and there over the years, and I wanted to try using texture (modeling) paste with them.  But, when I wanted to start my layout, it was late at night, and I couldn't go to the store to pick any up.  So I turned to Pinterest, which led me to Gabrielle Pollacco's blog, and her recipe for homemade modeling paste!  Basically, she uses baby powder, white glue, white acrylic paint, and a little water, all of ingredients I have at home, so I whipped some up and went to work using it with my stencil.  And it worked!!!!


I was so excited that I had this new technique to add a little texture to my layouts.  With her recipe I have PLENTY of modeling paste left over to use it on more layouts in the future.  I sealed it up in a small mason jar so it won't dry out.  

I decided to build up my embellishment cluster and title in the same area that the textured triangles were at the top of the layout.  So that's where I started using buttons, cardstock stickers, and enamel dots from this month's kit!  I added my title with alphabet stickers from my stash.  I finished off the clusters with a few splatters of yellow mist.


I created a second, matching cluster near the bottom of my layout, where I also had some more textured triangles.  This second cluster balanced out the one at the top of the page.  I only added a tiny bit of journaling to this layout, because I have a few more pictures of my son at this event.  Therefore, I will add a little more detailed journaling to the layout I create with those photos.


Thank you for stopping by today!  Let me know if you try out the modeling paste recipe, I just love this new technique that I finally braved!


Friday, June 16, 2017

Sisters: June "Dive In" Classic Kit

Hi!  Sarah here with this week's challenge layout.  We were challenged to use pictures about water or swimming.  I have this awesome picture of some of my sorority sisters on the beach, with the ocean in the background.


I really wanted to use those flamingos, so this one was perfect since it's a beach picture and they're just fun!  I also wanted to keep everything very centered around the photo in the middle to help highlight the background paper.


I used a cut apart with the lanterns on it as a layering piece.  The flamingo ribbon was fun to layer right on top of the flamingo pattern paper.  All of the flamingos!!!!


For the title, I combined the awesome Dear Lizzy Thickers and the Elle's Studios tiny alphabet stickers.  As an accent, I used a cutout from a Project Life card (not included in the kit) that has a doodled rose on it because our sorority flower is a rose and it really reminded me of it.


To finish it off, I used some of the Echo Park chipboard - those flip flops are adorable!  And two little puffy stickers to help bring in the background paper was the perfect tie in!

I hope you all enjoyed my layout.  I challenge you to use that awesome background paper and see how you can highlight it.

Happy Scrapping!


Thursday, June 15, 2017

turning into a fish

We are focusing on water fun in our projects this week and I have one for you!


We started our youngest in swim lessons this summer for the first time. She's gone to 5 lessons now and while she started out as a very nervous little girl who didn't want to put her face in the water and is now becoming a pretty good little swimmer. 

I decided to print out my pictures in a block collage and to just leave them on one sheet to put on my page. 


I had some little cardstock diecuts so I sprayed those with mist to add to my page. I added the little flipflop layered sticker to the center of the sunshine. 


I layered some bits of patterned paper and then added my photo block along with a journaling spot, some washi and more layered stickers. 


I topped off the page with some gold-dipped chipboard alphas from a previous kit. 

Have a wonderful day!

Wednesday, June 14, 2017

Last Day

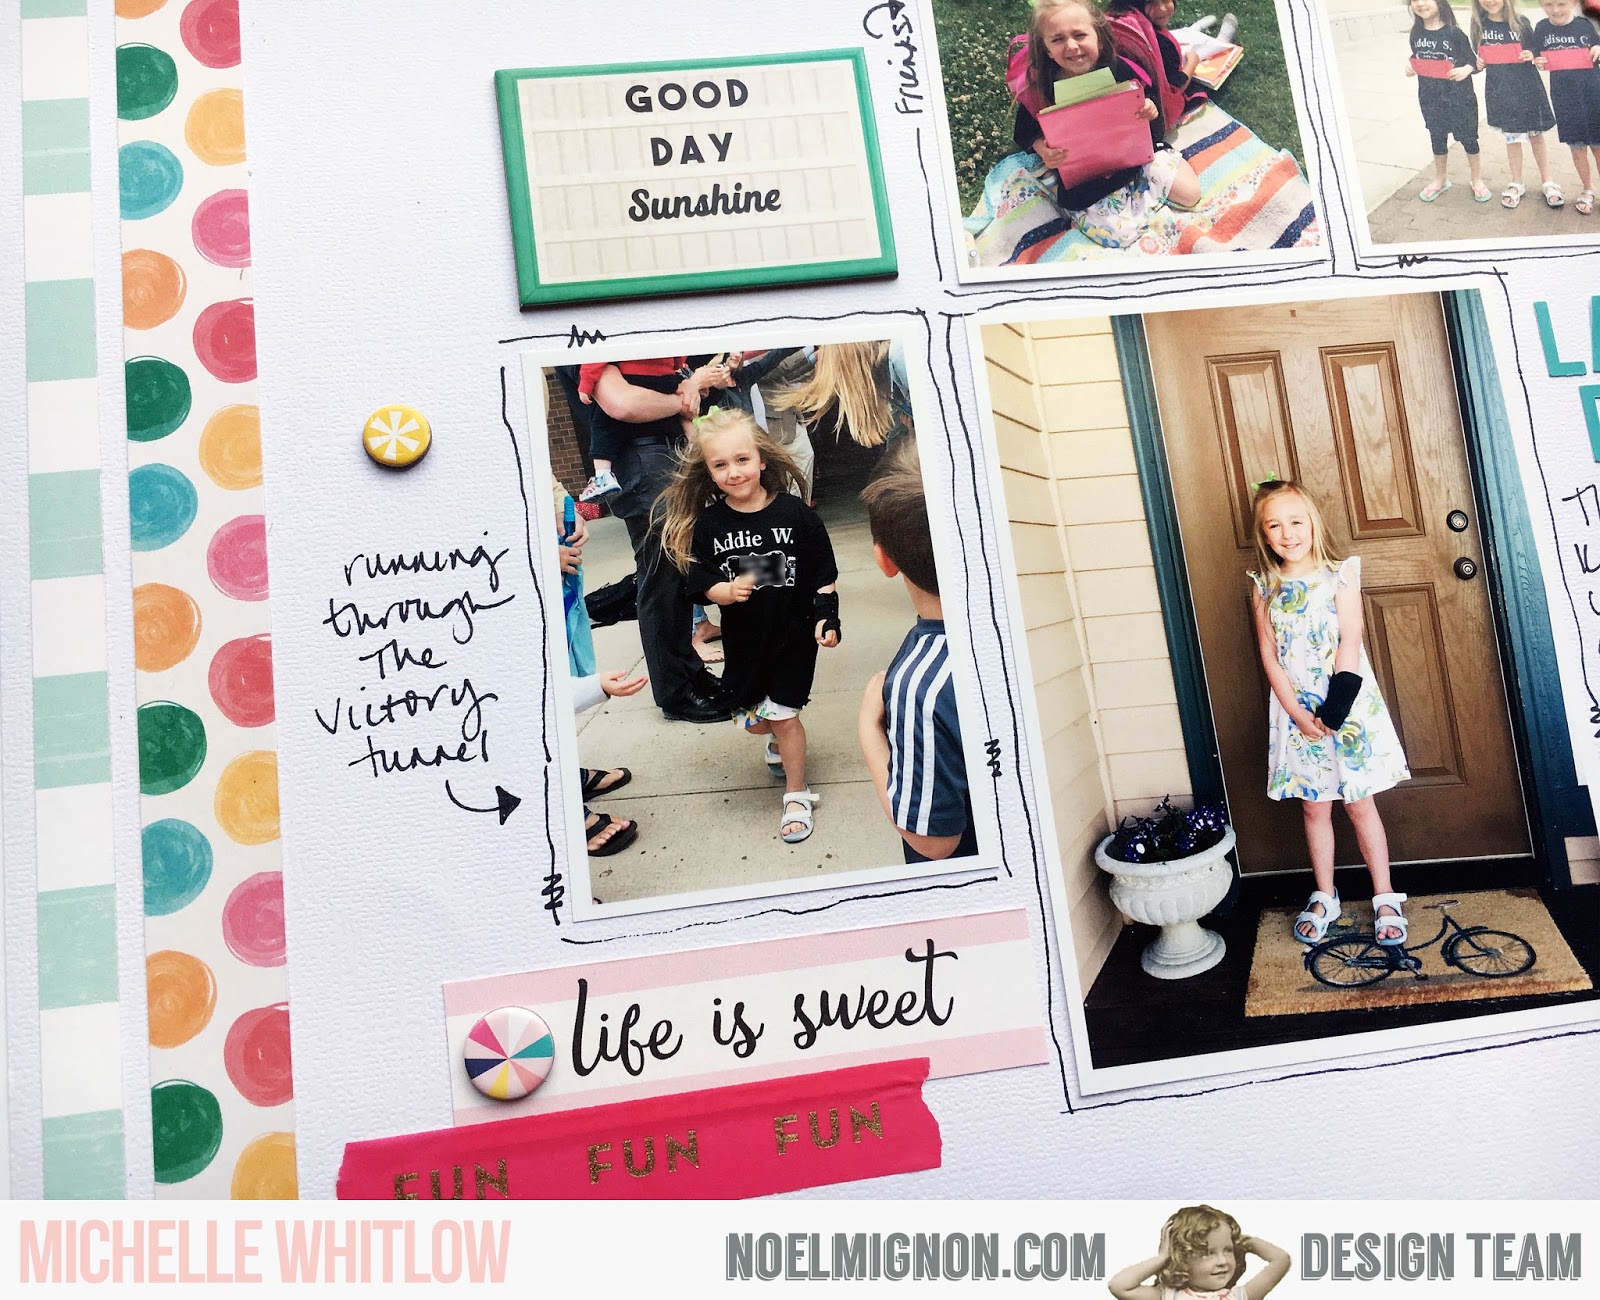
Hey guys, Michelle here with another layout using the new Dive In Classic Kit. When I began working on this layout yesterday I realized that this week the design team is sharing pool pics and I mistakenly shared my layout last week. I guess with all of the end of school activities going on this month I got my weeks mixed up! So this week I'm sharing a layout of my youngest daughter's last day of school.
When I thinking about my page I knew that I wanted to have multiple photos on it, so that meant cropping my photos to a smaller size (most are about 2.5 inches wide). I loosely based my page on this layout I found on Pinterest (seriously still love Pinterest...so much inspiration!!)
I loved the idea of journaling little notes around the photos! And since I didn't feel like changing the thread in my sewing machine I just doodled around my photos instead of adding stitching. I only used 2 little strips of patterned paper...everything else is just photos, embellishments, & journaling! This is also a good way to extend the life of your kits even more :)

Tuesday, June 13, 2017

Summer Relaxing with the Dive In Daily Diary Kit

Hey all!  Nicole on the blog today with a new project using the Dive In Daily Diary kit.  This week the theme for the design team is water/swimming.  This photo of my little guy in the backyard came to mind.  He got this kiddie pool last summer and I happened to glance outside when it got a little quiet and found him with his feet up and his head propped up on a ball. It made me laugh and I snapped this photo with my cell phone.


I started by cutting the word summer from the background cardstock from the Dive In Papers.  After the letters were cut out I added a few ink splatters with a watered down mist so the paint was really light.   I then backed each letter with some of the 6x6 papers and 3x4 cards from the kit.


I added a few of the 3x4 cards under the journaling block/picture and added a small piece to the other side of the layout to balance it out.


I finished my title with another Silhouette cut and placed it along the bottom of my layout.  Placing a brad (from my stash) for the dot on the I.

I finished the page off with a few embellishments:  brads, flair, and stickers.  Overall it is a rather simple page, but I love that I could incorporate so many of the patterns from the cards into the title.

I have the cut files available for download on my blog - nstark.typepad.com if you are interested.
Thanks for stopping by the blog today.  I hope you are enjoying your summer, happy scrapping!


Monday, June 12, 2017

{Cool Summer Swimming} with the "Dive In" Classic Kit

Hello friends!  It's Meridy here, and I have a double page layout to share with you today using the "Dive In" Classic Kit.  As the name of this kit suggests, it is perfect to use with swimming photos.  This week the design team will be sharing layouts all about water, swimming, the beach, etc. 

I used a few 3x4 photos and one 4x6 photo of my kids swimming last summer on this layout.


I grabbed a few papers that used the same blues, pinks, and yellows in the photographs.  Once I choose the patterned papers, I pulled various coordinating embellishments from the kit. 

I really loved the flamingo trim, so I used it as a strip down the left hand side of my layout and cut a few flamingos from it to use as "stand alone" embellishments as well.


I wanted the look of rippling water, so I used some of my old decorative edge scissors to cut a few "waves" from various shades of blue paper.  I stacked those bits across the bottom border of my layout.


Next, it was time for me to add titles, journaling, and embellishments to the layout.  I started with my title "Cool Summer Swimming" and created it with a set of Thickers, a set of alpha stickers, and a chipboard sticker all from this month's kit.  Then I added a few enamel dots, some of the gold rub-ons, a few buttons, and some vellum stickers from the kit.


I added the same types of embellishments to the opposite side of the layout to balance the 2 sides of the layout.   I pulled a couple of extra buttons from my stash for this embellishment cluster.


I added a subtitle of "Making a Splash Jump" on this side of the layout to balance out both sides of the layout a little more.


And that wraps up this layout.  I would love to see what you create with your "Dive In" kits on Instagram #NoelMignon.  Have a great week!!!


Saturday, June 10, 2017

Dive In to ... Beach Time!


Y'all- this Dive In Daily Diary kit is EVERYTHING you wish for in a summer kit! It's got palm trees, flamingos, pineapples, bathing suits, coconut drinks... oh man. It makes me want to go back to the beach right now! 


I like to create these simple one page layouts to break up the design in my pocket page album. It feels more like a traditional layout, but in miniature size. It's really fun to play with proportion on these pages too, as with fussy cutting some of these extra papers I picked up  from the shop to coordinate with the kit. 


Oh I almost forgot! Through Monday, you can get TWENTY percent off of this cute kit! Dude, there are only four left, so go get it for yourself! (Just enter DD20 at checkout!)