Showing posts with label fussy cut. Show all posts

Monday, April 9, 2018

{Eleven} with the "Vintage Spring" Kits

Happy Monday, friends!!!  It's Meridy here today, and the "Vintage Spring" Classic Kit  and Daily Diary Kit naturally scream "SPRINGTIME" to me, and since spring is a time for new beginnings, I decided to scrap another new beginning with these kits this week.  I'm scrapping a picture of my daughter's 11th birthday, which also happens to be 2 days before she started Jr. High.  So these spring images, embellishments, and flowers went prefectly with this photo.


This kit is so beautiful, and all of the Maggie Holmes papers and embellishments make me so happy, so I couldn't wait to use them.  I decided I wanted to use lots of die cuts and pieces of the beautiful gold leaf trim to frame my photo.

I stared with the deer and fussy cut a couple of quail.  We live in the desert, so we see lots of quail (and baby quail) each spring.  Although this page isn't about quail, these icons still work with the layout.


Next, I started layering up a few of the flowers and greenery.  I used pop dots to pop a few things up to add some dimention into the layout.  I spelled out "eleven" with the alphabet stickers and placed it at the bottom of the layout. I didn't want a large title, since there is already so much deatil on this layout, so these small alpha stickers were perfect!


I really liked using the gold leaf trim in whole pieces, as I did in the upper right hand corner of the layout, but I also liked the look of one or two leaves sticking out from under the die cut flowers, it added a little color and texture to the blooms.  


A few strips of washi and paper across the top of the layout and a journaling card tucked into the layers of paper finished off the layout.  Thank you so much for stopping by today!!!  Happy Srping!!!


Monday, March 19, 2018

{Meeting Belle} Layout with the "You Go Girl" Classic Kit

Hello, it's Meridy here, and I have another Disney layout to share with you using the "You Go Girl" Classic Kit.  I loved the butterfly paper that came in the kit, and I immediately knew I wanted to fussy cut the butterflies from the paper.  So that's what I did for today's layout.


I popped the butterfly wing up with small pop dots to add dimention.  Naturally, the butterflies are the focal point of ths layout but I also used a couple of layers layered some cardstock with packaging from the embellishments.  I used a piece of the gold washi to seperate the patterned paper on the top portion of the layout from the bottom portion of cardstock.


I stamped the journaling lines right onto the layout and added a few phrase stickers around the photo.


I created my title with a stamped tag I made and the mini alphabet stickers from last month's kit.  I used some stickers and a small strip of the bow washi from the kit to embellish my title.


The layout itself is really fairly simple, since the butterflies add such a punch.  Thank you so much for stopping by!!!


Wednesday, January 17, 2018

I have a 13 year old?

Hello!

It's Becky here with you to share a new Noel Mignon kit project.

I know that you're not used to seeing me on Wednesdays, but here I am!

I am filling in for one of our other designers today and have a project to share using the cute She's Crafty Classic Kit. 


The focal point of this page is the picture of my oldest daughter, now a teenager. 

How does the time go by so quickly? 

I drew attention to the photo with some handcut flowers from a piece of patterned paper in the kit as well as a pretty bow from the satin ribbon also in the kit. 

I used a couple of rub-on butterflies. I love the rub-ons in this kit. They are super smooth and easy to use. 


Yes, I know that this picture has a little something extra in it, a little something fuzzy, ha ha. 

We got a new kitty last month and he likes to be where we are. 

That's real life for ya ☺

He just wanted to make sure that you noticed the bow, ha ha. 


I used a couple of strips of patterned paper- I liked how the black and white print contrasted nicely with the colors on the flowers. I added enamel dots to many of the flowers on my page and finished it off with a title using the chipboard Thickers in the kit. 

Have a wonderful day!

Monday, December 4, 2017

{Merry Christmas} Layout with the "Gingerbread & Peppermint" Kits

Well, hello & Happy December 4th!!!  It's Meridy here today, enjoying this holiday season immensely.  I've been crafting and scrapbooking Christmas' past like a mad woman for the past week or so.  Today I'm sharing a layout of Christmas Day 2016 using the "Gingerbread & Peppermint" Daily Diary and Paper add-on kit.


I started by picking some cute background paper, and layering a couple of other coordinating patterned papers on top.  I matted my photos with white cardstock and placed them front and center!

The title of my layout "Merry Christmas" and the Santa were both fussy cut from the 3x4 cut apart cards in the kit.  I added a ticket die cut and a couple of puffy stickers to make my title a little more interesting. 


I added an embellishment cluster on the bottom left of my layout which included a couple of the Tim Holtz Christmas flashcards, a 3x4 journaling card, a die cut, a couple of puffy stickers, and our last name spelled with the enamel stickers.  I added a stamped sentiment that reads "so this is Christmas" to complete the cluster.


I added journaling and another embellishment cluster to the right hand side of my layout, to create a visual triangle with the 3 clusters.  I mimicked the same types of embellishments that I used on the layout to keep continuity over the whole page.   


That wraps up my layout for today!  I would love to see the Christmas creations you are making with your Noel Mignon kits on Instagram #NoelMignon.  Have a great week!


Monday, October 2, 2017

{Picking the Perfect Pumpkin} made with the "Apple Crisp" Classic Kit

Happy October!!!  It's Meridy here today and I just love this time of year.  Today I'm using the "Apple Crisp" Classic Kit to create a double page layout about my daughter at the pumpkin patch last year.


The colors in this kit are so beautiful!  I started with the plaid paper from the kit and added an extra plaid grid with the thin bronze glitter washi tape in the kit.  That is what I used to base this layout around. 


I couldn't wait to fussy cut the beautiful floral paper and use the floral clusters as embellishments on a layout, and this was the perfect "girly" layout to do that on.


I used the dark grey alphas from the sticker sheet in the kit to create my "Picking the Perfect Pumpkin" title on the layout. I paired the title with a couple die cuts, a leaf, and the acrylic word "lovely" from the kit.  


I mimicked the elements from the right hand side of the layout on the left hand side to keep it consistent and coherent. 


I, once again, fussy cut some floral clusters, added a few stickers, and a leaf from the kit to create an embellishment on the lower right hand side. 


To round out the layout, I splattered some gold mist that I have from an older Noel Mignon kit.  


And that completes my layout for this week.  Thank you for stopping by!!! Happy October!!!


Monday, July 10, 2017

Hello everyone!  It's Meridy here today, and I'm working with the "High Five" Daily Diary Kit and the 12x12 paper add on. This week the design team is participating in a "Color Challenge".  We are going to be going to the "extreme" with our color schemes, and choose either a monochromatic color scheme or a rainbow color scheme.  I decided to use a monochromatic color scheme and some black and white pictures.


I absolutely fell in love with the ombre wooden plank patterned paper in this month's kit.  I knew right away that I wanted to use it on a monochromatic layout.  So this challenge was the answer!  


I started by building up the layers of patterned paper, I even used the packaging from the Pretty Little Studio bingo cards.  It is the cute type-written text paper on the right hand side of the layout, I love when packaging is so cute that it can double as an embellishment!  


Once I built up my layers, I decided to use some stamps to add a little interest to this layout.  I started out by stamping a few images, and fussy cut them out.  Next I stamped a few phrases over and over without re-inking the stamps in between.  This gives a nice variety of hues, using only 1 color of ink!


Finally, I added a few embellishment clusters and stitched around one patterned paper on each side of the layout.  


Thank you so much for stopping by today!  Have a great week :)


Monday, May 29, 2017

{CWE PTSA} Layout with the "Spring Fling" Daily Diary Kit

Happy Memorial Day, for those of you living in the USA!  

If you like scrapping patriotic events, Memorial Day parties, 4th of July festivities, or military photos, Noel has a Limited Edition "All Star" Kit.  This is not a monthly kit, but can be purchased separately via this link.  


I wanted to share that beautiful kit, before jumping into my layout for today!

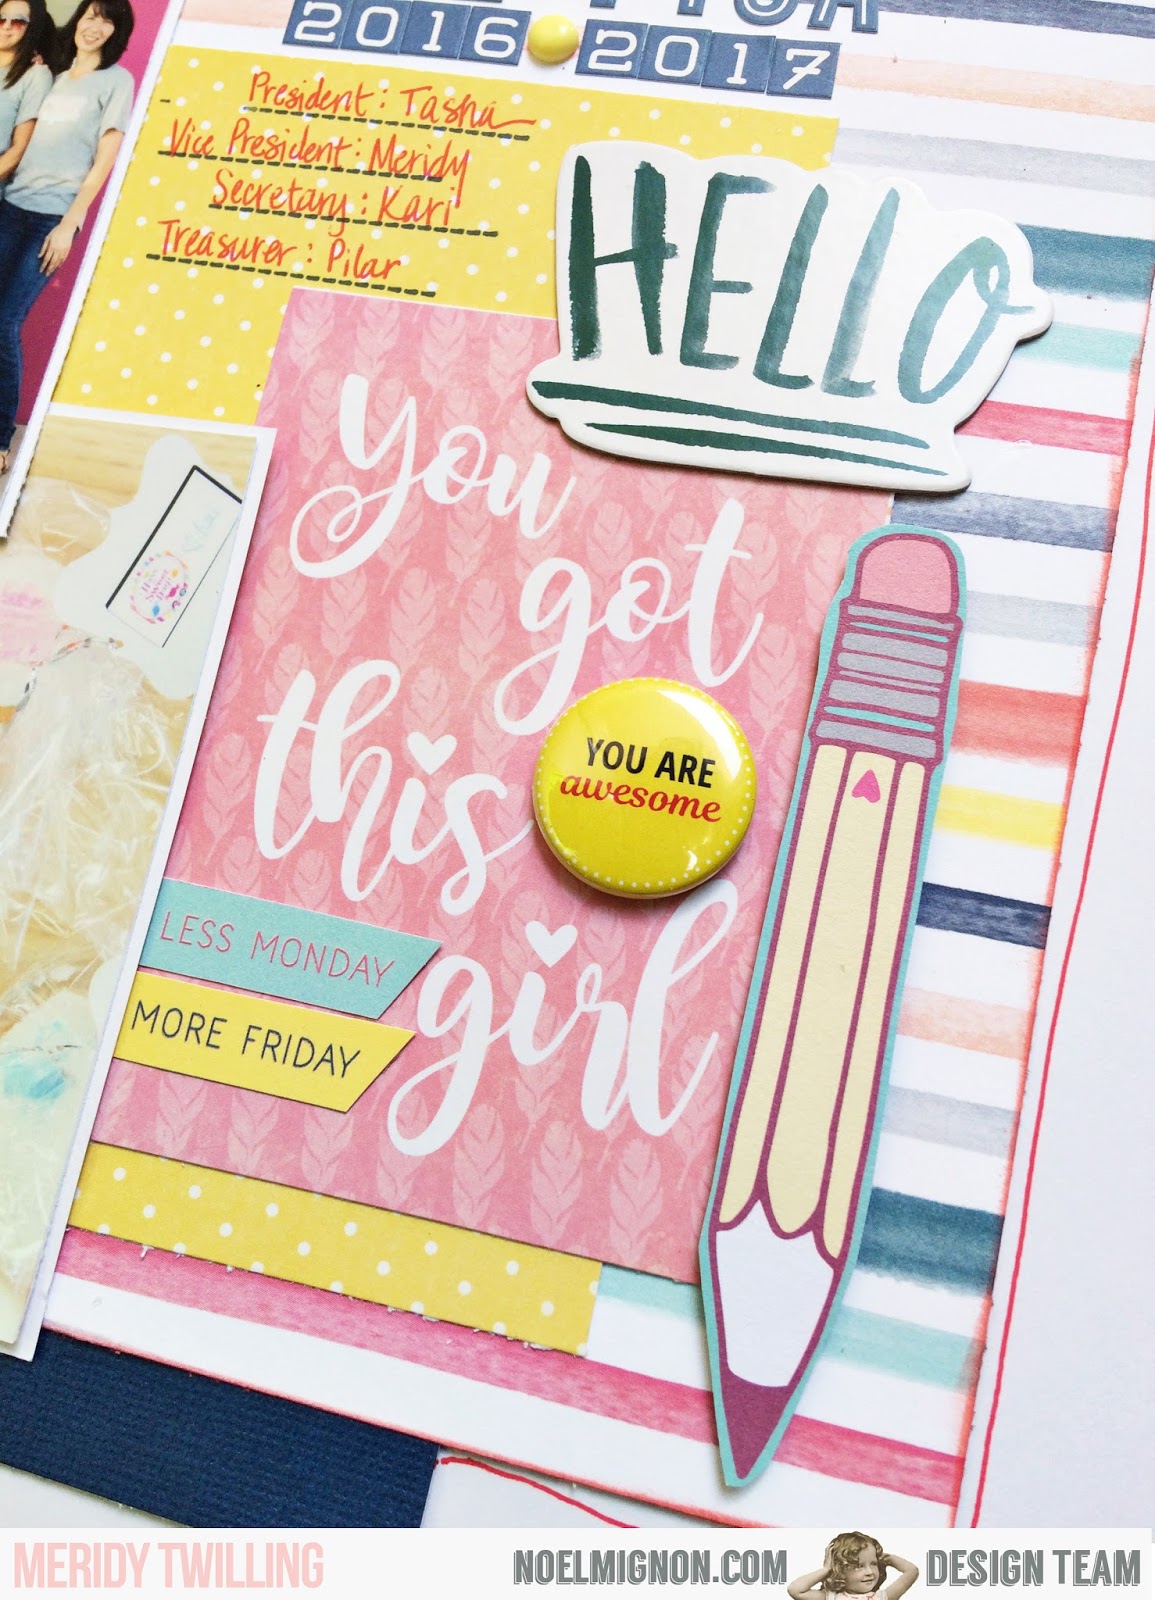
It's Meridy here, I am sharing a 12x12 layout that I created with the "Spring Fling" Daily Diary Kit.  This is the last layout I made with this kit, and I created it using leftover scraps and bits and pieces.

I used a couple of pictures from the beginning of last school year, I paired them with coordinating patterned papers from the Daily Diary Kit and the paper add on pack.  Since I didn't have very many papers left, I used 2 branding strips across the top along with the yellow and white washi from the kit.


After I choose which papers to use, I began to arrange them on the layout, I used the striped paper as the anchor for my design and built up from there.  I used the "Hello" chipboard and the "you got this girl" 3x4 card as sort of a sub title.  I also added some flair from a previous kit, and fussy cut the "less Monday" & "more Friday" from a paper in this month's kit.


I did have to use some alpha stickers from my stash for my "CWE PTSA 2016-2017" title.  They matched the rest of the layout really well, so I decided to use them.  There was a cute 4x6 card with pencils in this month's kit.  I wanted to use it on this layout, but I was running out of room, so I decided to fussy cut the pencils from the card, pop them up with pop dots, and use them as embellishments!  I love how they turned out.


Thank you so much for stopping by today!  Have a great week.  See you next week where I'll be using the "Dive In" kit!


Monday, May 15, 2017

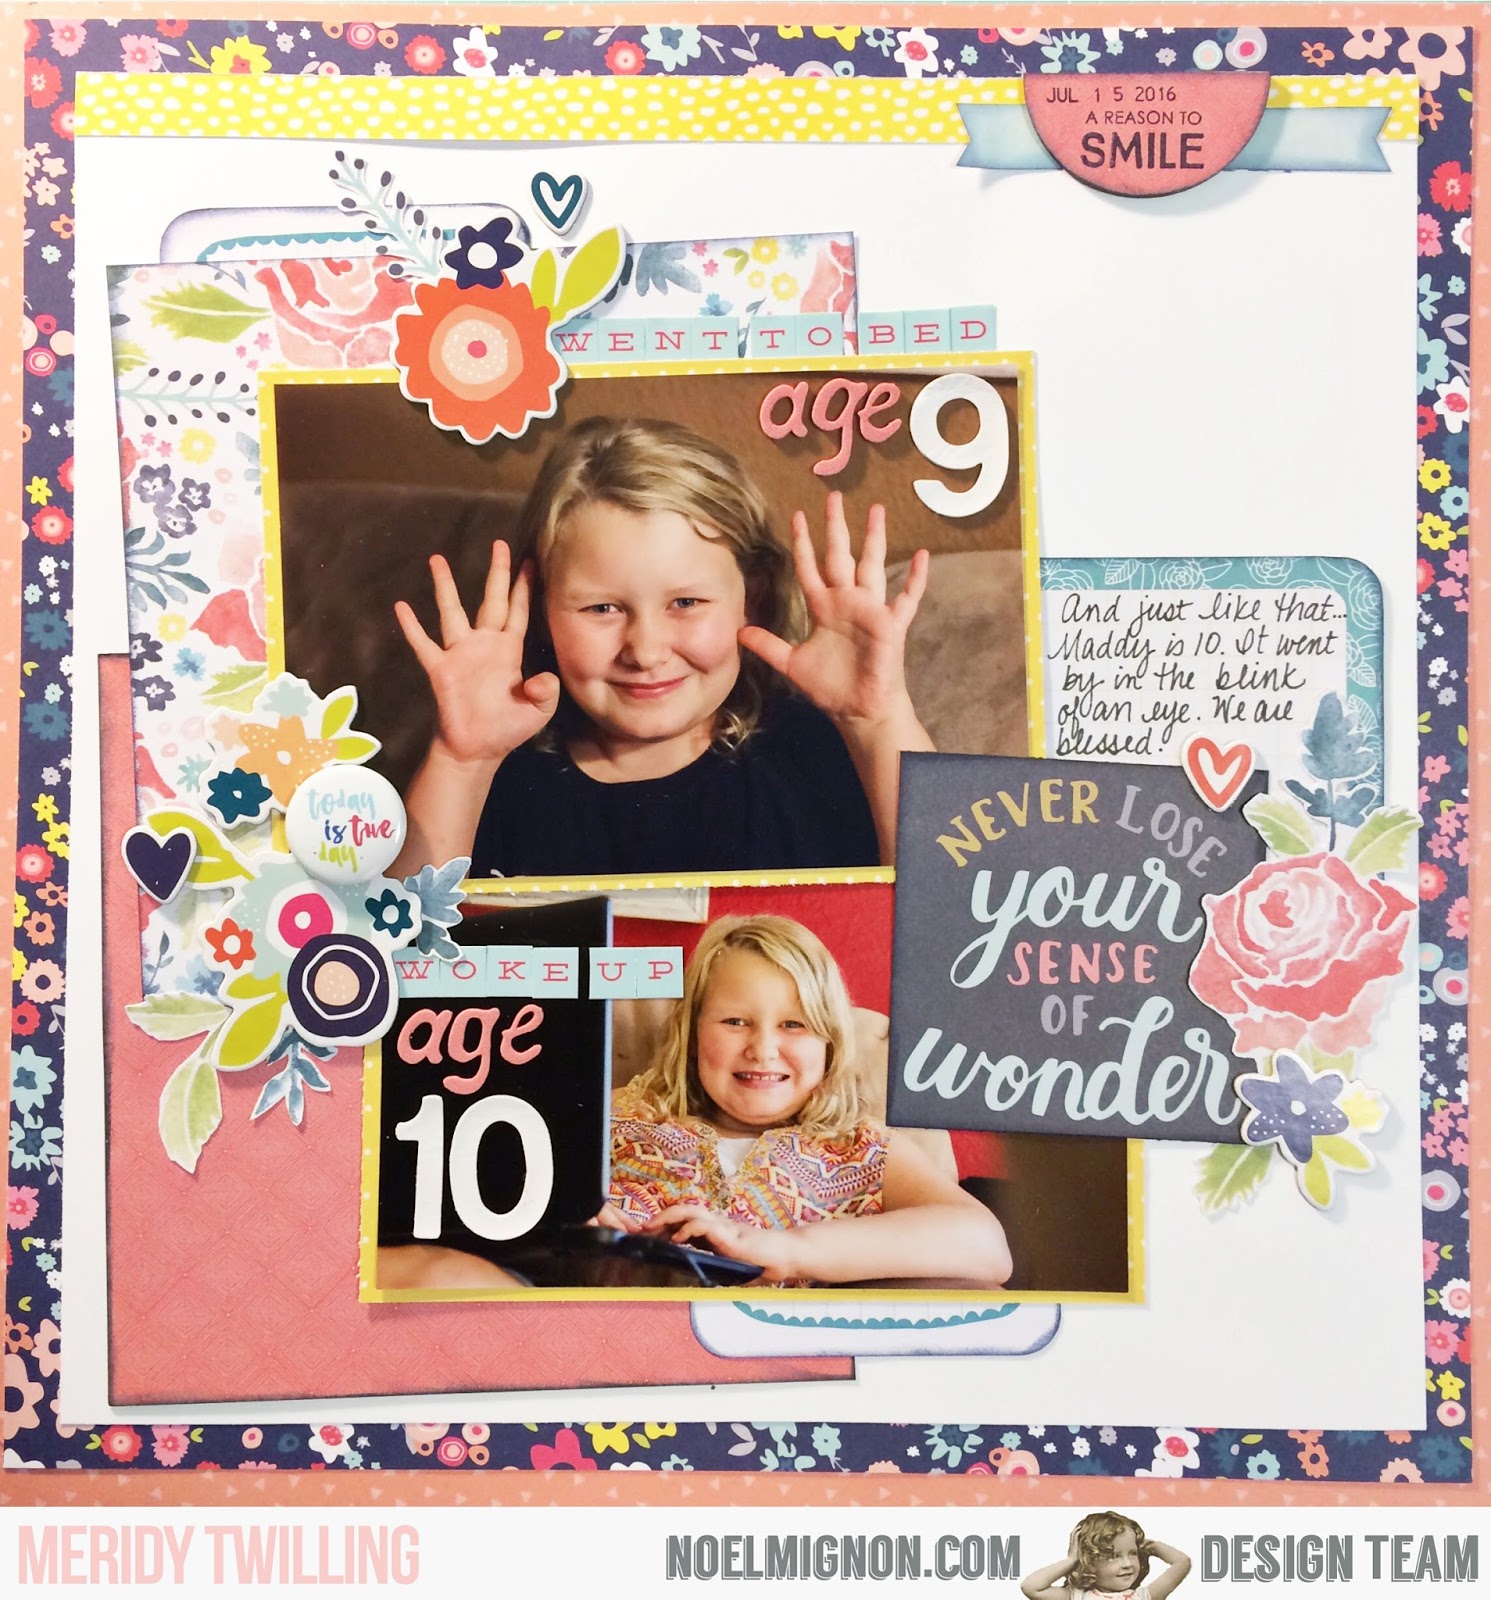
{Went to Bed Age 9...} Layout with the Spring Fling Daily Diary Kit

Hello friends!  First off, I wanted to remind everyone that subscriptions for July-December 2017 are only open through today, so if you would like to sign up to sub to Noel Mignon kits, today is your last chance to do that for another 6 months.  


And now for my layout using the Spring Fling Daily Diary Kit and the 12x12 paper add on.  I really love the color schemes in the products this month.  I am really excited about all of the navy in the various paper lines lately, so the navy floral paper is the foundation of today's layout. 


I had a lot of fun fussy cutting floral elements from papers in this month's kit.  I mixed those cuts with a few of the chipboard stickers, and a flair button, to build up my embellishment clusters.


I also used a few different 3x4 project life cards to add more layers to the layout.  Once I mixed in a couple of Thickers from my stash, I was able to use some of the mini letter stickers to finish off my titles.  I covered one of the wood veneer half circles with paper and stamped a few sentiments on it before placing  it on the top right of my layout. Finally, I added a little bit of journaling to the journaling card on the right hand side of my layout. 


That wraps up my layout share for today! Thank you for stopping by.