Showing posts with label wood veneer. Show all posts

Monday, August 14, 2017

{Hello, My Love} layout with "Weekend in Paris" Classic Kit

Hello all!  It's Meridy here with a layout I made using the "Weekend in Paris" Classic Kit.  I went for a bit of a monochromatic black and white look with a little touch of aqua.  I thought that the black and white picture of my son from last year would go perfectly with this color combo.


I layered a piece of black cardstock with the "b" side of one of the Maggie Holmes papers from this month's kit and topped that with the heart print paper to create the base of my layout.  Once I had that set up everything else layered together pretty quickly.

I knew right away that I wanted to use the "hello" wood veneer and paint it white to match the layout.   As I was going through the rest of the embellishments from the kit I found the word "LOVE" on the puffy sticker sheet.  I thought that the "hello" and "love" were perfect for a title, and I decided to add the word "my" with the mini alpha stickers for the final title of "hello my love".  


I added the cute clip with hearts on it right above my title, a sprinkling of dark grey enamel dots and the self adhesive gold sequins,  2 banner die cuts, a bit of the gold washi tape, the date, and a couple of label stickers to finish off my layout.


Thank you for stopping by today!  I would love to see what you have created lately with your Noel Mignon kits on Instagram #NoelMignon.  Have a great week!!!


Tuesday, May 23, 2017

Band Geek with the Spring Fling Classic Kit

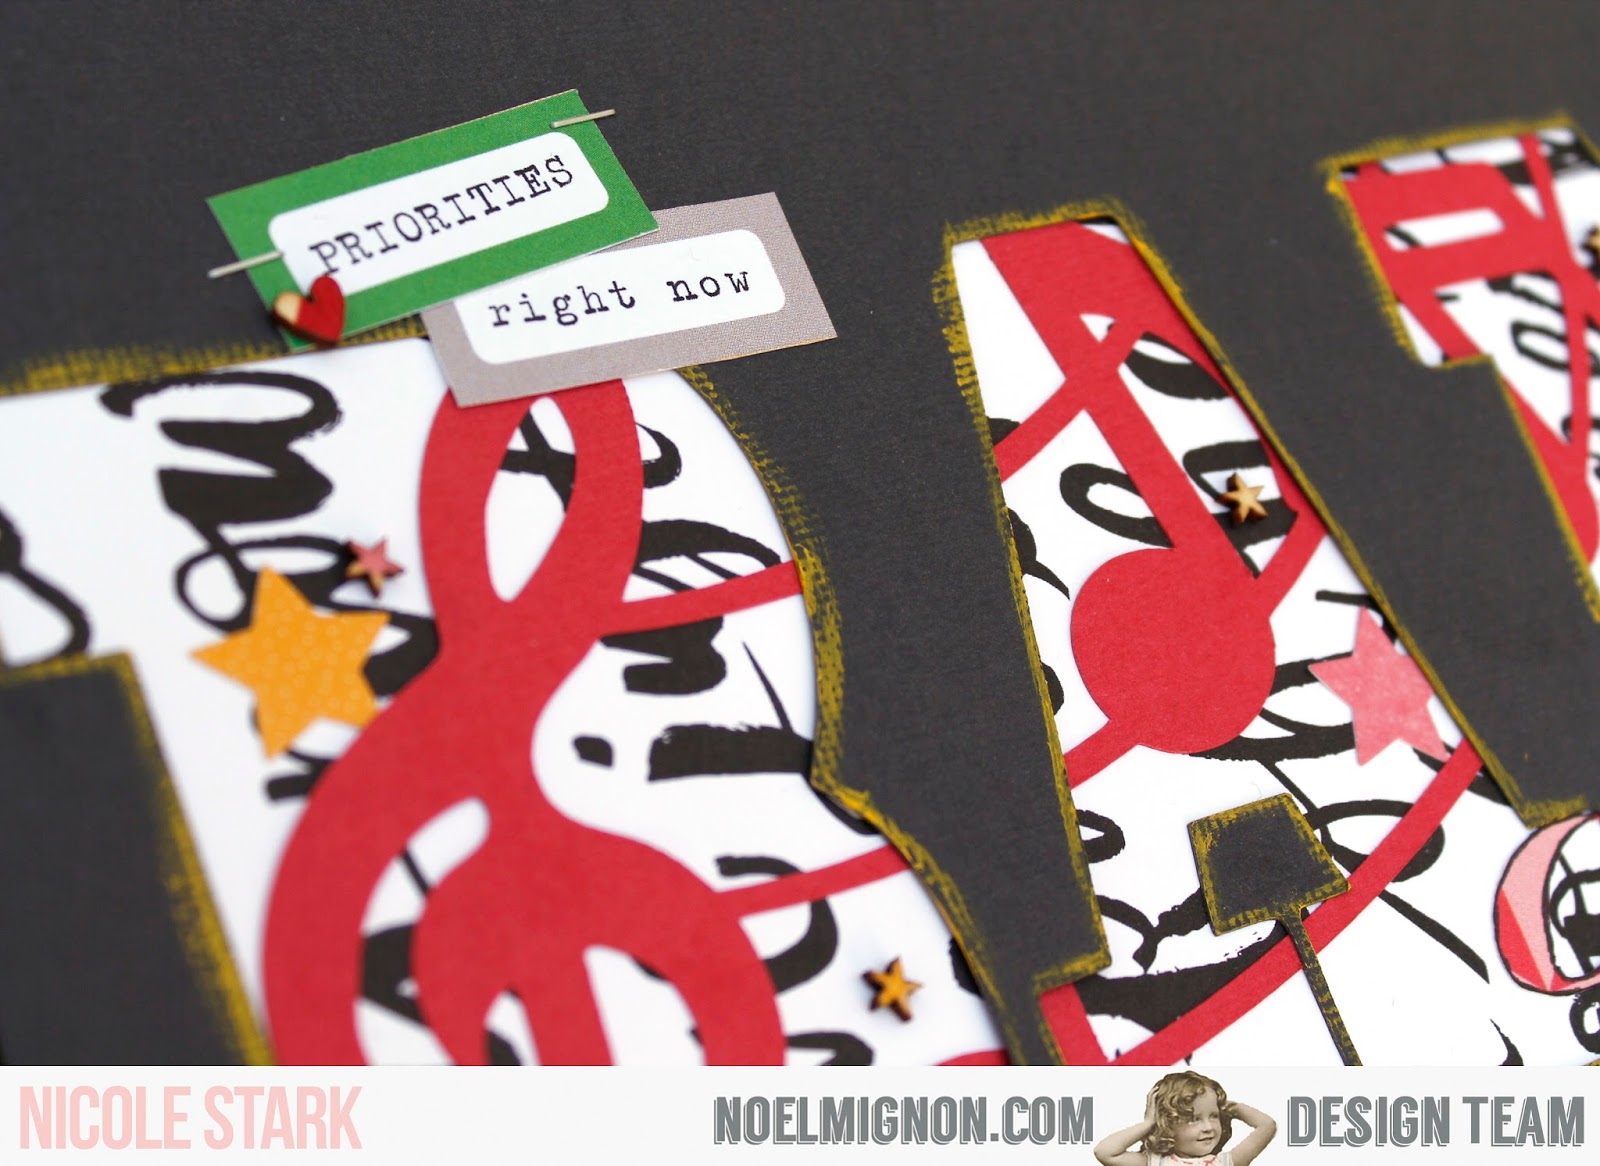
Hi all!  Nicole here on the blog today to share my latest layout with the Spring Fling Classic kit.  This weeks theme is embellishments.  Noel always includes a great mix of embellishments each month and this time around the embellishments inspired the layout.  My son is a huge bank geek.  He really established that this school year.  I decided to use the Jillibean wood veneer check marks in my journaling to highlight a few things that make him a band geek.


The base cardstock I pulled from last months Let's Get Lost Kit.  I really wanted a dark base to help showcase the bright colors in this months kit.  I used my silhouette to cut my title.  


I backed the large part of the title with a music staff die cut (cut with my Silhouette) and pattern paper.  I used a mix of the cardstock star stickers and wood veneer to sprinkle stars along the staff.  I decided after all my embellishing was done I wanted to make the word BAND stand out more so I used the yellow paint around the edges of each letter.  The word sticker "literally" is from the Dear Lizzy sticker sheet and was a fun addition to the cut title.


My pictures and journaling blocks I set up in Photoshop and printed.  Once attached to my layout I added the check marks to each box and finished with some of the Elle's studio cut aparts and cardstock stickers.


There you have it my layout about my band geek son.  I love that products and embellishments can lead the design of a layout.  How are the embellishments in this months kit inspiring you?

Thanks for stopping by the blog today.  Come back tomorrow for even more inspiration!


Monday, May 22, 2017

{Live Wild and Free} with the "Spring Fling" Daily Diary Kit

Hello friends!  It's Meridy here, working with the "Spring Fling" Daily Diary kit and the 12x12 paper add on.  This week the design team is featuring EMBELLISHMENTS on our layouts.  We are trying to use quite a few embellishments from Noel Mignon kits on our layouts.  I typically love using embellishments, so this was right up my alley!

I decided to scrap some photos of my kids at the splash pad last summer.  I love the navy color that is so trendy right now.  It looks excellent, and really pops when paired with soft, bright colors, like the salmon, yellow, and white on this layout.


First, I matted my photos into a strip, and placed them approximately where I wanted them to go on the layout.  Next, I began embellishing.  The first "embellishment" I made, was punched hexagons from the patterned papers.  I using those hexagons as the base for my layout.  I punched them in 2 different sizes, and placed them randomly across the layout until it looked balanced to me.

My next step was to add the title.  I used the chipboard that came in the Daily Diary kit.  The word "LIVE" kind of got lost on the white background paper, so I decided to mat it on some navy cardstock.  After I did that, it really popped!!!

I embellished the title with a yellow chipboard heart and a few enamel dots that I had left over from an older Noel Mignon kit.  The color scheme matched perfectly.


I added a wood veneer embellishment and a few more enamel dots to the upper right side of the layout, to balance out that area, and add a little interest to those few hexagons.
  

Finally, I decided to embellish my strip of photos a bit, I used some of the yellow washi tape that came in this month's kit, a few stamps that I had in my stash, and again, some enamel dots.


That wraps up my layout for today.  Thank you for stopping by.  Have a great week :)


Monday, May 15, 2017

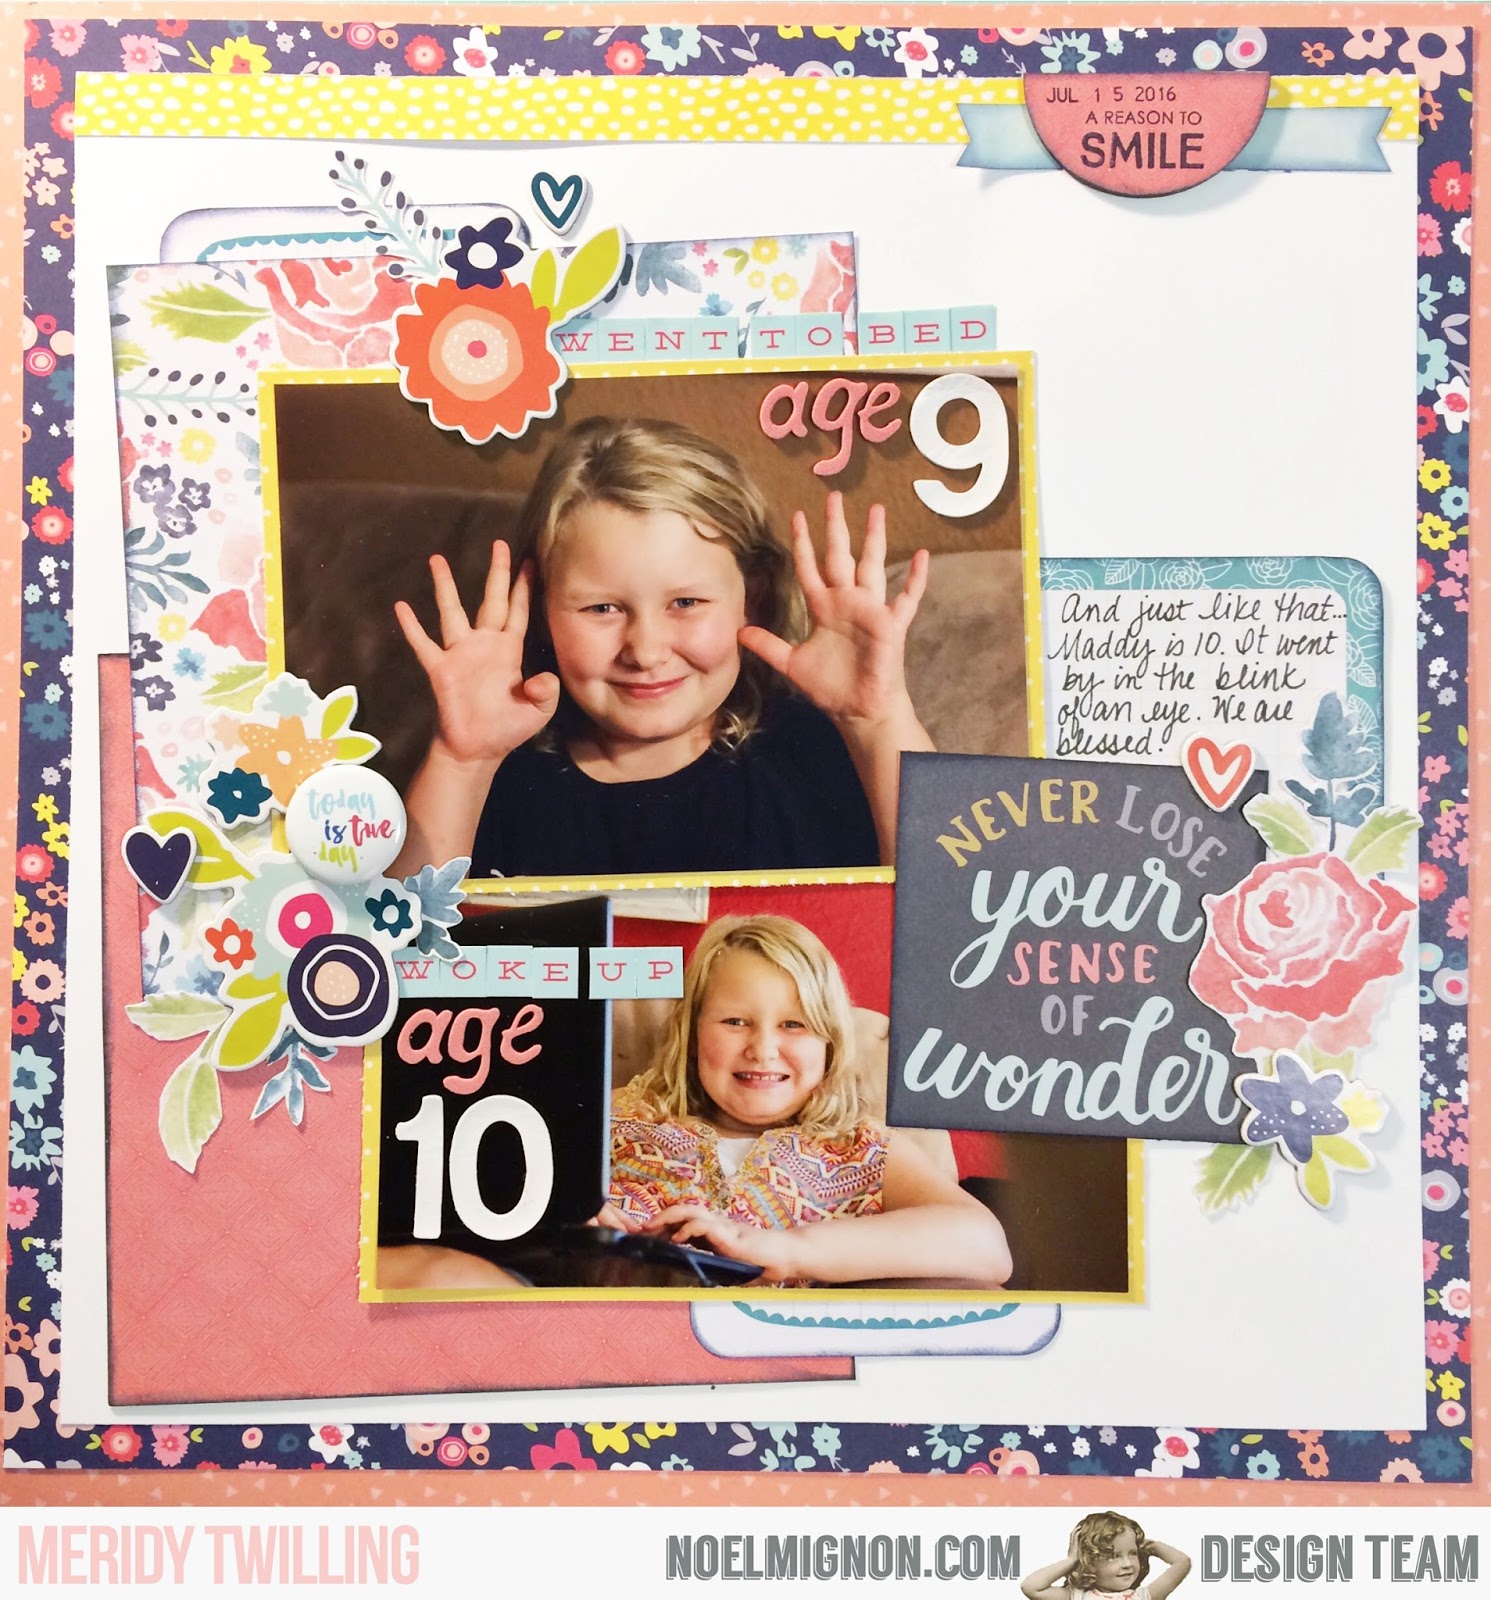
{Went to Bed Age 9...} Layout with the Spring Fling Daily Diary Kit

Hello friends!  First off, I wanted to remind everyone that subscriptions for July-December 2017 are only open through today, so if you would like to sign up to sub to Noel Mignon kits, today is your last chance to do that for another 6 months.  


And now for my layout using the Spring Fling Daily Diary Kit and the 12x12 paper add on.  I really love the color schemes in the products this month.  I am really excited about all of the navy in the various paper lines lately, so the navy floral paper is the foundation of today's layout. 


I had a lot of fun fussy cutting floral elements from papers in this month's kit.  I mixed those cuts with a few of the chipboard stickers, and a flair button, to build up my embellishment clusters.


I also used a few different 3x4 project life cards to add more layers to the layout.  Once I mixed in a couple of Thickers from my stash, I was able to use some of the mini letter stickers to finish off my titles.  I covered one of the wood veneer half circles with paper and stamped a few sentiments on it before placing  it on the top right of my layout. Finally, I added a little bit of journaling to the journaling card on the right hand side of my layout. 


That wraps up my layout share for today! Thank you for stopping by.


Tuesday, May 9, 2017

New/Old Bike with the Spring Fling Classic Kit

Hello! Nicole here to share my new layout for the week.  This week the design team is using the theme Spring Fling/Carnival/Fair/Amusement Park for inspiration.  After looking through many photos I really couldn't find anything that truly fit so I'm bending the rules a bit.  Spring for me always means the coming of warmer weather and kicking my boys outside to play. 

I found these photos taken a few years ago when the little guy got his new/old bike.  They fit the bill and I really liked that the little guys bike and helmet colors worked well with the kit colors. 


I started off with the bright yellow cardstock and after placing a few pattern papers around I knew that the white thickers in the kit weren't going to stand out so I decided to paint them with the Lemon Acrylic Paint from the kit.  I placed the stickers on the back of the packaging and painted right over the top. 
The acrylic paint has a really thick texture and coated the thickers great.  It needed a little more time to dry than the average acrylic paint, but once dry it didn't peel or flake off the letters.  I also decided to outline my photos in paint.  I used a little heavier paint on my focal photo and lighter on the smaller ones. 


I finished off my title with the smaller Pretty Little Studio alphas and a flag from the Dear Lizzy line. 


I finished embellishing with a few embellishment clusters.  One in the middle of the photos on the tag.  The bike sticker on the Jillibean Soup sticker sheet fit perfectly on the little tag and I topped it with a heart, phrase, and a wood smiley. 


The other little cluster is with the date/journaling.  I started with a few layered stickers and topped it with a paper clip and wood veneer camera. 


I really, really love the bright colors in this kit.  Noel always does an amazing job putting together her kits and this one is no exception.  Drop by the shop to get yours today there are still a few left. 

Thanks for stopping by and happy scrapping!


Monday, May 8, 2017

{Spring Fling} with the "Spring Fling" Daily Diary Kit

Hello, friends!  It's Meridy here.  In honor of our "Spring Fling" Kits this month, the design team is creating layouts of spring flings, fairs, carnivals, or amusement parks.  I would like to share a double page layout.  I am using the Daily Diary kit and a 12x12 paper add on kit to create my layout today.


I started off my layout by cutting strips of some of the 12x12 papers as well as some of the 6x6 papers from the Daily Diary kit into 6"x 2" rectangles to go across the top of my layout.  Next, I used a polka dot stamp to add the "waterfall" of polka dots across the middle of the layout.  Next, I added a strip of the yellow washi from the kit and one of the branding strips to finish off the seam across the middle of the page. Then it was time for me to add my photos. 

Since I only had 2 photos of my daughter, but 5 of my son, I decided to add the title and journaling to the side of the layout with my daughter's photos.


I grabbed some of the 3x4 cards, painted the wood veneer yellow, used a Thicker "love" sticker from the kit to embellish this side of the page.  I also pulled a couple of heart embellishments from a previous Noel Mignon kit to dress up this page a bit more.


Since I had so many photos of my son, I didn't add too many other things on this side of the layout.


A few embellishments to match those on the opposite side of the layout was all I needed to complete this half.  I cut the hot air balloon from one of the cut apart patterned papers from the kit and popped it up with pop dots.


I love all of the beautiful papers in this month's kit and was happy to have them be a prominent feature on my layout this week!  Thank you for stopping by!


Monday, February 13, 2017

{Valentine's Day 2016} with the "Happy Together" Classic Kit

Hello friends!!!  Meridy here today with a double page layout using the beautiful "Happy Together" Classic Kit.


I was excited to use some of the "love"-ly papers in this month's kit!  It's a good thing I took a picture of each of my kids last Valentine's Day with their class Valentines and the baby on his 1st Valentine's Day in his car seat---hey, at least it's red!  

The quote on the Simple Stories paper was perfect for me to use!!!


I made one embellishment cluster on each side of the layout.  I used a combination of fussy cut hearts, a tag, the amazing fringed paper heart, the branding strip, and wood veneer words from the kit.  I painted the wood veneer words white so they would coordinate better with the layout.    


For this embellishment cluster I used a few of the die cuts, some of the cut apart words, the pink alphabet (number) stickers, and again some of the wood veneer words-painted white.  I finished off the layout with a journaling card from my stash.


Thank you for stopping by today!  I would love to see your creations with the "Happy Together" Classic Kit over on the Noel Mignon Members Facebook page or on Instagram #noelmignon.  Have a great day!!!

Monday, November 28, 2016

A Recipe Challenge with the "All Fall" Classic Kit

Hello all!  Today I will be sharing another layout I made with the "All Fall" Classic Kit.  I'm happy to say, I got quite a few double page layouts out of this month's kit, and a couple of single pagers too!   

This week's Design Team's Challenge...it is a recipe challenge, and I think these types of challenges are so fun. The recipe we are following this week is: 

1 sheet of cardstock
2 alphas
3 photos
4 patterned papers
5 embellishments

Well, I kept finding things that I needed to add to my layout in this month's kit, so some of these things I used "at least" that many.  For example, I used more than one piece of cardstock.  

Here is the layout I created...


1 sheet of cardstock---check!  Well, actually 3 sheets.  Both the maroon and the yellow cardstock came from this month's kit, the cream cardstock was a scrap from a past kit that I punched with a border punch.

2 alphas---check!  The word "just" is from a set of Thickers from my stash, the word "us" came from the Pretty Little Studio Mini Alphas in this month's kit.

3 photos---check!  These photos were some maternity photos from last November, just 4 weeks before the baby was born.  I knew this would be my last pregnancy, so these pictures are really special to me.

4 patterned papers---check!  I just love the hounds tooth and wood chevron papers in this month's kit.  I added another woodgrain branding strip from the "All Fall" kit and a scrap of brown patterned paper from October's kit.

5 embellishments---check!  And then some... I started with a few rub ons, a wooden chip, a couple of brads, some enamel dots, a label sticker, a printed chipboard sticker, and finally a punched heart.

Here are a few close ups of my layout.


Thank you for stopping by today!  I can't wait to break into my December "Oh What Fun" Classic Kit.  Stop by all week to see the rest of our design team's recipe challenges.  Have a great week!!!


Monday, October 31, 2016

Happy Halloween...and a "3-1" Challenge using the "Falloween" Classic Kit

Happy Halloween fellow Noel Mignon friends!!!  Today I'm going to be showcasing the "Falloween" Classic Kit.  This week the Design Team is doing a "3-1" Challenge in honor of October 31st!  Our goal is to use "3" of something and "1" of something on our layout.  I have lots of sets of "3" & "1" in the layout I am sharing today...


This layout features some of our family portraits from November 2015.  I choose these photos because they matched the papers and embellishments in the "Falloween" kit so well.  The most obvious set of "3" & "1" is that I used 3 landscape orientation photos, and 1 portrait orientation photo. 


There are many other sets of "3" on this layout that include the following...

3 wood veneers
3 sets of 3 enamel dots
3 pieces of woodgrain paper
3 other patterned papers
3 "subtitles" or phrases
3 photos of full body shots

There are also quite a few "1"s on the layout too...

1 strip of acorn paper on each side of the layout
1 fringed heart
1 main title
1 chipboard frame
1 fabric ribbon
1 heart button
1 journaling spot
1 photo close up of our feet
1 color of mist splatters

Here are a few close up shots depicting these "3" & "1" details.


Although this "Falloween" kit is sold out in the store, there are 4 more November "All Fall" Classic Kits.  These kits are perfect for fall and Thanksgiving photos!!!  Thank you for checking out my layout today.  Have a fun and safe Halloween. Stop back all week to see how the other designers use groups of "3" & "1" on their layouts.