Showing posts with label frame. Show all posts

Monday, August 15, 2016

{I've Been Framed} Challenge with the "Vintage Charm" Classic Kit

Hello!  It's Meridy today.  I have another 2 page layout to share using the beautiful "Vintage Charm" Classic Kit.   The design team has been challenged to use some of the frames that came with our kits this week, so I have included 3 of them on my layout today.  I like adding frames to my layouts because they add so much dimension.  

I started with a set of baseball pictures from my daughter's first year playing.  I really like to challenge myself to scrapbook sports photos (especially for my daughter) without them looking like typical sports layouts with team logos and themed embellishments.  Sometimes those types of embellishments look very masculine to me.  Instead, I used the colors in the photos to guide me in choosing them to use with this month's kit. 


I focused the left side of the layout on her team and individual professional photos.  


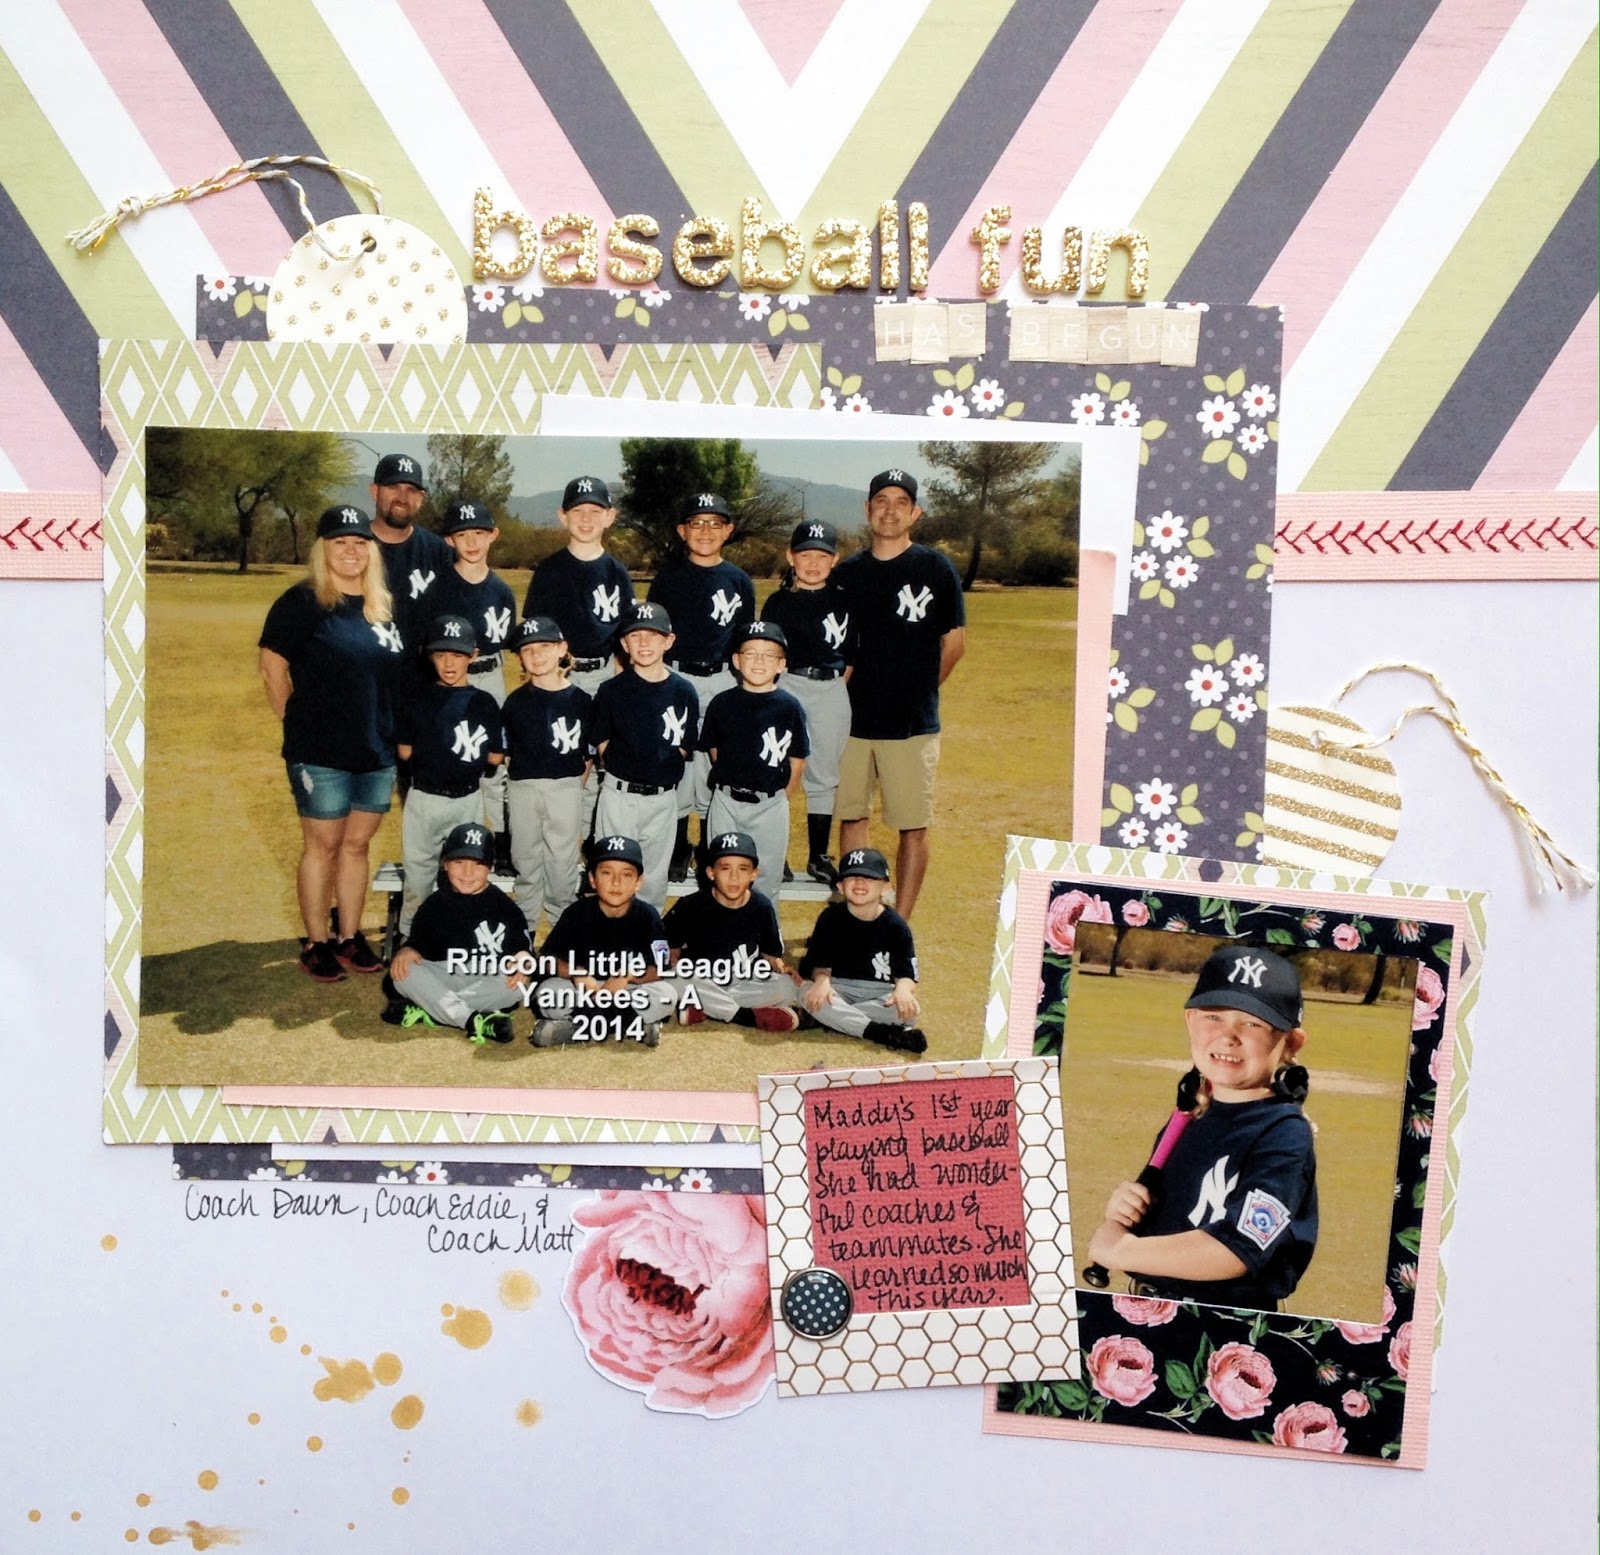
I started with the cute chevron paper called "Neighborhood" by We R Memory Keepers, from the Honey I'm Home line.  I layered a few scraps of cardstock with another We R Memory Keepers patterned paper and one of the Simple Stories papers from the kit to matt the team photo.

My favorite detail of the layout has to be the machine stitching I did with red thread on pink cardstock that mimics the stitching on a baseball.  


Next I added my frames!  I used a Pretty Little Studio frame to house her individual photo.  I also used some of the packaging from the Jen Hatfield Gold Scalloped Washi to create a gold and white honeycomb frame.  (I did this on the layout I shared last week as well!)  I used this "frame" to hold my journaling.  I layered those frames with a die cut and a Simple Stories adhesive brad to finish them off.


I had fun mixing and matching the alphabet fonts from this month's kit to create the title "Baseball Fun Has Begun".


On the right hand side of the layout, I used a collage to fit quite a few photos that I wanted to include.  I added another frame on this side of the layout as well.  I actually turned the frame around, so the white back is facing up, because I preferred a white frame to the pattern that was on the front of the frame.  The white matched the layout better in my opinion.  


I added a few bits of journaling and some more of the mini letter stickers along with the "LOVE" wood veneer (that I painted white) to wrap this side of the layout up.

I finished off the double page spread by sprinkling some of the Heidi Swapp Gold Color Shine mist across the pages. 

Thanks for joining me today!  Have a great week!


Tuesday, June 10, 2014

Silhouette Frame


Hello and Happy Tuesday!! Today I have a cute and simple home decor piece to share with you using the "Balboa" kit.

I have been putting pieces together, both homemade and store bought, for my oldest daughter's room. We are going to do a mini gallery wall, with a collage of fun, and inspiration pieces. I loved the bright colors and chalkboard elements in the "Balboa" kit, and knew that it would go along perfectly with her room decor.


I knew I wanted to use this sticker from the Hazel and Ruby set the minute I saw it, I thought it would be perfect to pair with a simple silhouette.


I layered it with some a label sticker from Chic Tags, and one of the speech bubbles from the Hazel and Ruby set. Made for a fun little bit of interest, and helped it to stand out more against the bold pink background.
It still needed a little something else, so layering one of the acetate flowers and wood buttons, I made a "bow" for the ponytail. Then using the glitter glue, included in our kit, I thickly applied it at an angle to the ponytail, this gave it texture, and sparkle!


All put together, this is going to make for a great addition to her collage...and she loves it, so that's always a plus! :)

Thursday, February 6, 2014

All You Need Is Love

I've seen lots of hand-cut lettering recently on Pinterest and thought it might be fun to try my hand at it while creating this framed gift for Valentine's Day.  The frame is 10" by 10" and I printed out six 2 1/2" x 2 1/2" pics to go along the top and bottom of the project.  The new Book of Love kit is full of some great patterned papers that were perfect for my letters.  I found it looks better if you use a large variety of colors & prints - it adds to that eclectic feel :)

 photo allu_zps8196d33b.jpg

After gluing down all the letters, I used a toothbrush and some paint to add all the specks of white you see below.  It added some nice, subtle texture to the project.  Then I machine-stitched through each line of text and added in a few of those adorable wood hearts from the kit.

 photo allucu_zpsd00917b7.jpg

The frame was simple to make and would be a great way to use up your scraps!!  I'd love to see your own version of hand-cut lettering - feel free to share with us on our Facebook page :)