Friday, May 11, 2012

She Art Girl Canvas- Jack & Jill Kit


I was lucky enough to snag one of the She Art girls in my Jack & Jill kit, and I had plans for her! ;)

I've had this mini canvas & easel set sitting around for quite a long time. A friend of mine gave it to me after snagging it on clearance at Target a few years back. As cute as it is, I wanted to give it a facelift.  


I started by simply whitewashing it in white acrylic paint. I wanted the letters on the canvas to still peek through a little bit. 


Then I added a doily and a large kraft tag and some Mod Podge. 


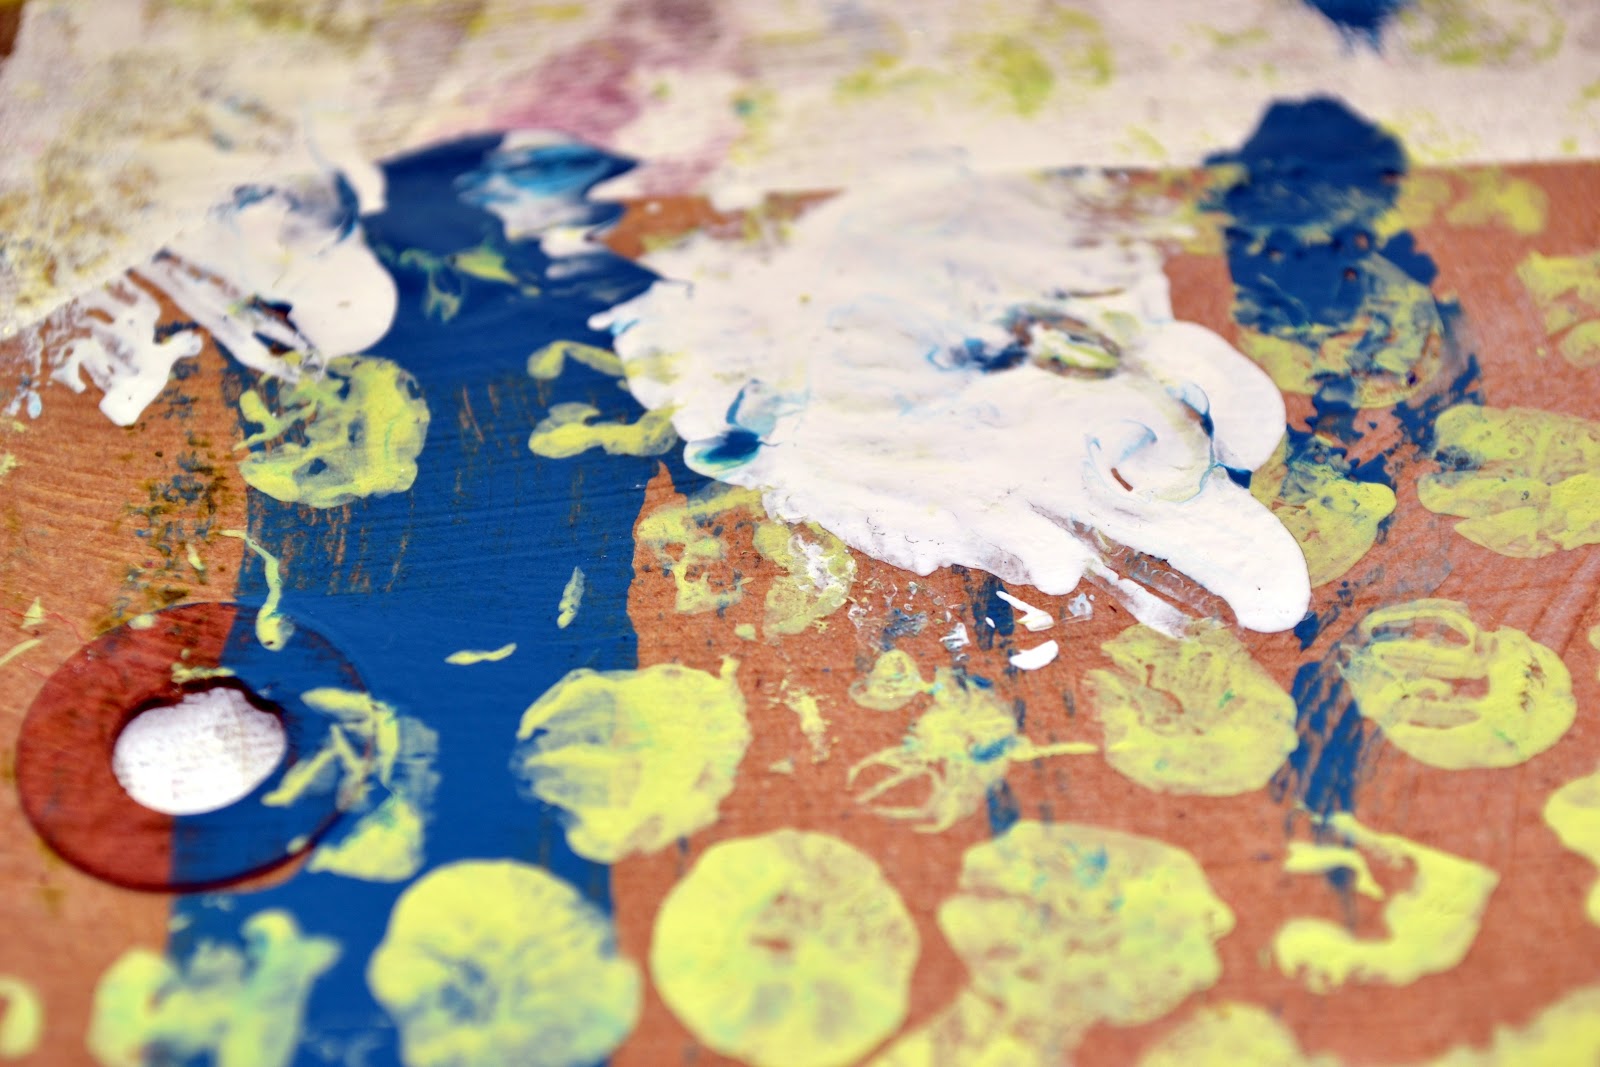
I didn't photograph the next couple of steps because frankly, my hands were too messy, but I adhered down the top half of my She Art girl, and then scraped some blue paint across the canvas with a scrap piece of cardboard. Some bubble wrap helped me stamp some limeade green paint onto it, and then I just "globbed" some white paint here and there. 


While that was all drying, I wrapped the outer edges with some of the green washi tape from the kit. 

Once the top was all the way dry, I added a few rub ons... 


I printed off the verse I wanted to add, and cut it out and adhered with more Mod Podge. 


I have a great Faber-Castell Pitt pen that lets me outline in black and smudge it up a bit before it dries all the way. I love the effect it gives. 


The final result! A sweet little gift for a friend of mine who's been having some blue days. 


I hope you've been putting your kit to good use! The newest kit, Summer Wind, is shaping up to be very pretty! Make sure you stay tuned in to the message board to get the latest and newest info on all the kit inside scoop! 


Thursday, May 10, 2012

Mother's Day with Jack and Jill


Hey everyone! 
How are you all doing this beautiful May? 
The sun has been shining here and it's been so wonderful! 

With Mother's Day being this weekend, I wanted to share with you all the card I created for my Mom with this beautiful May Jack and Jill kit! As well as this fun iPhone case that I inked up as well. :)


I'm so excited to have this little pouch for my...phone...


I hope you like these little projects! ...and I hope all you Mom's...out there have a wonderful and super Blessed Mother's Day as well! 

Lots of love! xx
K


Wednesday, May 9, 2012

Making cards with Primrose Lane!

Good morning!
I am still working through my Primrose Lane kit!
(i still have so much left!)
One of my favorite sheets of paper in the kit is this fun piece from Echo Park.

When you cut this sheet up, the individual pieces are perfect for cards!
So I used it to whip up a couple of quick cards...


Quick and easy!
{I am loving using simple string on my cards lately!}
That's all I've got today!
Hope your week is going great!
Thanks for stopping by!
:)
gretchen

Tuesday, May 8, 2012

I love being a mom...


Hey there!! This is Lisa today!

Since Mother's Day is on Sunday I wanted to take the time to write my kids a letter to let them know how much I love being their mom. I know this is a very simple layout, but I did that on purpose. I wanted to keep the focus on the letter I wrote them. It's not a profound or perfect letter, but they loved reading it...and I'm glad I have it documented! I want them to know how I feel. 

Now is a perfect time to create a page to let you child(ren) or your mother know how much you love them! 


Happy Tuesday!
-- Lisa

Monday, May 7, 2012

More Primrose Lane Pages


I am still having a great time playing with the Primrose Lane kit and wanted to share with you my latest creations.

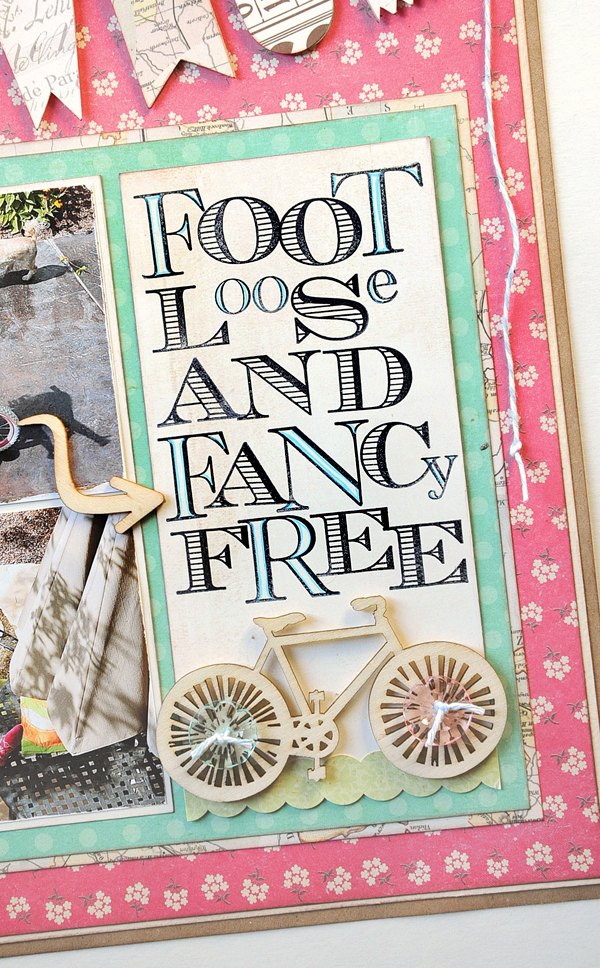
FOOTLOOSE AND FANCY FREE by Jana Eubank

I created this page for the most recent Layout Tag game that we play on the Noel Mignon Message Board. I used a pink, yellow, aqua, gray, and kraft color combination that just says "springtime" to me!


I used my Cricut Machine and various scraps I had left from other Primrose Lane projects to create the banner across the top of the page.


Next, I wanted a title that was big and bold. I decided to stamp my title using letter stamps from my stash. This set is by Teresa Collins Designs. I used the blue gel pen from the kit to add just a touch of color on the open letters.


The wood pieces are from a Pink Paislee embellishment set I had in my stash. I used the gorgeous clear buttons and twine from the Primrose Kit to accent each of the wheels. I love the way the natural wood elements play off of the bright colors of the kit. Noel has a set of butterfly and dragonfly wood pieces by Pink Paislee HERE that I'm going to add to my next order. I think they are so fun!

Thanks for stopping by today! I hope you enjoyed taking a closer look at my Layout Tag page.

Have a great week!

Jana Eubank

Sunday, May 6, 2012

Step by Step- Shabby Card Tutorial

Sometimes I'll hear a song that may not have been intended to be necessarily deep, but something about it strikes my sentimental little heart and it'll stick there. 

Well, "I'm Glad You Came" by the Wanted is one of those. Its is super cheese, but one of my very close friends and I were talking about it one day, and how it is so important to hear that you are a big piece of someone's life... that you were glad they came into your life. 

That's the inspiration behind the card I made, and I wanted to show you guys a step by step tutorial on how I made it!

I pulled out my Jack & Jill kit, and I got started by cutting out the words "I'm glad you came" with the basic Arial font on my Silhouette machine. 


I flipped the card over and backed the word "you" with the green polka dot washi tape. I laid it sticky side up (so that the non sticky side would show through the other side), and held it down with some more of the same tape. 


This is what it looks like flipped over. I also added a piece of kraft cardstock under to back the other words. 


With the pink paper side torn, I added another layer of torn paper to peek out from underneath, from the vintage "Jack & Jill" paper in the kit. 


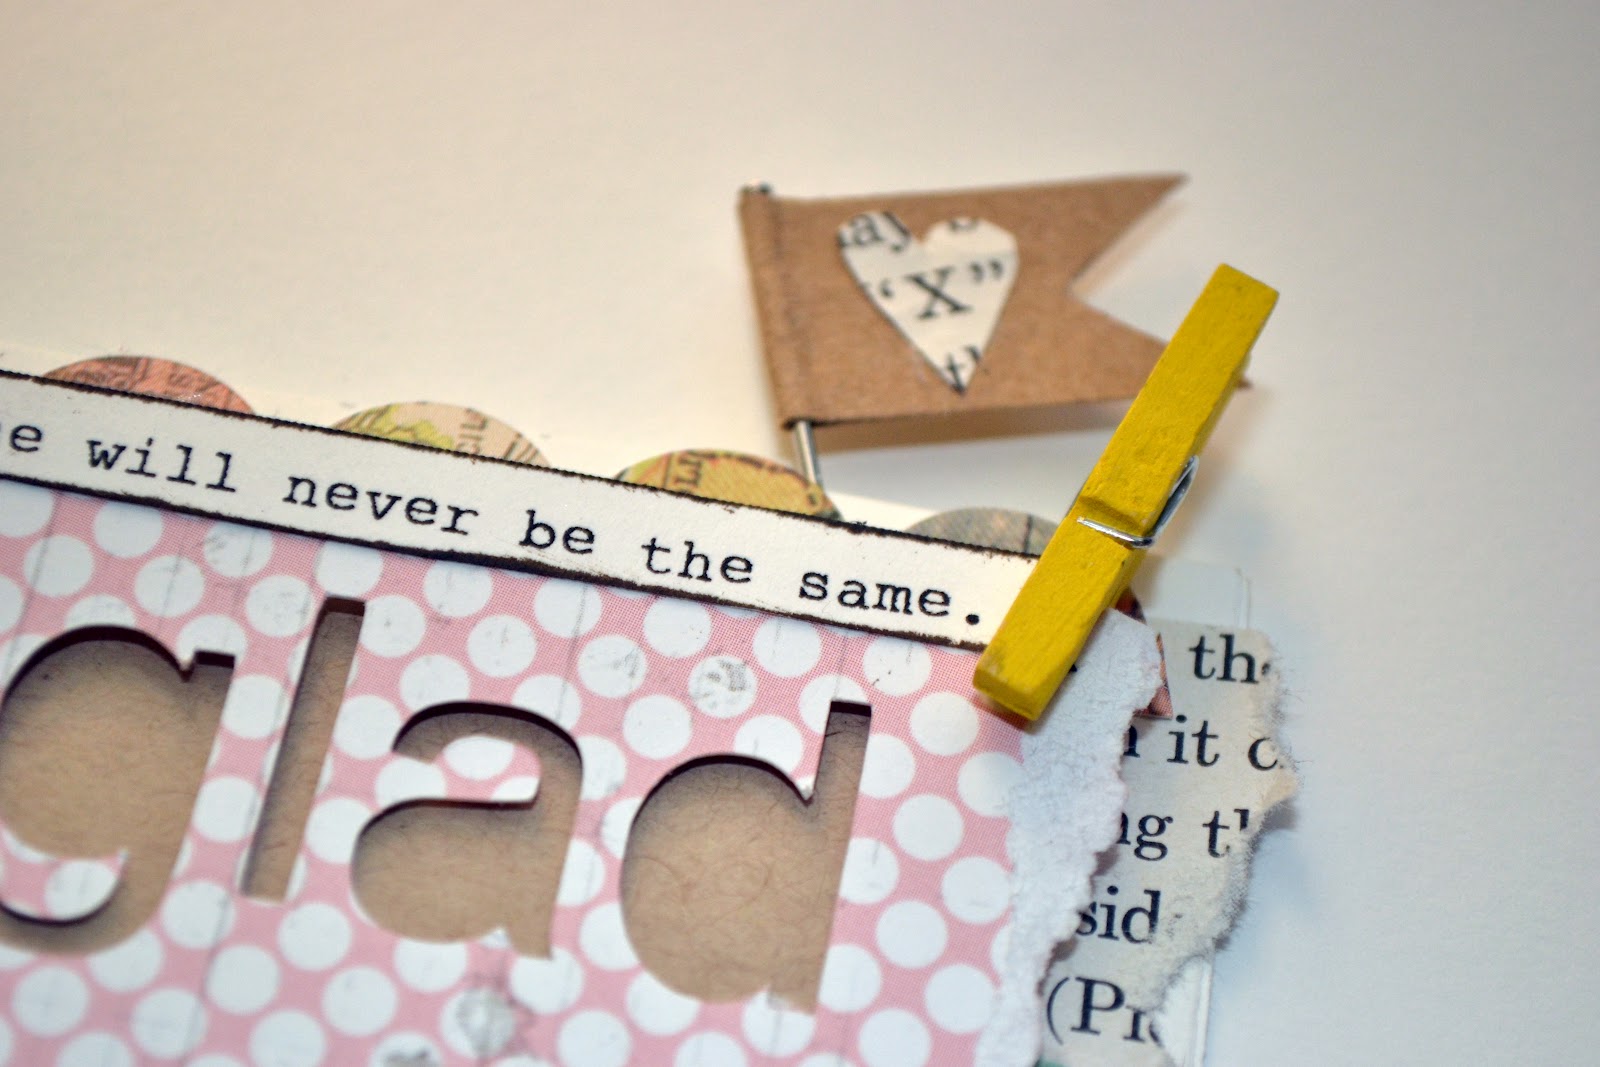
I printed out the words "My universe will never be the same," and cut them out into a little banner shape. I made it pop by inking the edges with brown ink. 


I adhered it and added a strip of one of the border stickers behind it. 


I added the cute little clothespin...


then haphazardly added a few rubons along the text paper edge-


and along the folded edge seam. 


Final touches included stitching, 


a kraft flag, 


and a tiny heart. 


The final result! 


Now, I think I will send my friend this card... to let her know that I'm so glad she came into my universe! :) 

(I know. I am a major cheesey girl!)