Showing posts with label Spring. Show all posts

Monday, April 23, 2018

{Splash Pad} with the "Vintage Spring" Kits

Happy Monday, it's Meridy here today.  I have a layout to share using a combination of the "Vintage Spring" Daily Diary and the "Vintage Spring" Classic Kits.  The beautiful watercolor paper from the classic kit made the perfect background for a page about the splash pad.


I added a few of the Daily Diary cards, some small strips of paper, the packaging from the gold leaf trim, and a few labels to create the layers behind the photos.  But I thought it still needed a little textrue and detail, so I mixed in a couple of pieces of washi tape and outlined each layer with black pen.  I added my journaling, a few phrase stickers, a couple of bug stickers, and some gold heart stickers to dress up the layers.


Next, it was time to work on the title of the layout.  At first I just had the small title that read "Splash Pad" on the bottom left hand side of the layout, but it still looked too plain for my taste.  


So that's when I decided to add a bunch of phrases and stickers describing the experience.  Ultimately, this is what I came up with, and I love the look of the different fonts, stamps, Thickers, and stickers.


Once I added all of these textures and words, my layout finally looked complete.  I love the way it turned out.  Thank you so much for stopping by today!!!  Happy Spring!  I hope you are putting your "Vintage Spring" Kits to good use, I would love to see what you are creating on our Facebook page or Instagram #NoelMignon


Monday, April 9, 2018

{Eleven} with the "Vintage Spring" Kits

Happy Monday, friends!!!  It's Meridy here today, and the "Vintage Spring" Classic Kit  and Daily Diary Kit naturally scream "SPRINGTIME" to me, and since spring is a time for new beginnings, I decided to scrap another new beginning with these kits this week.  I'm scrapping a picture of my daughter's 11th birthday, which also happens to be 2 days before she started Jr. High.  So these spring images, embellishments, and flowers went prefectly with this photo.


This kit is so beautiful, and all of the Maggie Holmes papers and embellishments make me so happy, so I couldn't wait to use them.  I decided I wanted to use lots of die cuts and pieces of the beautiful gold leaf trim to frame my photo.

I stared with the deer and fussy cut a couple of quail.  We live in the desert, so we see lots of quail (and baby quail) each spring.  Although this page isn't about quail, these icons still work with the layout.


Next, I started layering up a few of the flowers and greenery.  I used pop dots to pop a few things up to add some dimention into the layout.  I spelled out "eleven" with the alphabet stickers and placed it at the bottom of the layout. I didn't want a large title, since there is already so much deatil on this layout, so these small alpha stickers were perfect!


I really liked using the gold leaf trim in whole pieces, as I did in the upper right hand corner of the layout, but I also liked the look of one or two leaves sticking out from under the die cut flowers, it added a little color and texture to the blooms.  


A few strips of washi and paper across the top of the layout and a journaling card tucked into the layers of paper finished off the layout.  Thank you so much for stopping by today!!!  Happy Srping!!!


Thursday, March 22, 2018

Welcome spring

Hello again!

It's always great to be here to share projects with you that I make using Noel's kits.

The You Go Girl kits are gorgeous- and if you think so, you should see the kits for April. They are so beautiful. You will love them ♥

Anyway, for my project today I decided to create a piece of home decor using bits from both of the You Go Girl kits:


I started with this wooden piece from Jillibean Soup Mix the Media that I found at my local Walmart store.


I cut some flowers out of cardstock using my Silhouette diecutting machine and then covered those with patterned paper from the kits. I also cut the word "welcome" to use on this project. I layered the diecut flowers with Prima paper flowers found in both of the in the kits this month.


The butterflies are from a sheet of patterned paper in the Classic kit. I simply cut around them and glued them onto the project.


I finished off this simple project with a strip of gold scalloped washi tape from the washi book included in the kit. 

Thanks for stopping by Noel Mignon today ♥

Tuesday, March 28, 2017

Spring Decor with the Delightful Classic Kit

A few years ago I began to take stock of our holiday/season décor and realized besides Christmas and Halloween the decorations were pretty sparse.  Each year I have been adding a few things.   I decided with the rest of my Delightful kit I would add to our Spring/Easter décor on our fireplace mantle.  


The first thing I decided to make was a banner using the colored doilies from the kit. 
I counted the doilies and determined from there I had enough yellow to spell out Spring and with one blue I could do one accent in the center.  I didn't want to break up the word spring but decided with the amount of dollies in the kit I would make it work. 


I cut the pendants from several different pattern papers, matted them with cardstock, and attached a strip of pattern paper to the top.  Using my trusty score board I made the folded paper medallions and topped them with pattern paper and letter stickers.  Once the pendants were put together I hot glued them to the ribbon and finished with smaller bows tied with a button and baker's twine (from my stash) at the ends. 


The center accent pendant I embellished with a paper butterfly.


After I got the banner finished and hung I decided to make a bunny box to compliment the egg shaped box I put together last year. 


He (she?) was cut out using my Silhouette Cameo.  He was a bit of a pain to glue together, but once finished I determined it was worth it.  I finished him off with a bow and some of the puffy flower stickers from the kit.  


And there you have it a few more holiday items for my house.  Thanks so much for stopping by the blog today.  I hope you were inspired to make holiday décor with your kit. 
Happy crafting!

Tuesday, March 21, 2017

Easter Eggs with the Delightful Classic Kit

The first day of Spring!  My favorite season hands down.  I love the spring flowers, warm but not hot weather, the longer days.   Yeah Spring is pretty great.  This week the design team was given the theme of Spring.  I chose to make a bright Easter layout featuring photos from our egg dyeing a few years ago.


I started with the white cardstock and layered pattern papers on top.  I then used glitter mist from my stash to splatter ink on the top and bottom.   


I placed the letter stickers to spell out my title and used labels from my stash for my date and finished this area up with one of the arrow paperclips.  


I kept most of the layout pretty simple besides the pattern paper and title and finished the embellishing off with three of the Maya Road resin flowers.  


Thanks for stopping by the blog today, Happy Scrapping!


Monday, March 20, 2017

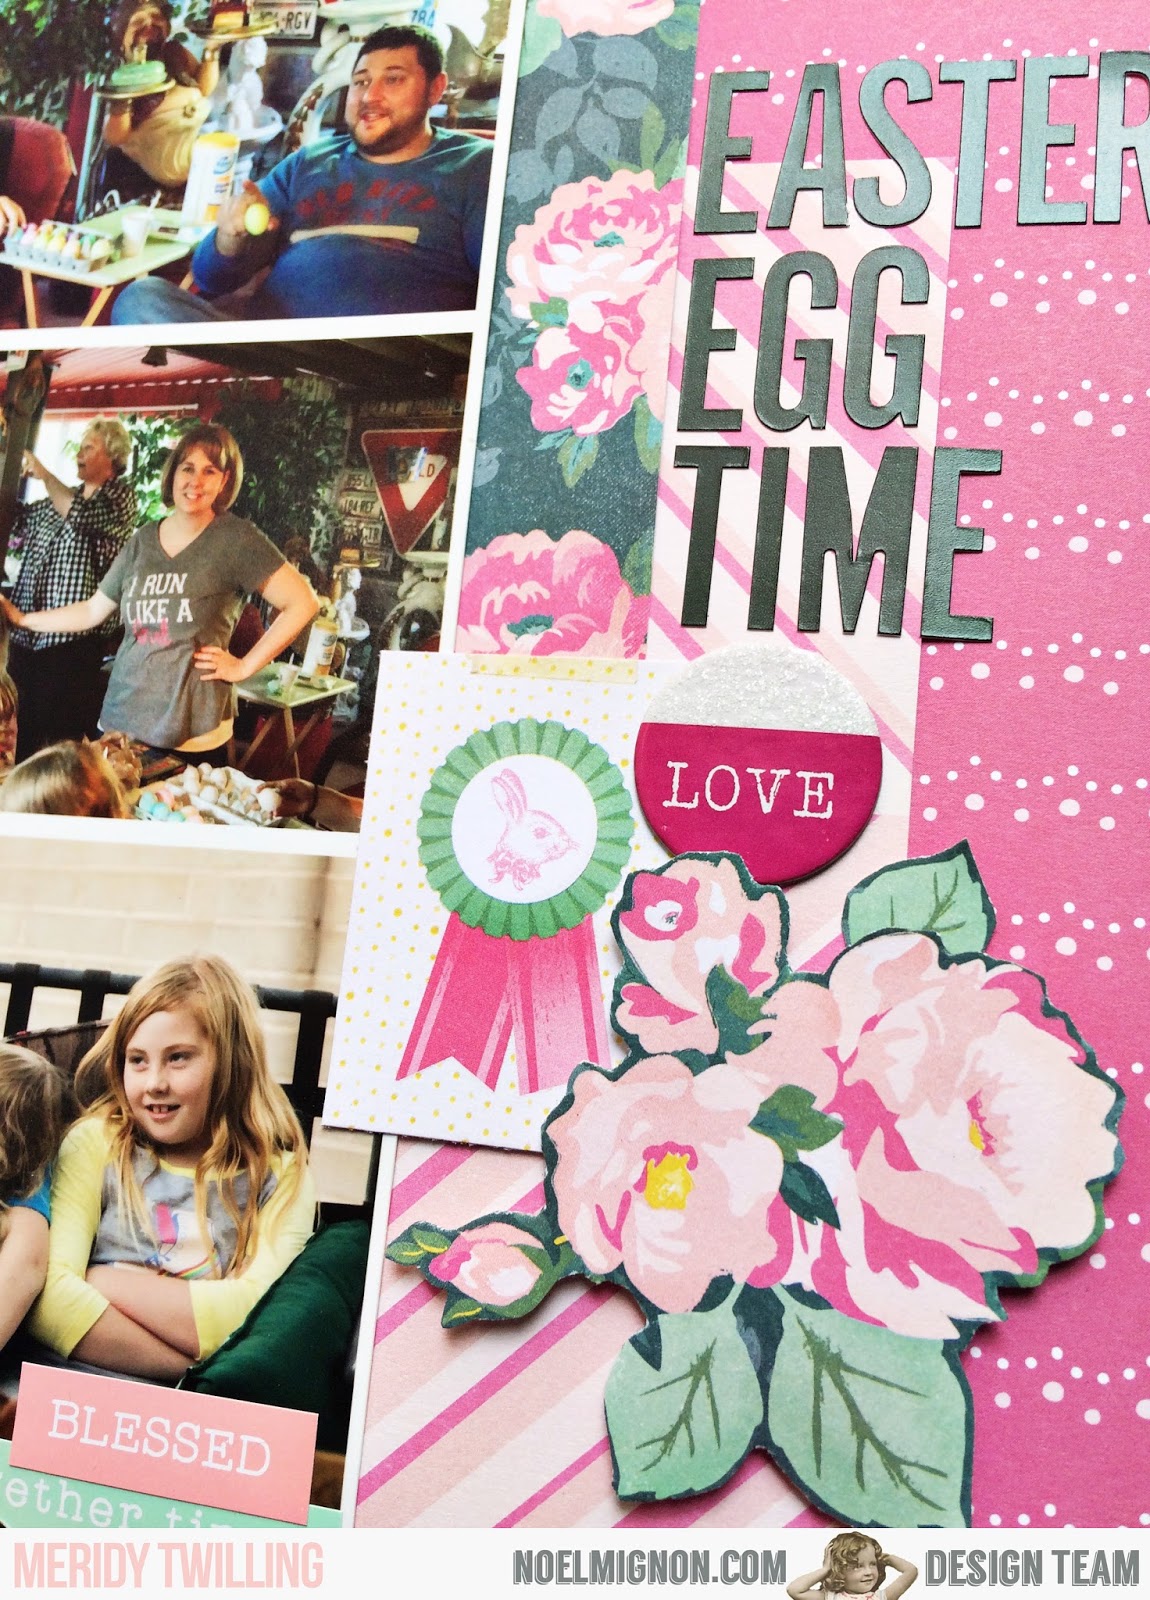
{Easter Egg Time} with the "Delightful" Daily Diary Kit

Hello everyone!  It's Meridy here.  In honor of the first day of spring today, the design team will be sharing "springtime" layouts all week! I'd like to start us off with an Easter layout using the "Delightful" Daily Diary kit.  I also used a paper pack from the "Delightful" Classic Kit. 

I started with a collage of photos printed on an 8x10.  I like using collages when I have multiple photos I want to use.  All of the cropping, matting, and sizing is already done for me when I create and print a collage to use!


I used some of the 6x6 Maggie Holmes papers from the Daily Diary Kit to layer up the background and add some dimension.  Next, I fussy cut some of the floral design from the 12x12 and the 6x6 floral papers in both the Daily Diary kit and the paper add on.  I arranged some fussy cut flowers, chipboard sticker, and the bunny paper from the 6x6 cut apart paper in the "Daily Diary" Kit to make a little embellishment cluster under my title.


On the top left of the layout I adhered the notched chipboard banner stickers, a few fussy cut flowers, the date (using the alphabet stickers from the Daily Diary Kit), and a few word phrases.


My third embellishment cluster was also made with some fussy cut flowers, and a word sticker from the sheet of alphabet stickers in the Daily Diary Kit.  I journaled across the bottom strip of patterned paper.


I added one more final touch, a subtitle, the word "COUSINS", towards the bottom of the layout to keep your eye moving evenly around the entire page.  With that, the layout is complete!


Thank you for stopping by today, the design team will be sharing Springtime layouts all week, come on over for more inspiration all week long!